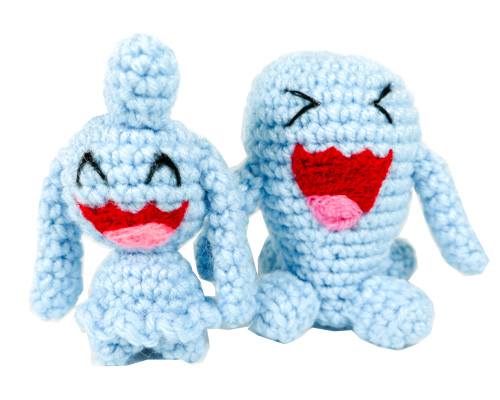
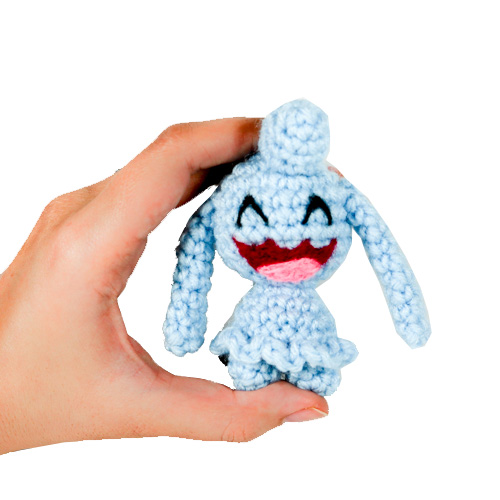
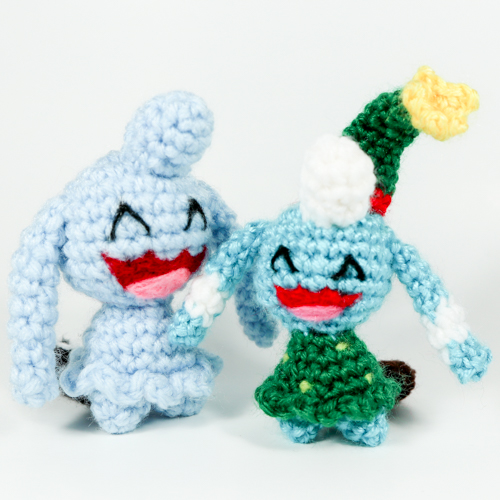
Why not.. make a Wynaut!? My Wobbuffet was looking a bit lonely, so I made him a son- Wynaut, the pre-evolution form of Wobbuffet. Now they are both all smiles and jokes.
Make your own little Wynaut with this pattern! It’s quick, easy, and great for beginners. Little Wynaut is only about 3″ tall and 2.5″ wide. Enjoy your Wynaut!
I also have a pattern for a Christmas Elf Wynaut!
If you prefer to work by paper you can purchase a pdf version of this pattern here.
Materials
- Yarn: light blue, black
- 3.5 mm crochet hook
- fiber-fill stuffing (stuff as you work.)
- Felt: red, pink (for mouth/toungue)
- Black embroidery thread and needle (for eyes)
- Scissors, yarn needle for assembly
Abbreviations
R(#): Round number
MR: magic ring
Sc: single crochet
Inc: increase (2 sc in same stitch)
Dec: decrease (decrease 2 sc into one)
I recommend using Invisible Decrease
Sl st: slip stitch
f/o: fasten off
Check out my Learn to Crochet page for video tutorials on how to do the types of stitches listed above.
Head and Body
Using Blue:
R1. 6 sc in MR (6)
R2. Inc around (12)
R3. ‘Sc 1, inc’ around (18)
R4. ‘Sc 2, inc’ around (24)
R5-8. Sc around (24) four times
R9. ‘Sc 2, dec’ around (18)
R10. ‘Sc 1, dec’ around (12)
R11. Dec around (6)
R12. Inc around (12)
R13. ‘Sc 3, inc’ around (15)
R14. ‘Sc 4, inc’ around (18)
R15. Sc around (18)
R16. For this round, work in front loops only.
In first stitch of the round: [sl st, sc] , chain 1
In second stitch of the round: [sc, sl st]
Repeat above for the entire round (this makes the ‘skirt’)
R17. For this round, work in the back loops (unworked loops of round 16.)
‘Sc 1, dec’ around (12)
R18. Dec around (6)
F/o, close loop.
Feet
Make 2- using blue:
R1. 4 sc in MR (4)
R2. ‘Sc 1, Inc’ around (6)
R3. Sc around (6)
F/o, Do not close loop. Stuff feet and leave a tail for sewing to body.
Hair Tuft
Using blue:
R1. 6 sc in MR (6)
R2. ‘Sc 2, inc’ around (8)
R3-4. Sc around (8) two times
R5. ‘Sc 2, dec’ around (6)
F/o and leave a tail for sewing to head, the opening does not need to be closed.
Ears
Using blue:
R1. Crochet an Oval:
Chain 3. In 2nd ch from hook: Sc, then Inc in last chain.
Continue working on the other side of the foundation chain: Sc 2.
End of round 1 (5)
R2-9. Sc around (5) eight times.
F/o, do not close the opening. It is not necessary to stuff the ears, instead, press them flat. Leave a tail for sewing to the head.
Tail
Using black:
R1. 6 sc in MR (6)
R2. ‘Sc 2, inc’ around (8)
R3. Sc around (8)
R4. ‘Sc 2, dec’ around (6)
R5. ‘Sc 1, dec’ around (4)
R6-7. Sc around (4) two times
F/o and leave a tail for sewing under the body. The opening does not need to be closed.
Assembly of Crochet Wynaut
Use pins to fasten body parts before sewing them on.
Head: Sew the hair tuft to the forehead area, just below R1 of the head. The ears are attached to either side of the head, approximately at R5 of the head.
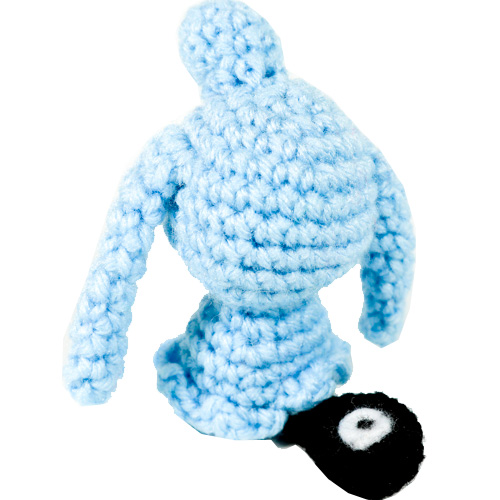
Body: Sew the two feet (with open ends touching the underside of the body) to either side, and at the back between the feet: sew the tail to the underside of the body. The feet and tail are what balances Wynaut to stand up straight.
Facial details (and the ‘Tail Eye’) were added using needle felting and unwound yarn ends/yarn fibers.
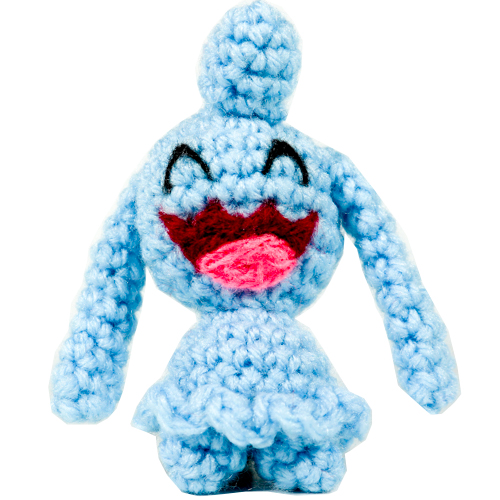
I hope you enjoy your Wynaut Amigurumi!
Thank you for trying this pattern – I hope you enjoy your Amigurumi Wynaut!
Click here to purchase a downloadable pdf version of this crochet pattern
This pattern by StringsAway is for personal use only. Please do not sell or redistribute the pattern as your own.