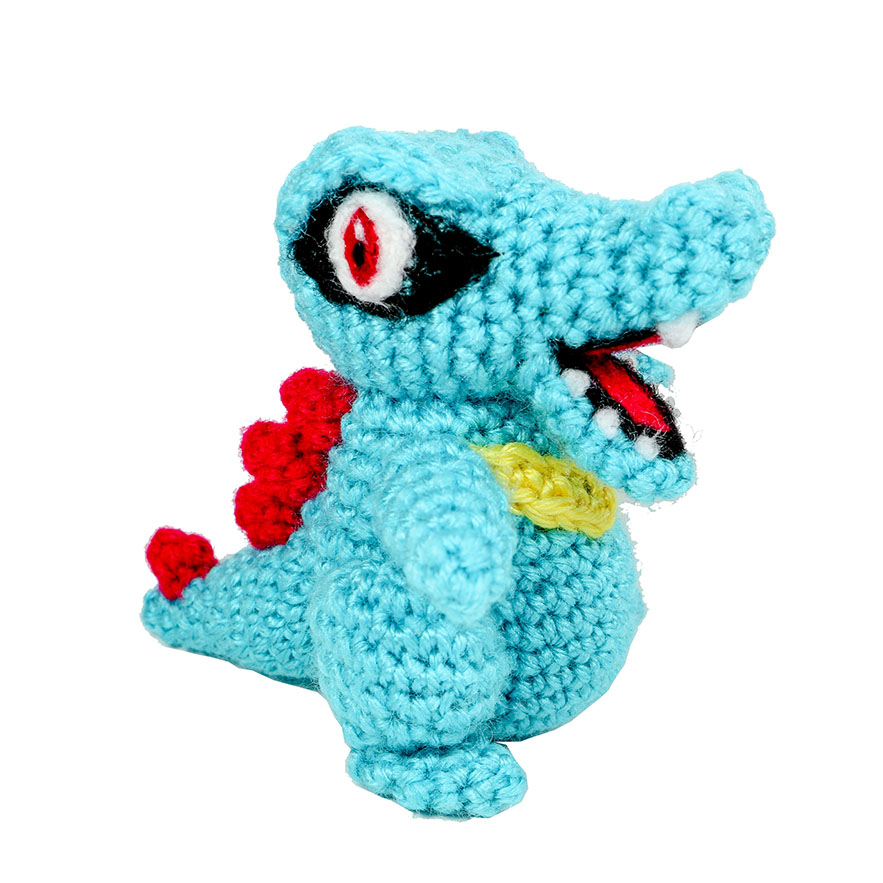
Totodile has been on my crochet list for a while- years, actually. I was always stumped on how to tackle crocheting the snout and jaw. Then I stumbled upon this amazing free pattern for the Small but Mighty Dragon . After trying their pattern to make the dragon’s snout I was completely inspired to make Totodile based off of their design.
Anyhow, without further ado, here for your crocheting pleasure is the Totodile crochet pattern. This feisty crocodile is the water-type starter from Generation 2 and is a bit of a prankster. I hope you enjoy this little addition to your amigurumi Pokemon team!
Prefer a pdf version to download and print? Buy one here!
Materials
- Yarn: : Blue, Red, yellow (thin/light ply yarn was used)
- 3.5 mm crochet hook – fiber-fill stuffing
- Felt: black, white, red (for the eyes), felting needle if desired
- Scissors, yarn needle for assembly
Abbreviations
R(#): Round number
MR: magic ring
Sc: single crochet
Inc: increase (2 sc in same stitch)
Hdc: half double crochet
Hdc inc: Hdc increase (2 hdc in same stitch)
Dec: decrease (decrease 2 sc into one)
I recommend using Invisible Decrease
Tch: turn chain (chain one and switch directions)
Ch: chain
Bo: bobble stitch
Sl st: slip stitch
f/o: fasten off
Check out my Learn to Crochet page for video tutorials on how to do the basic types of stitches listed above.
Lower Jaw
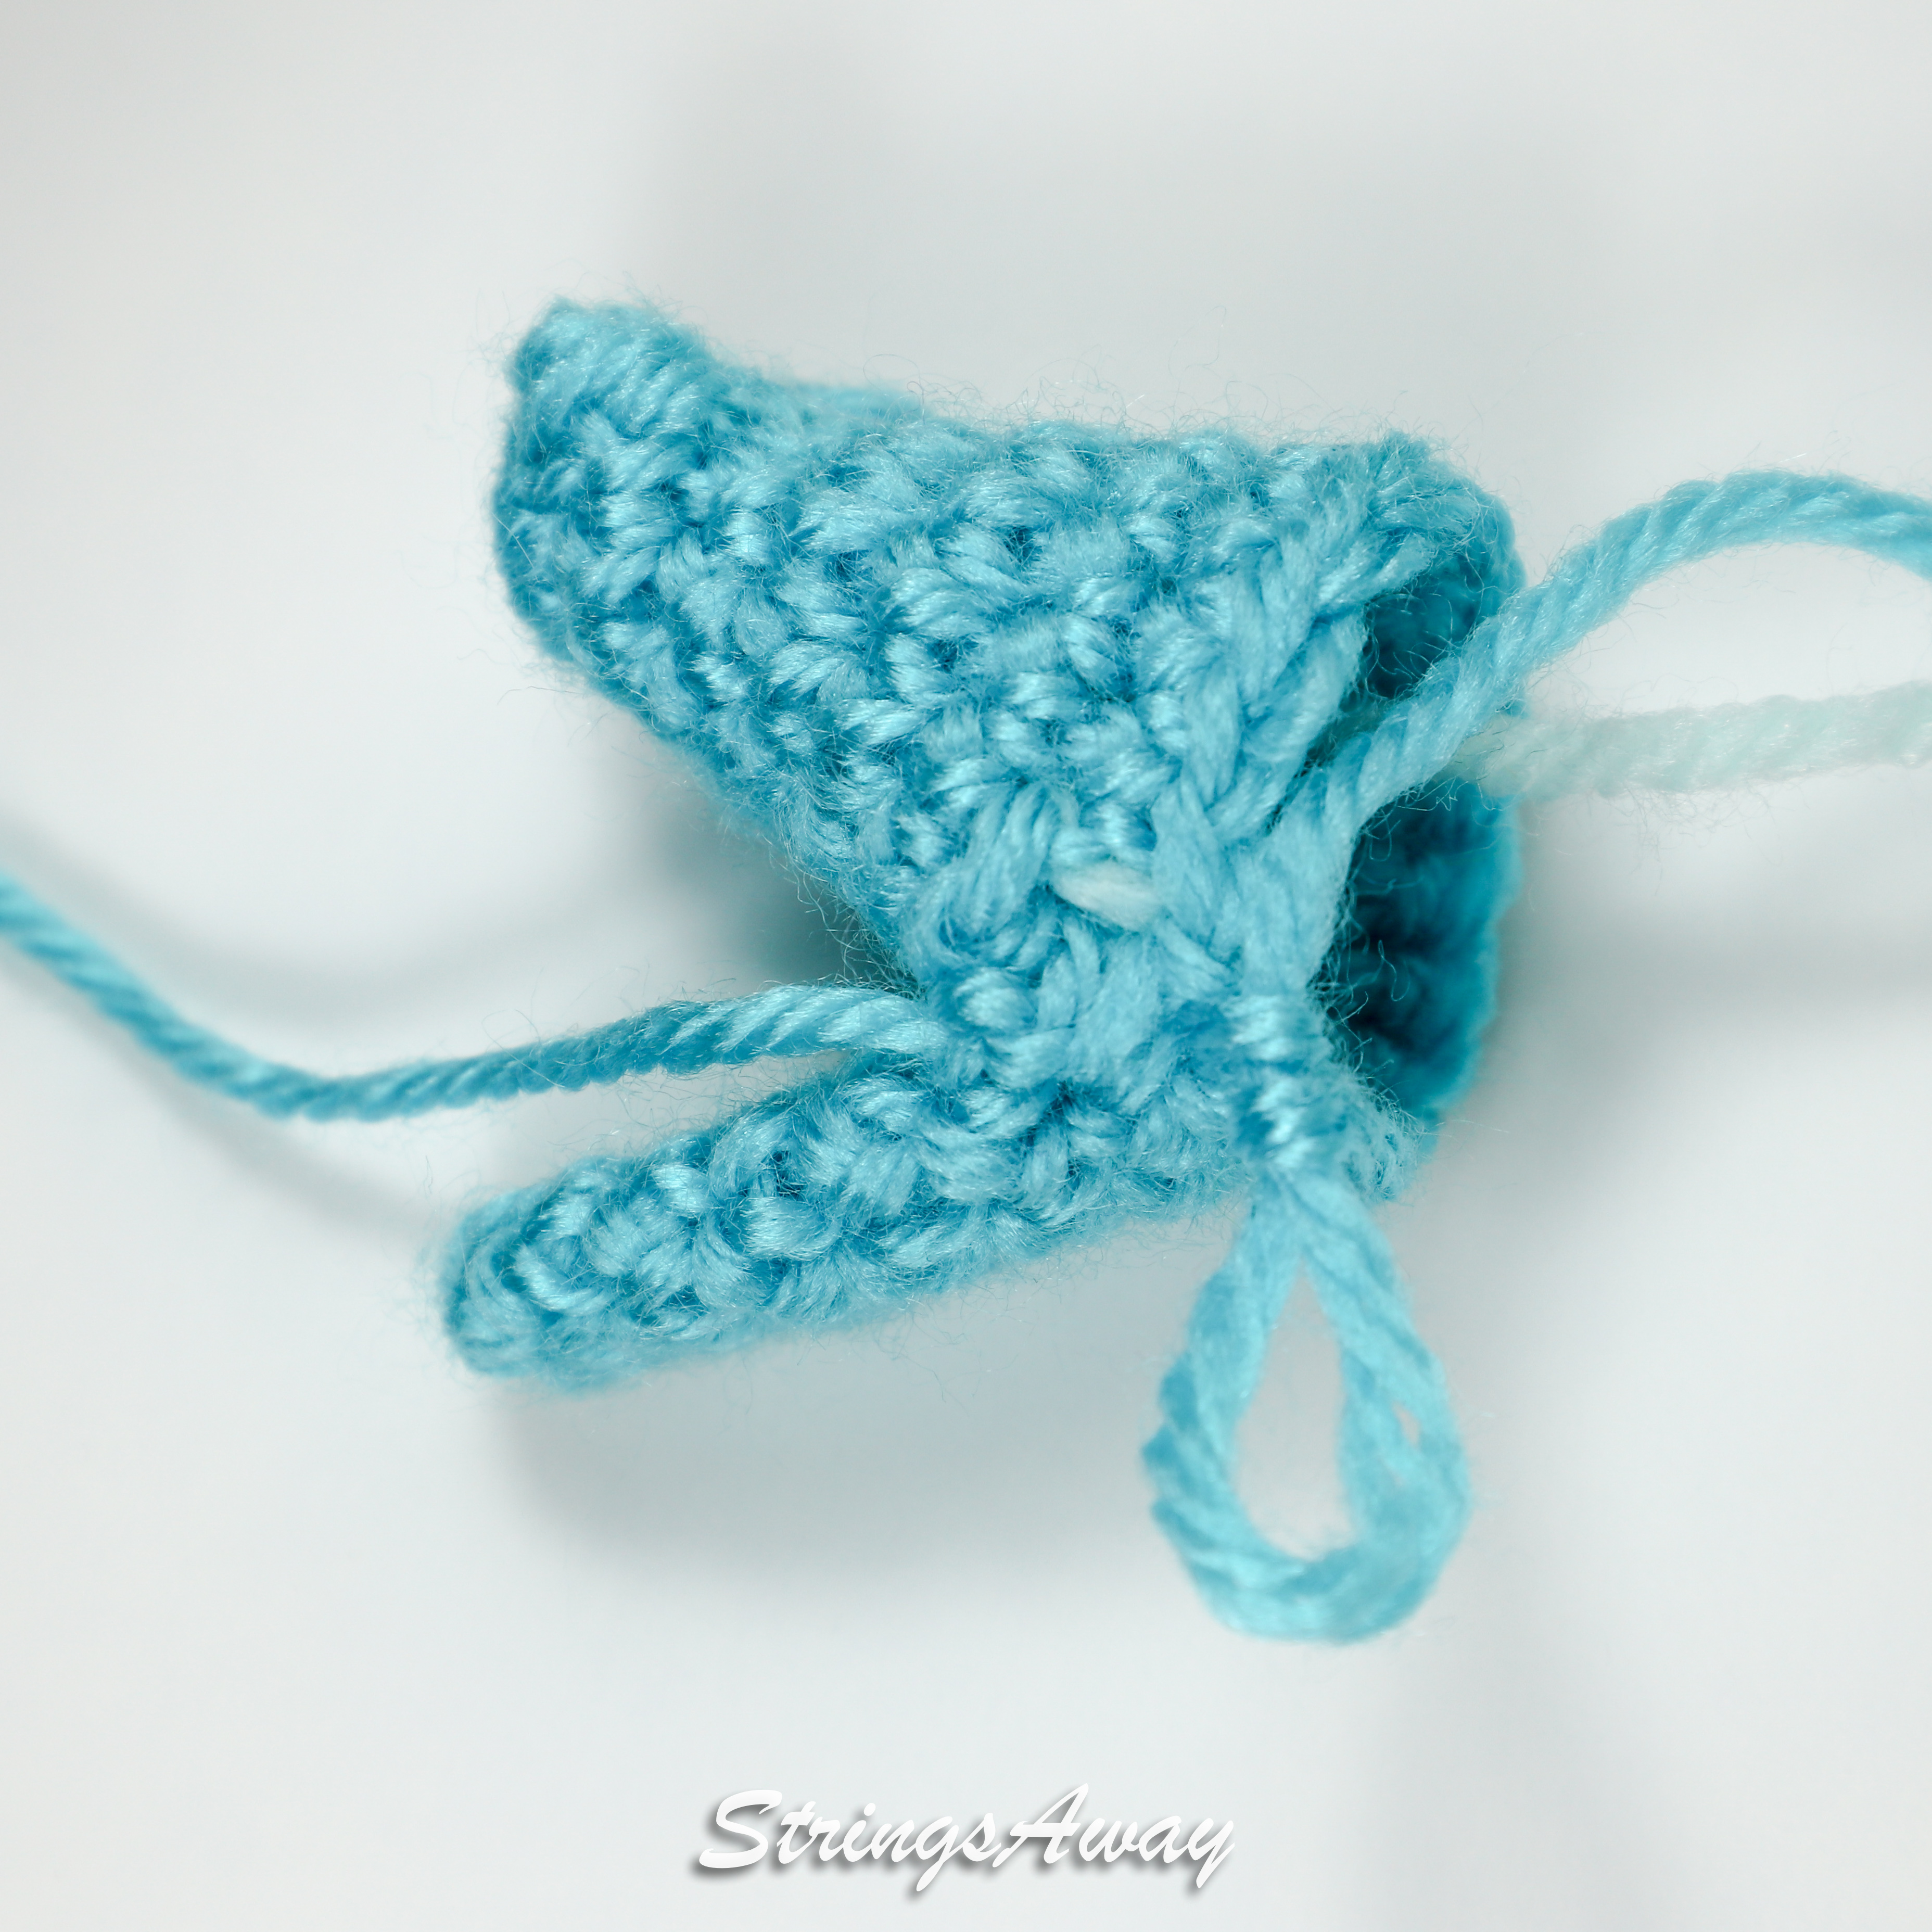
The lower jaw must be made before the top snout and head. Using Blue:
R1. 5 sc in MR (5)
R2. Inc, Sc, Inc, Sc 2 (7)
R3-4. Sc around (7) two times
R5. Inc, Sc 6 (8)
R6. ‘Inc, sc 3’ around (10)
Do not stuff. F/o and press flat.
Upper Snout & Head
The head begins with the top of the snout. Using blue:
R1. 6 sc in MR (6)
R2. Inc around (12)
R3. Bo, Sc 2, Bo, Sc 8 (12)
Note: in this pattern, the bobble stitch (Bo) was made with 3 incomplete sc into the same foundation sc (3 loops on hook before pulling through) and then sl st behind the bobble onto the next sc. Note that this sl st behind the bobble creates two extra stitches in the round which are ignored/not counted in the next round.
R4. Sc around (12)
R5. Dec, sc, dec, Sc 7 (10)
R6. ‘Sc 1, inc’ around (15)
R7. Sc around (15)
R8. Sc 10, then at this point we will join with the lower jaw. Place the lower jaw under the upper snout. Leave the rest of the sc on the upper snout unworked. Sc 5 on the outer side of the lower jaw. (15)
R9. Note: the 1st sc will join the lower jaw with the upper snout. ‘Sc 4, inc’ around (18)
Sew the unworked ends of the lower jaw and upper snout together (back of the mouth.)

R10. ‘Sc 1, inc’ 6 times, sc 6 (24)
R11-15. Sc around (24) 5 times
R16. ‘Sc 2, dec’ around (18)
R17. ‘Sc 1, dec’ around (12)
R18. Dec around (6). F/o and close loop.
Eyebrows
Make 2. Using blue:
Row 1. Chain 9
Row 2. Beginning in 2nd chain from hook: Sl st, sc, hdc x 4, sc, sl st.
F/o leaving a long tail for sewing.
Body
Using Blue:
R1. 6 sc in MR (6)
R2. Inc around (12)
R3. ‘Sc 1, inc’ around (18)
R4. ‘Sc 2, inc’ around (24)
R5. ‘Sc 3, inc’ around (30)
R6-10. Sc around (30) five times
R11. ‘Sc 3, dec’ around (24)
R12. Sc around (24)
R13. ‘Sc 2, dec’ around (18)
R14-15. Sc around (18) two times
R16. ‘Sc 1, dec’ around (12)
R17. Sc around (12)
R18. Dec around (6)
Legs
Make 2 using blue:
R1. 6 sc in MR (6)
R2. Inc around (12)
R3. ‘Sc 1, inc’ around (18)
R4. Sc around (18)
R5. ‘Sc 1, dec’ around (12)
R6. Sc around (12)
R7. Dec around (6)
F/o and stuff well, do not close loop.
Feet
Make 2 using blue:
R1. 5 sc in MR (5)
R2. Inc, Sc 4 (6)
R3-5. Sc around (6)
F/o. Do not stuff, press flat.
Tail
Using blue:
R1. 4 sc in MR (4)
R2. ‘Inc, Sc 1’ around (6)
R3. Sc around (6)
R4. ‘Inc, Sc 2′ around (8)
R5. Sc around (8)
R6. ‘Inc, Sc 3’ around (10)
R7. ‘Inc, Sc 4’ around (12)
R8. ‘Inc, Sc 5’ around (14)
R9. ‘Inc, Sc 6′ around (16)
R10. Sc around (16)
R11. ‘Inc, Sc 7’ around (18)
F/o, stuff well.
Arms
Make 2 – using blue:
R1. 5 Sc in MR (5)
R2. Sc around (5)
R3. Inc, sc 4 (6)
R4. Sc around (6)
R5. Inc, sc 5 (7)
R6. Sc around (7)
R7. Inc, sc 6 (8)
R8.Inc, sc 7 (9)
F/o, stuff well.
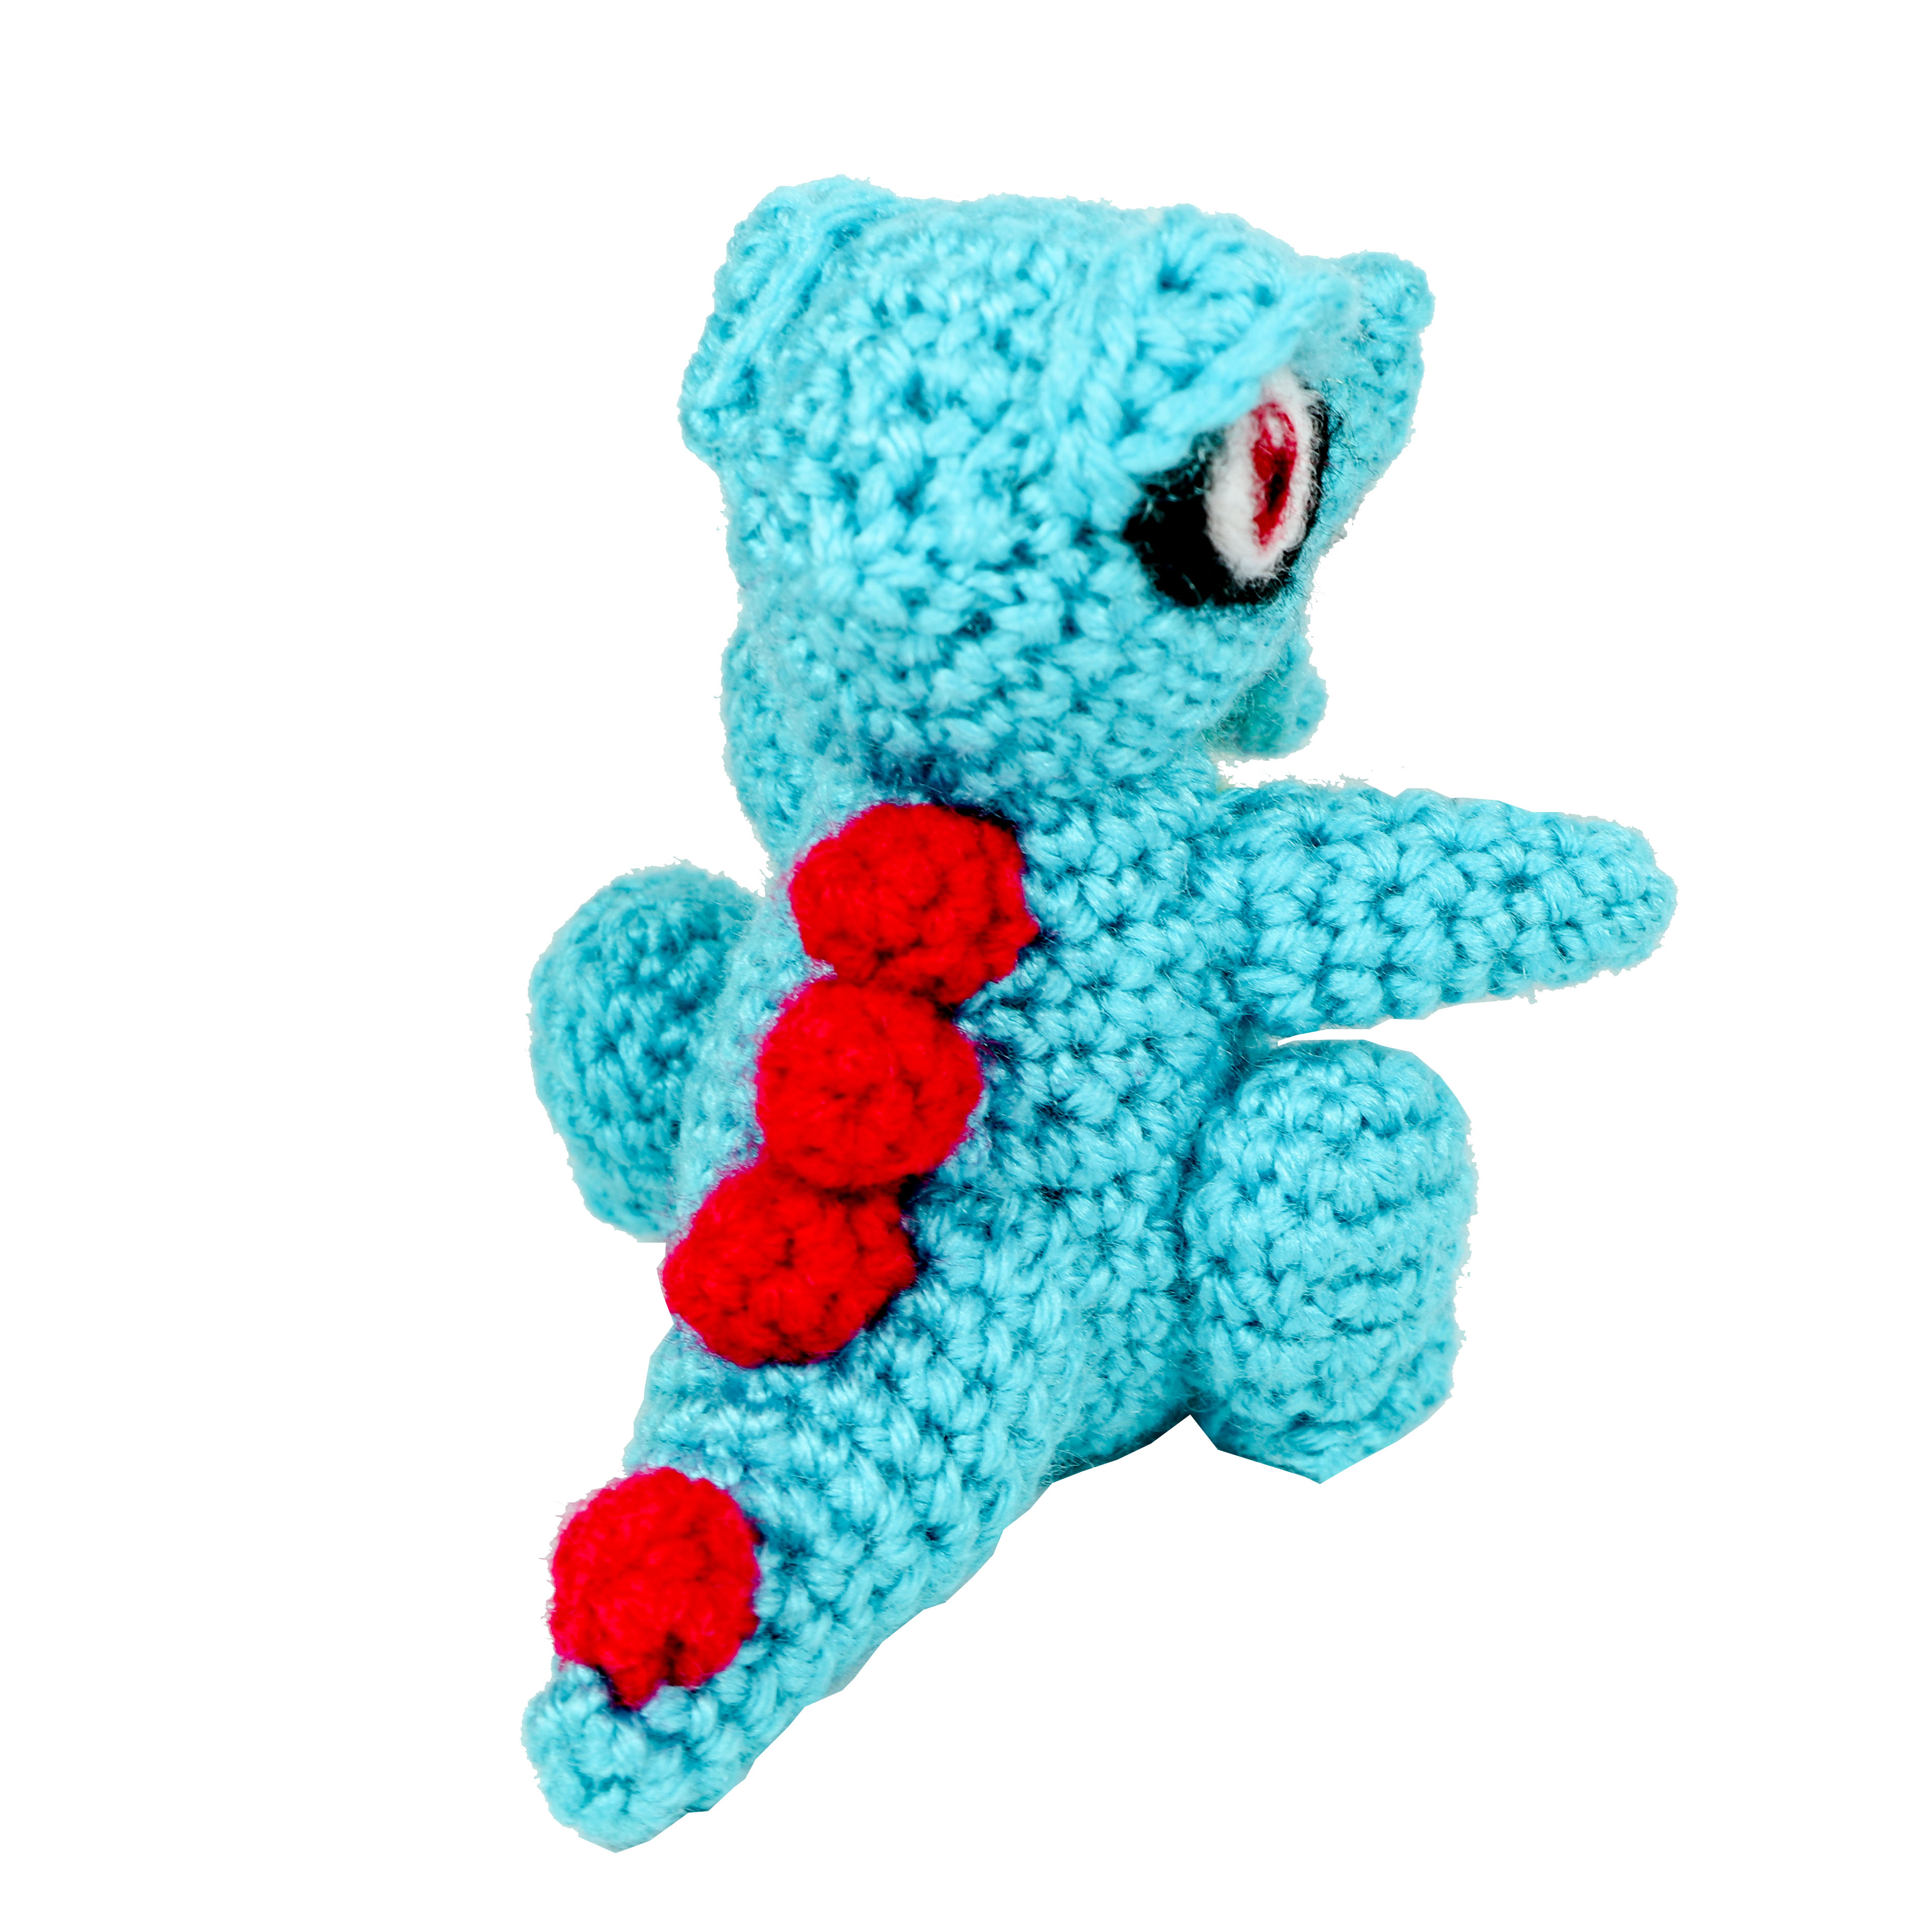
Spikes
Make 4 – using red:
R1. 4 Sc in MR (4)
R2. ‘Inc, Sc’ around (6)
R3. Sc around (6)
F/o leaving a tail for sewing
Chevron
Using yellow:
Row 1. Chain 11
Row 2. Beginning in 2nd chain from hook: Sc 4, inc, Sc 5
F/o leaving a long tail for sewing.
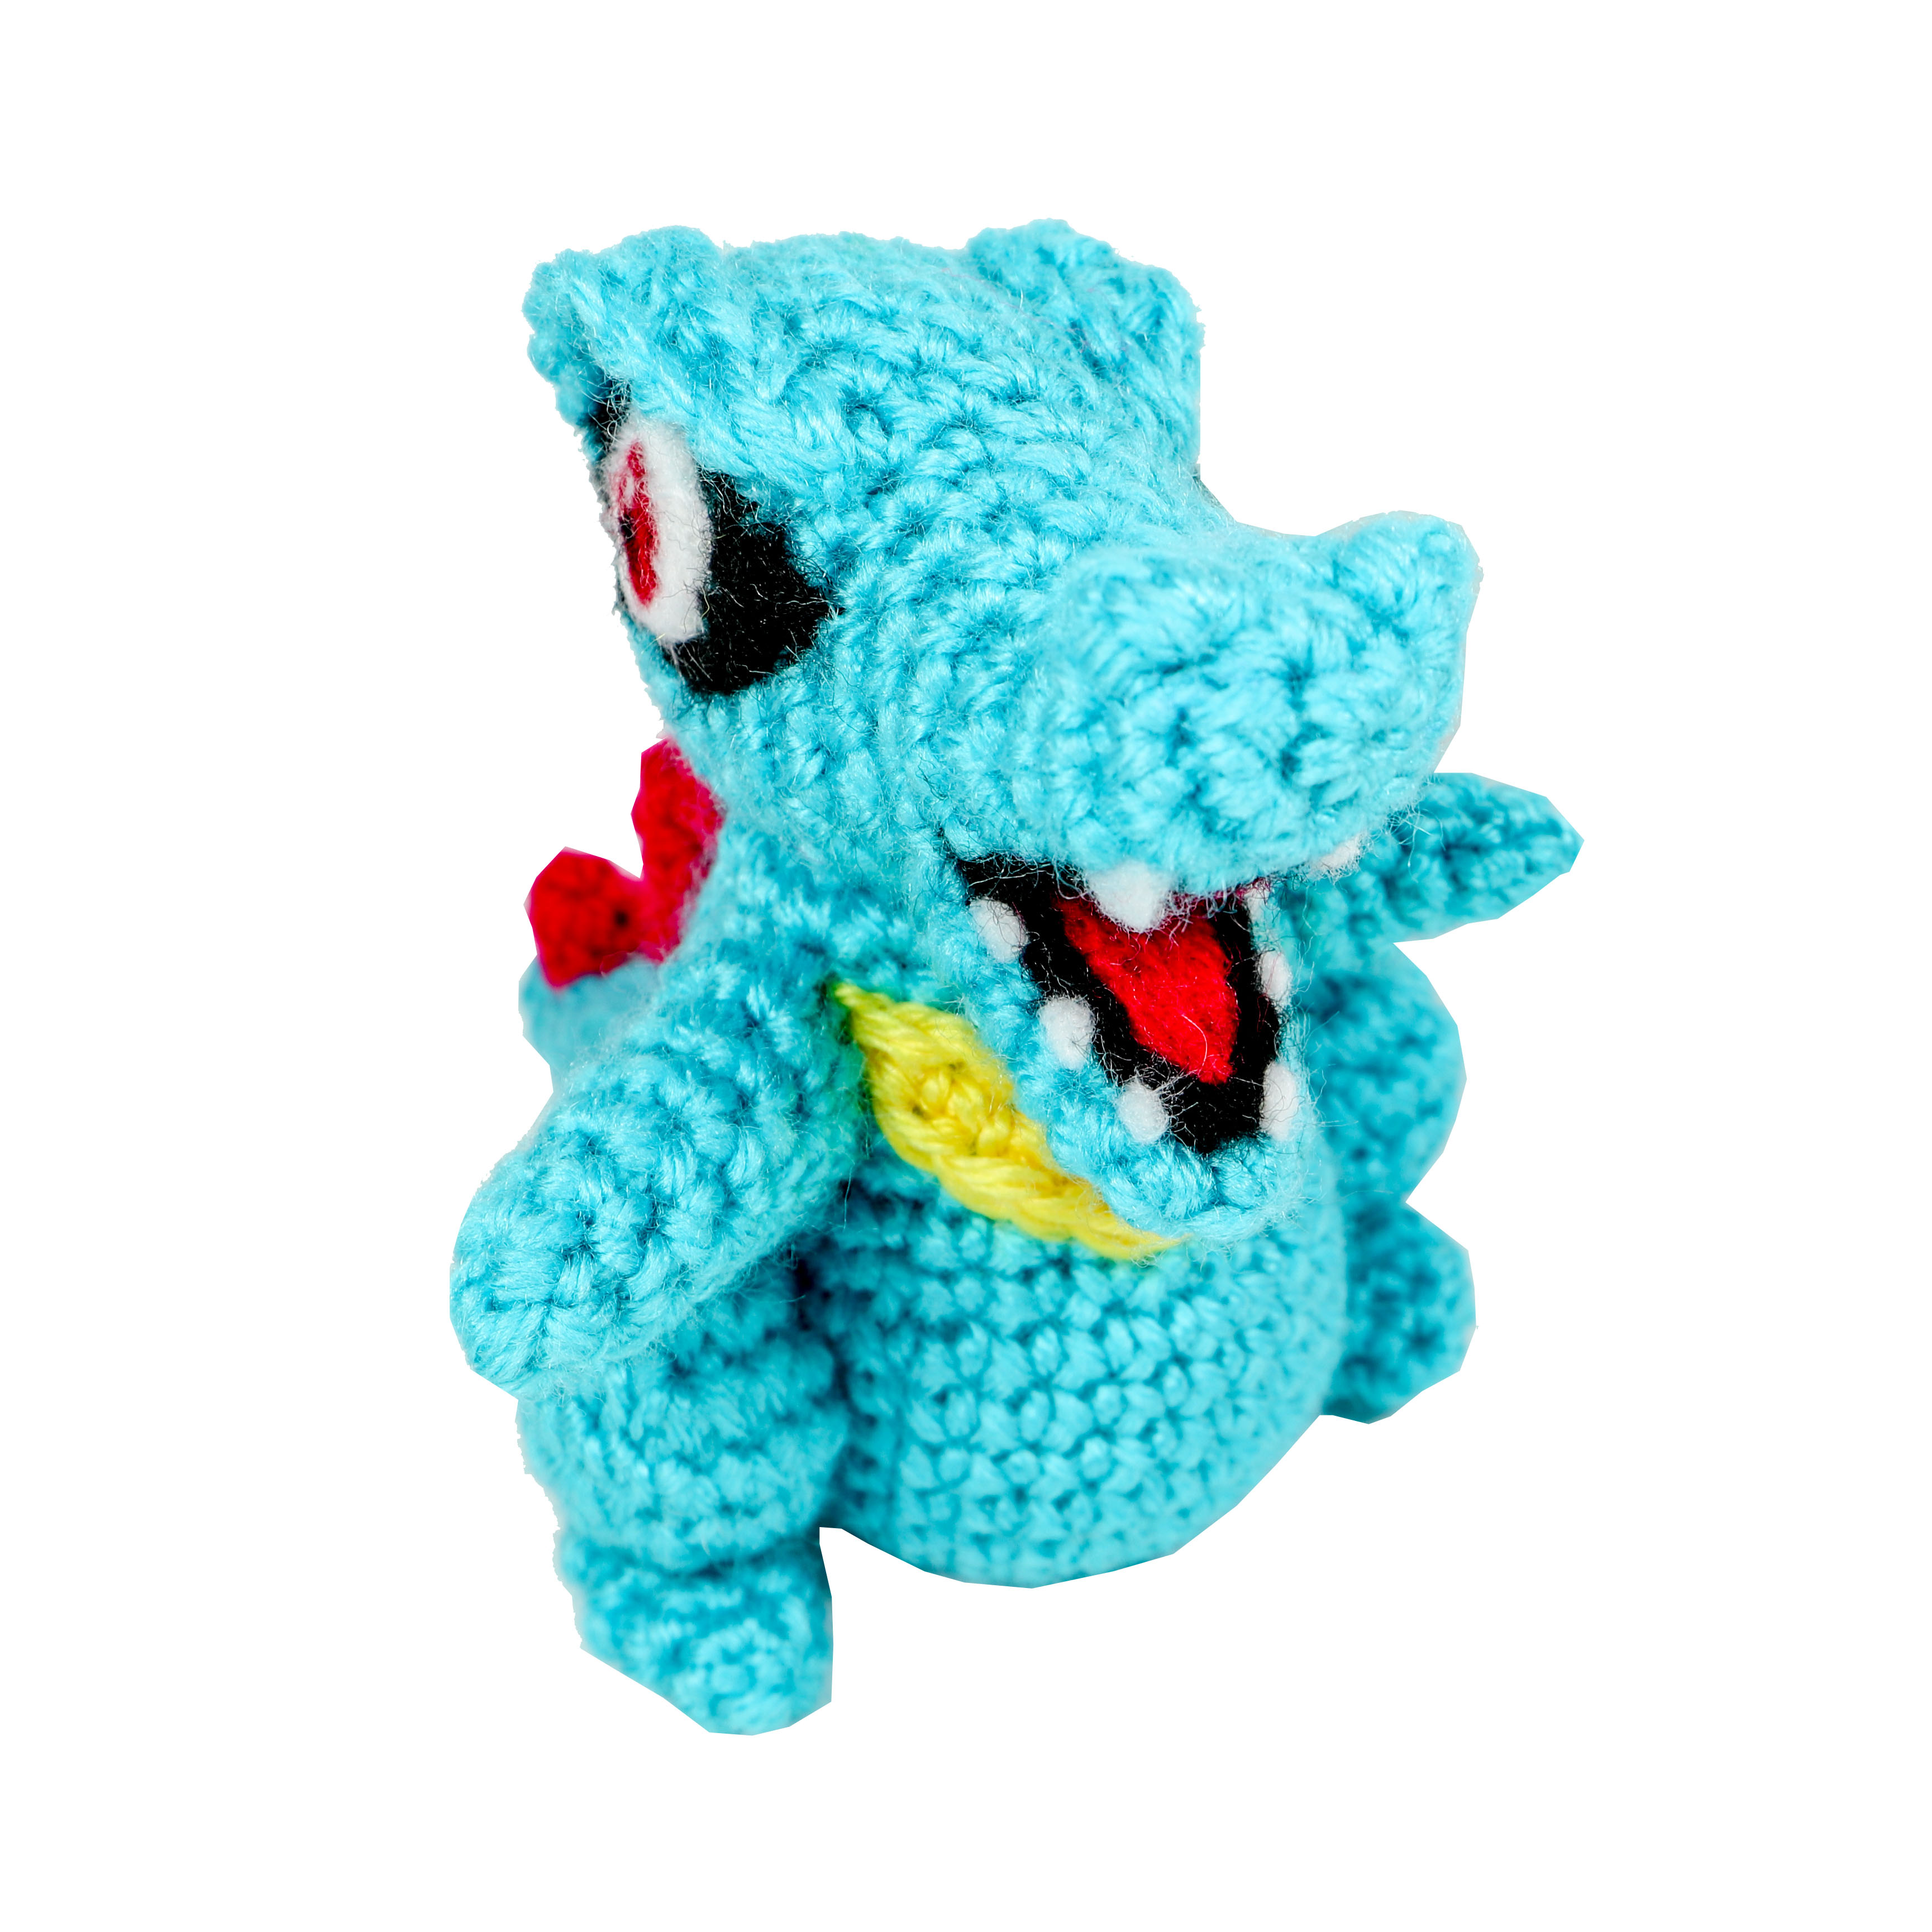
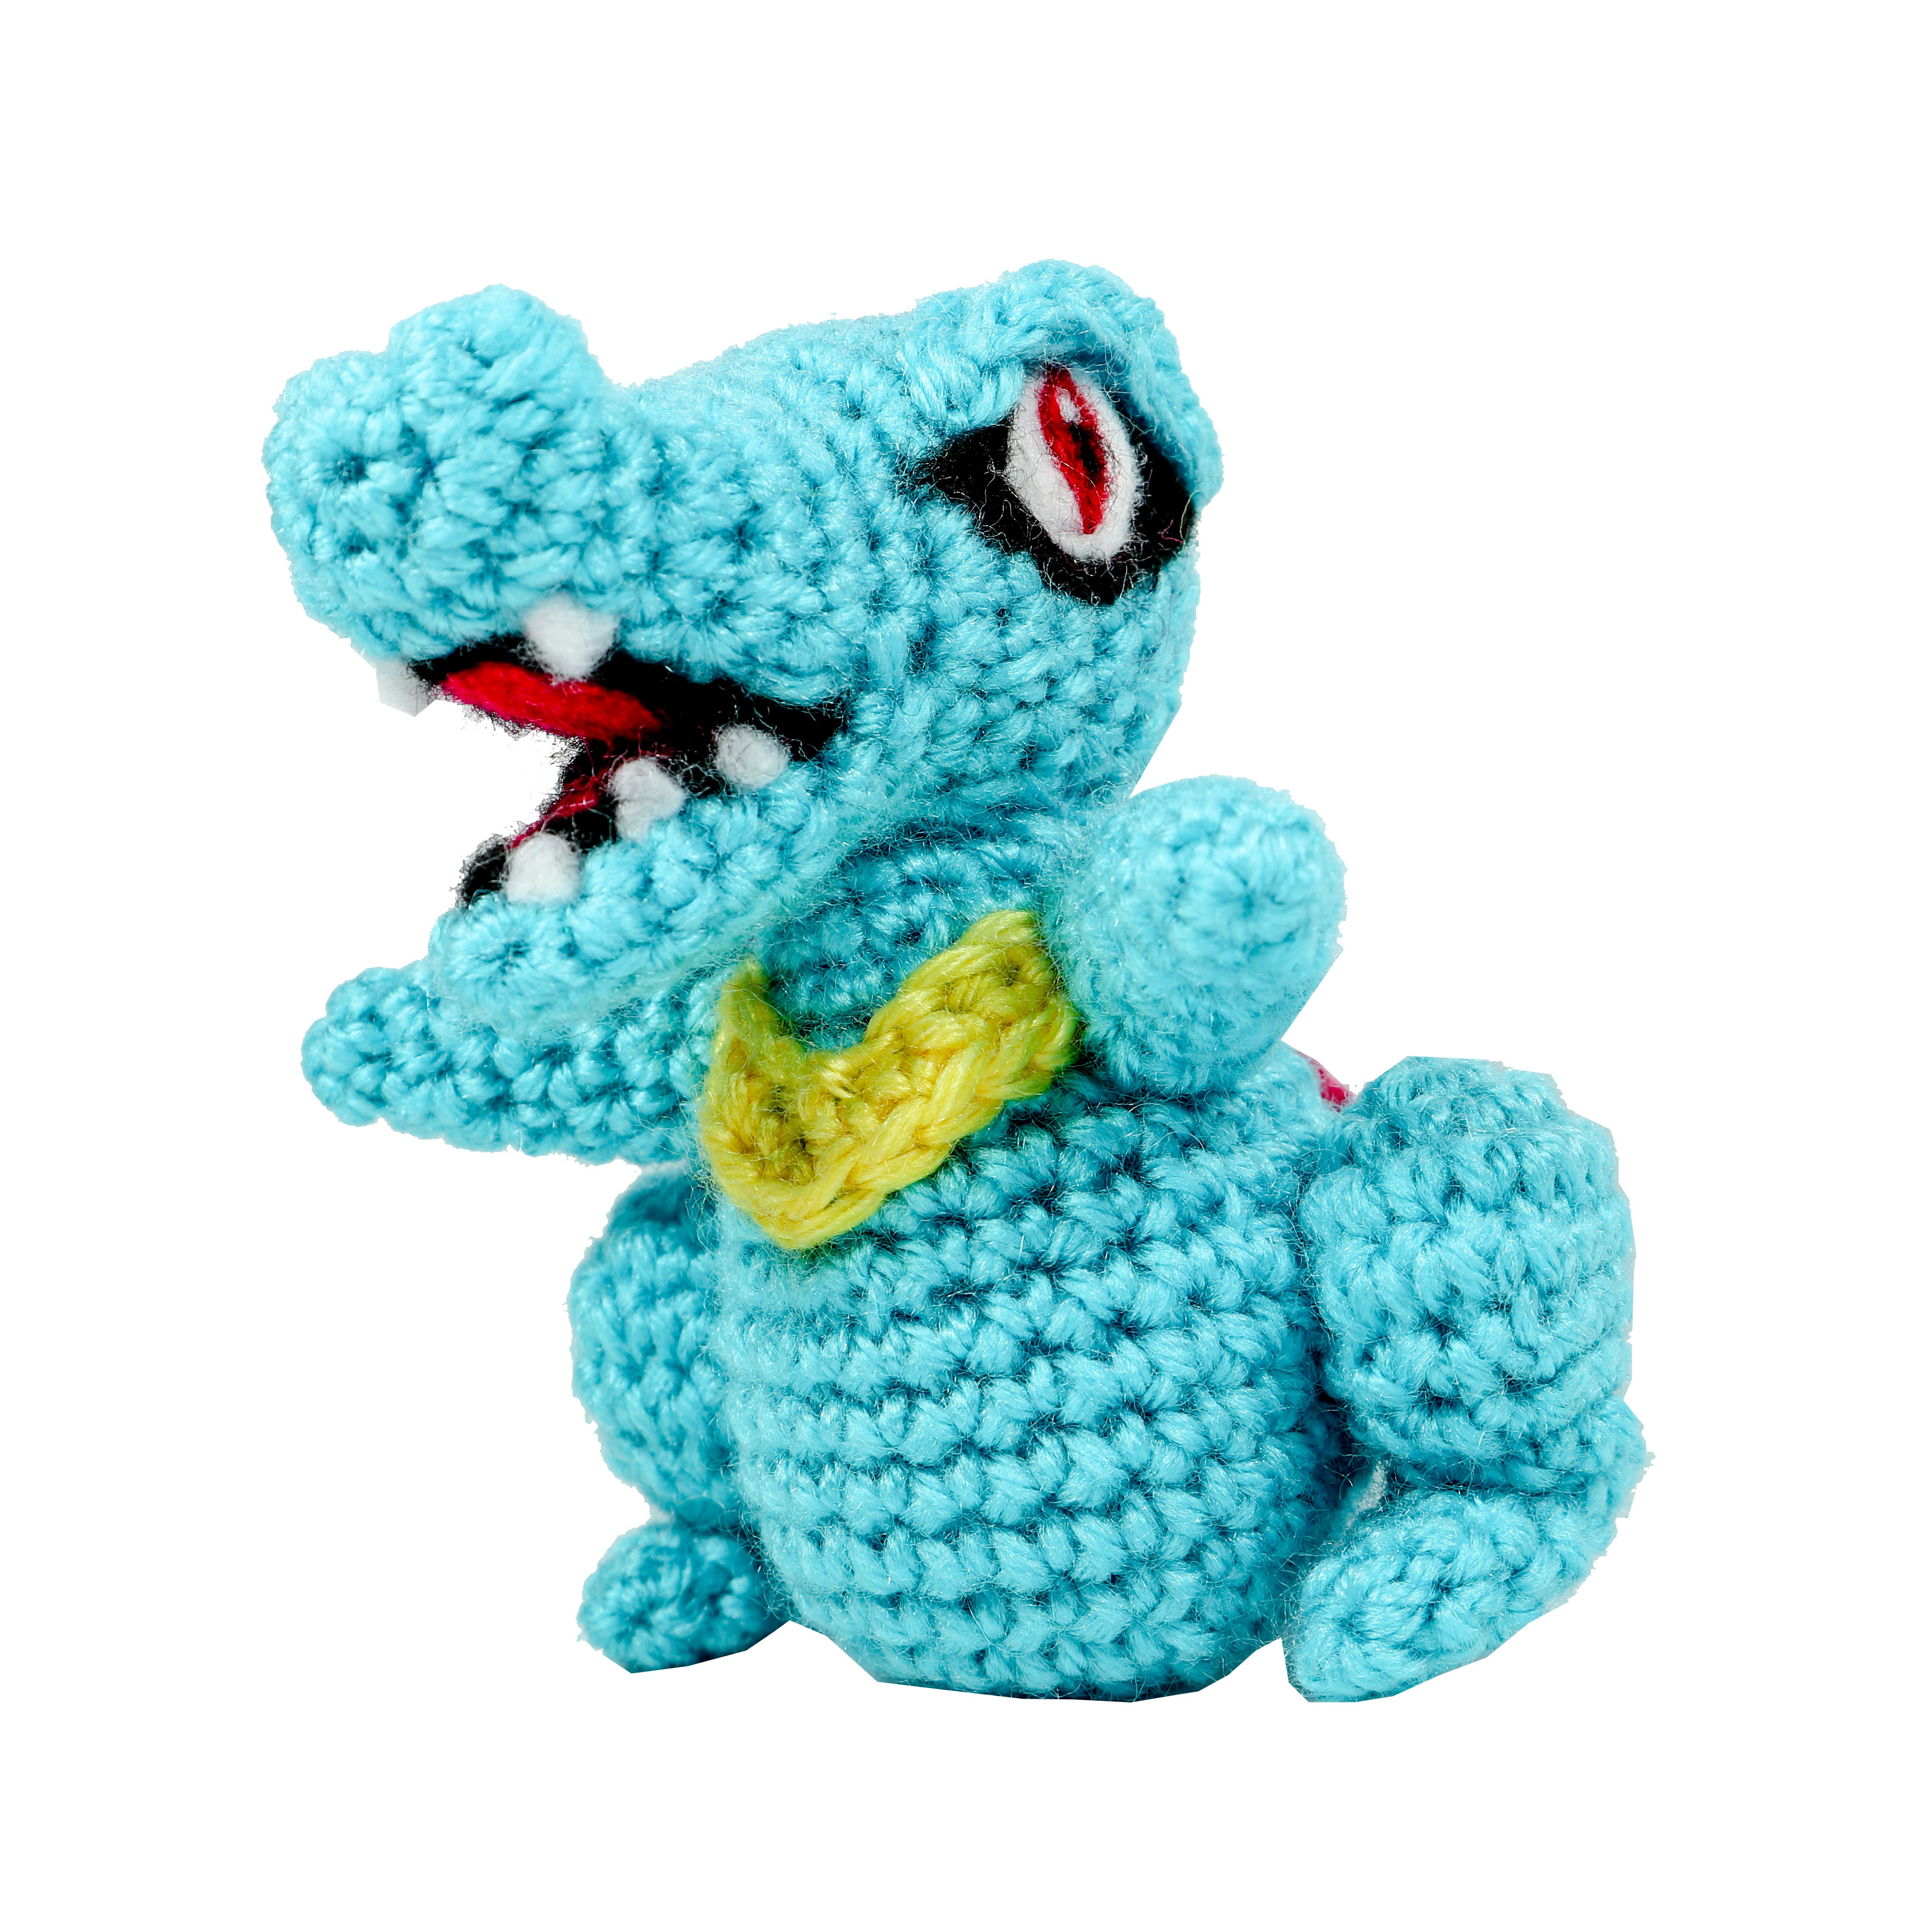
Assembly of Crochet Totodile
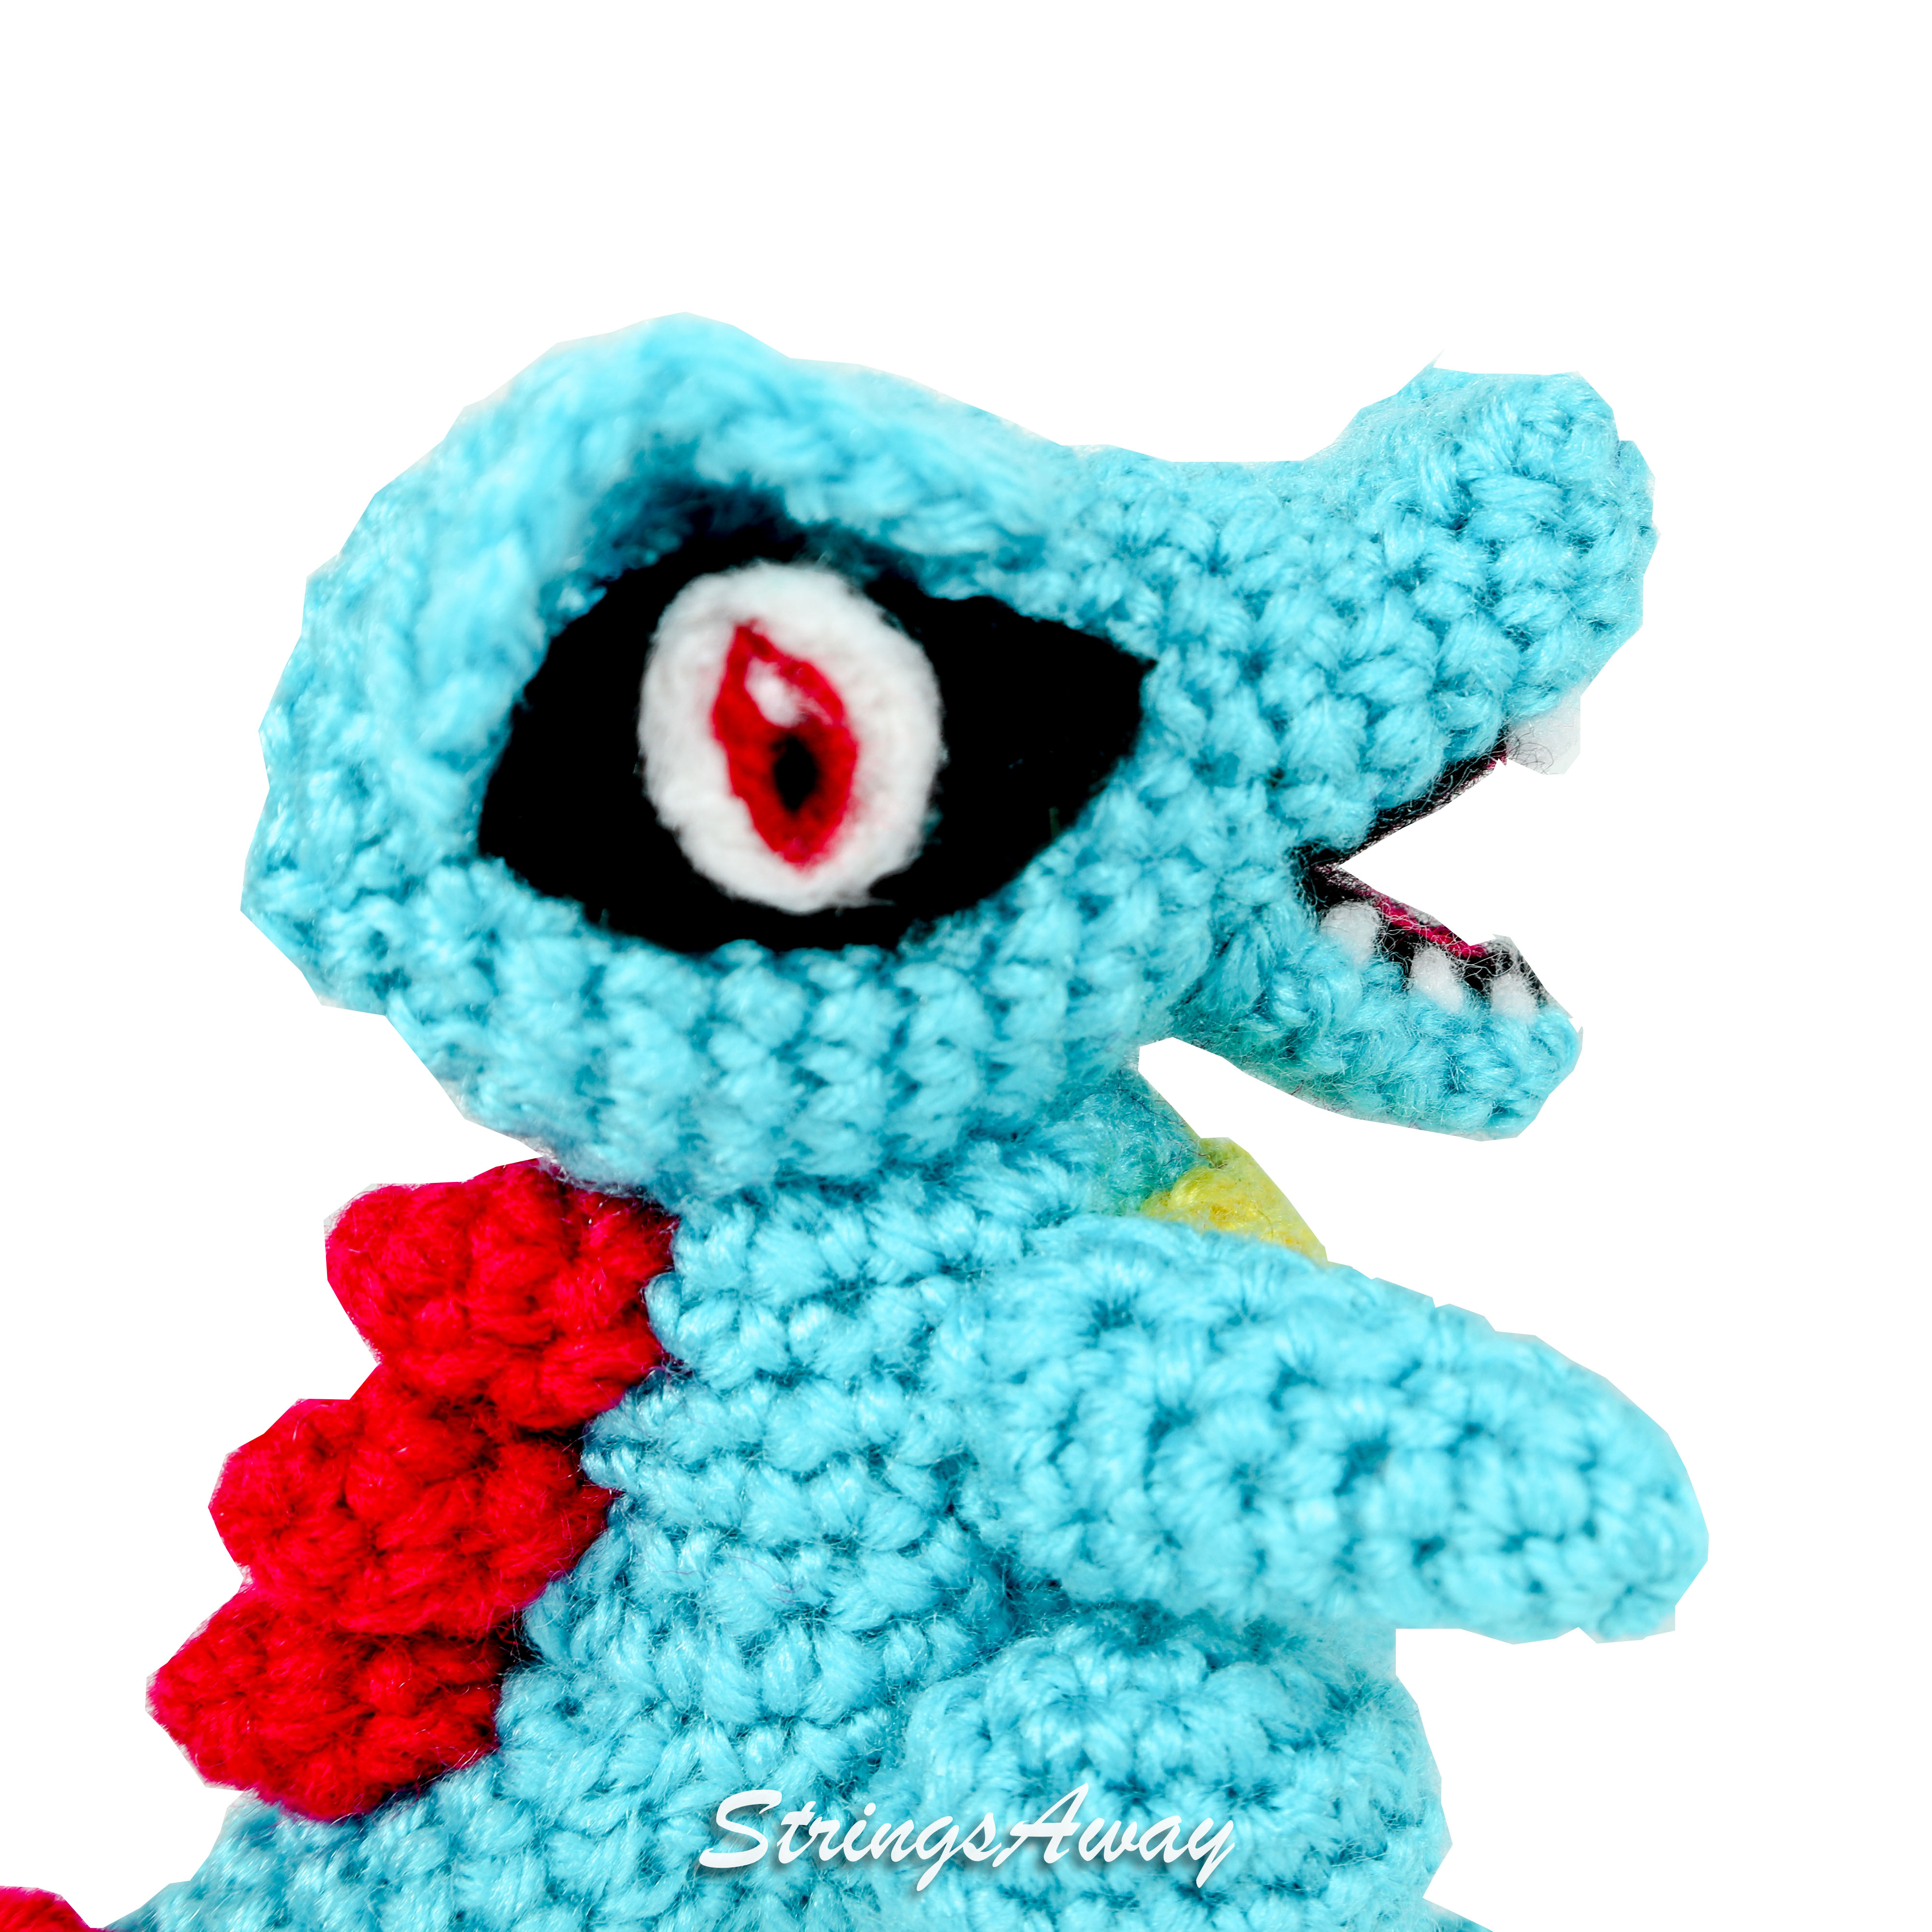
Head: Attach the eyebrows to the sides of Totodile’s head. The more pointy end faces the front and is attached approximately at R9 of the head. Curve the eyebrows slightly leaving an arched space for the eyes beneath.
Legs: Attach the feet to the bottom of each leg such that the flat heel entirely covers the hole of the bottom of the leg.
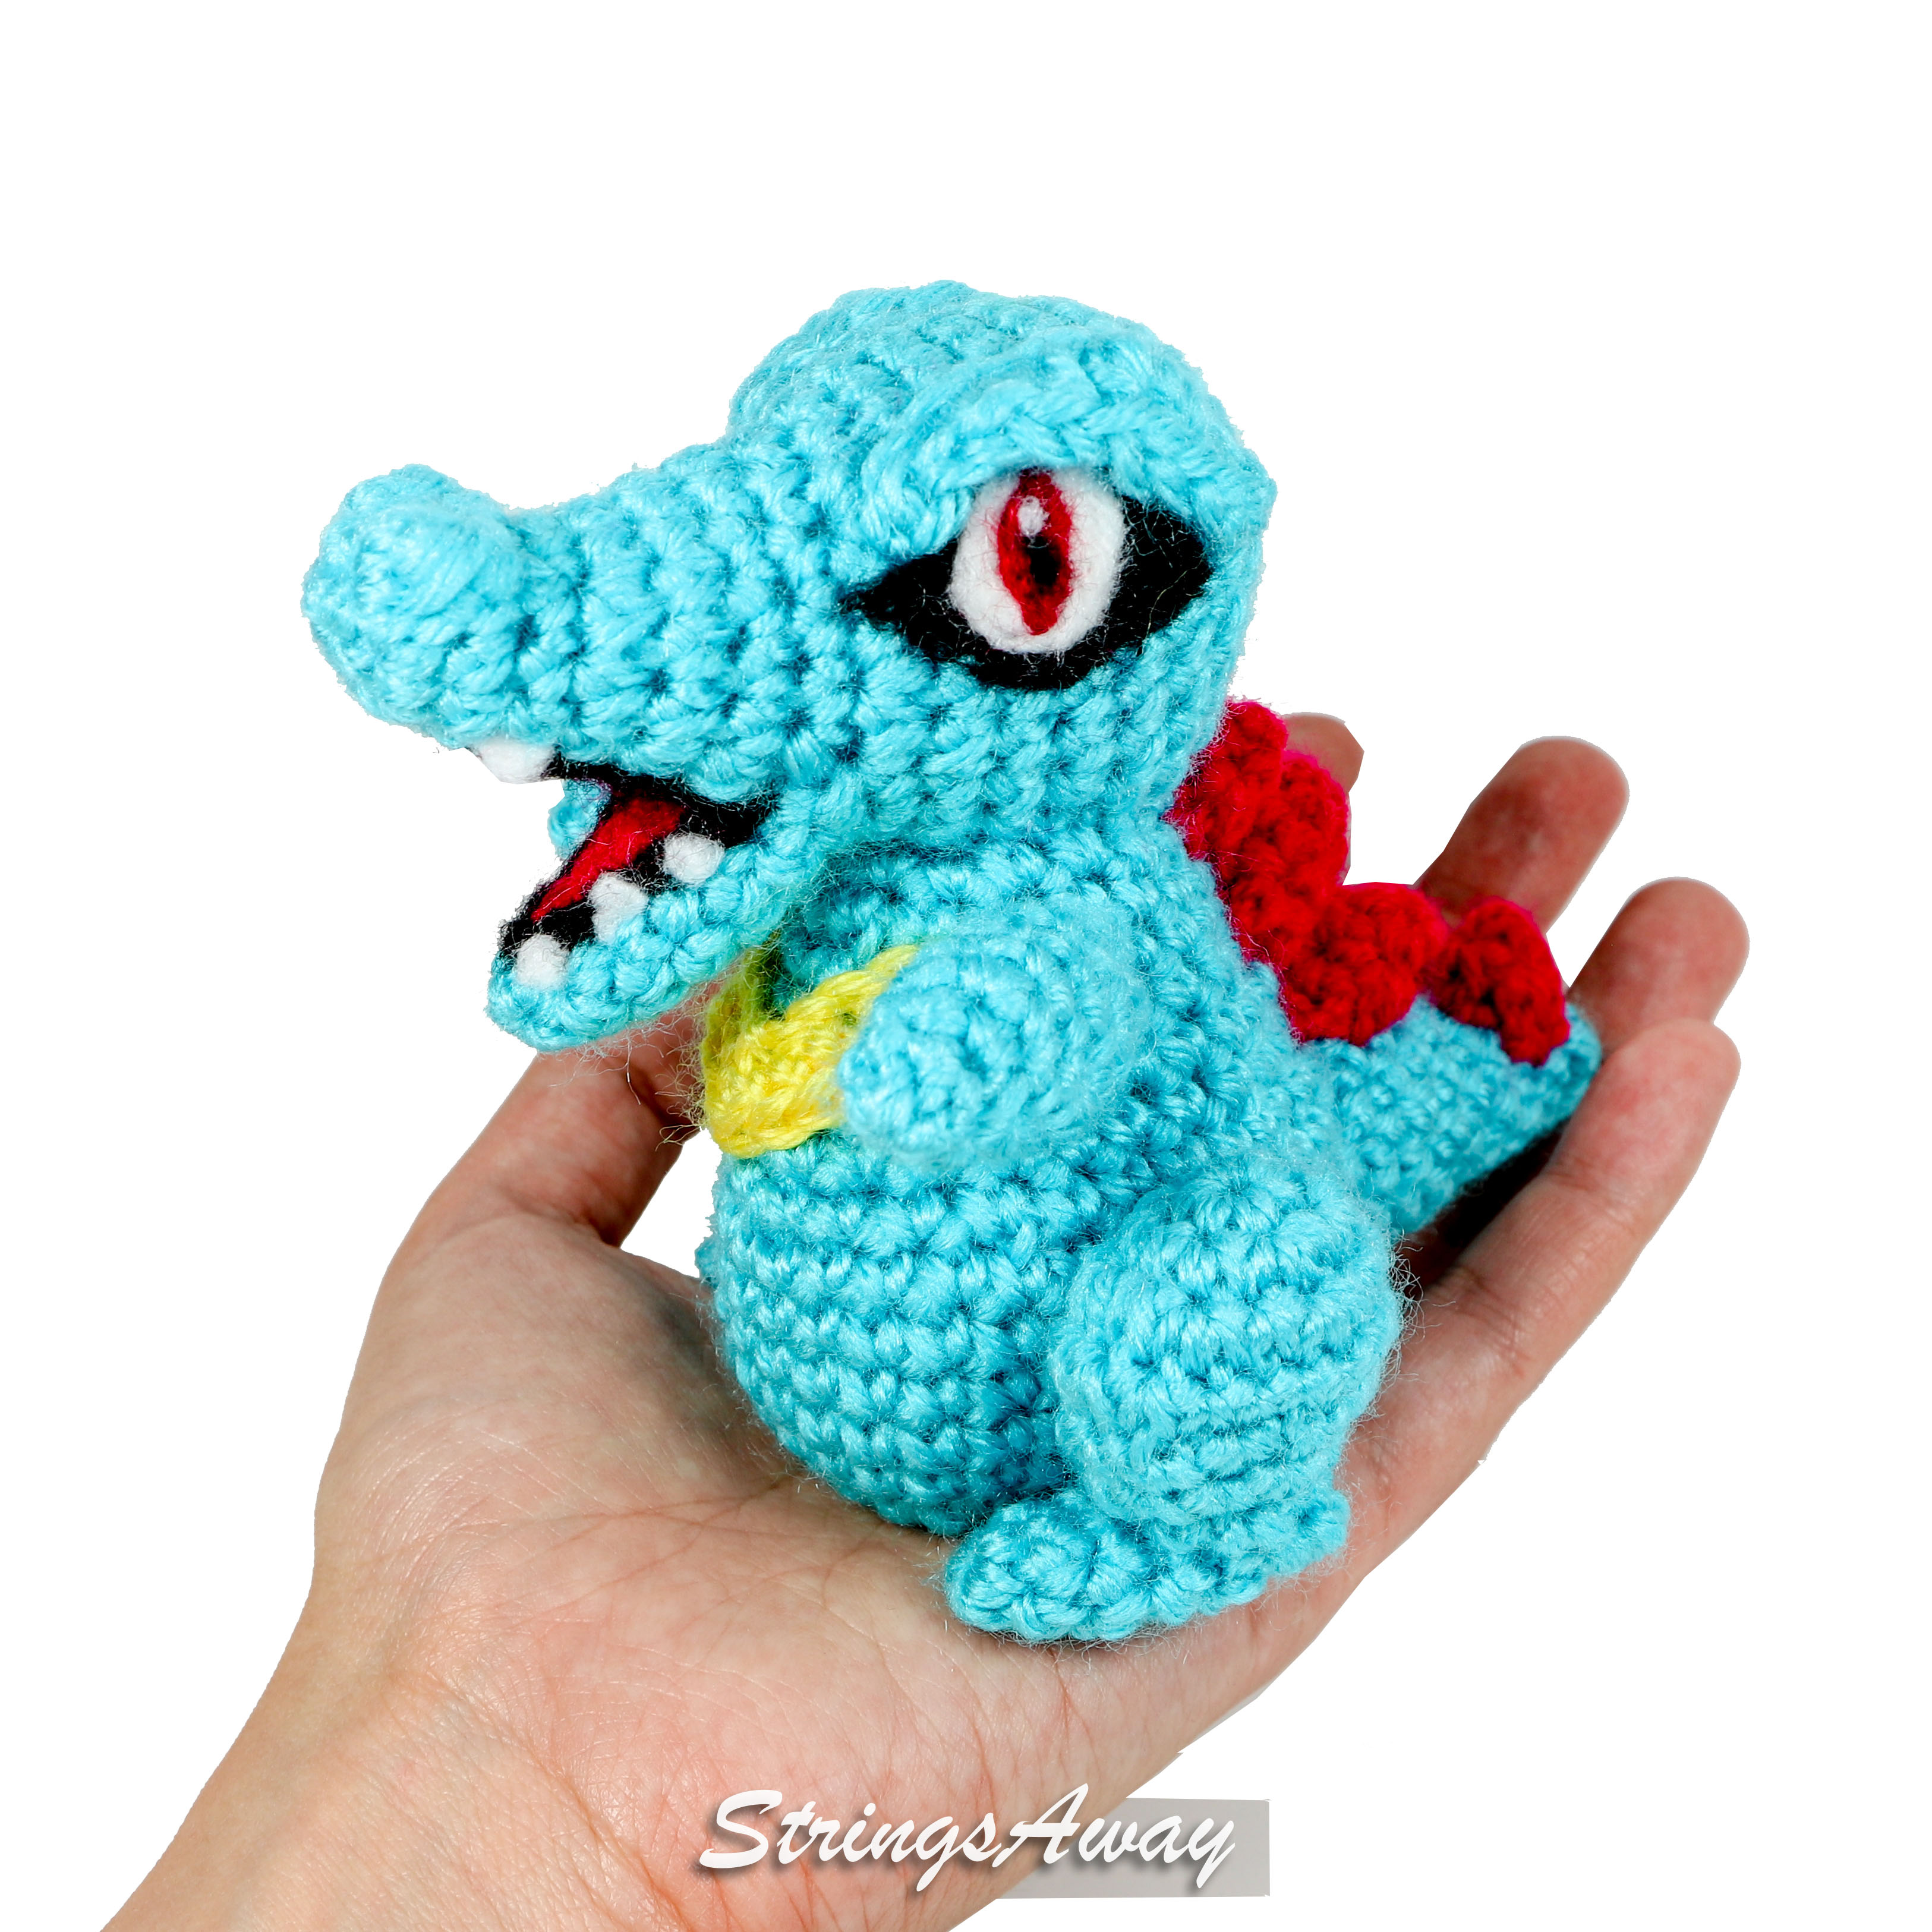
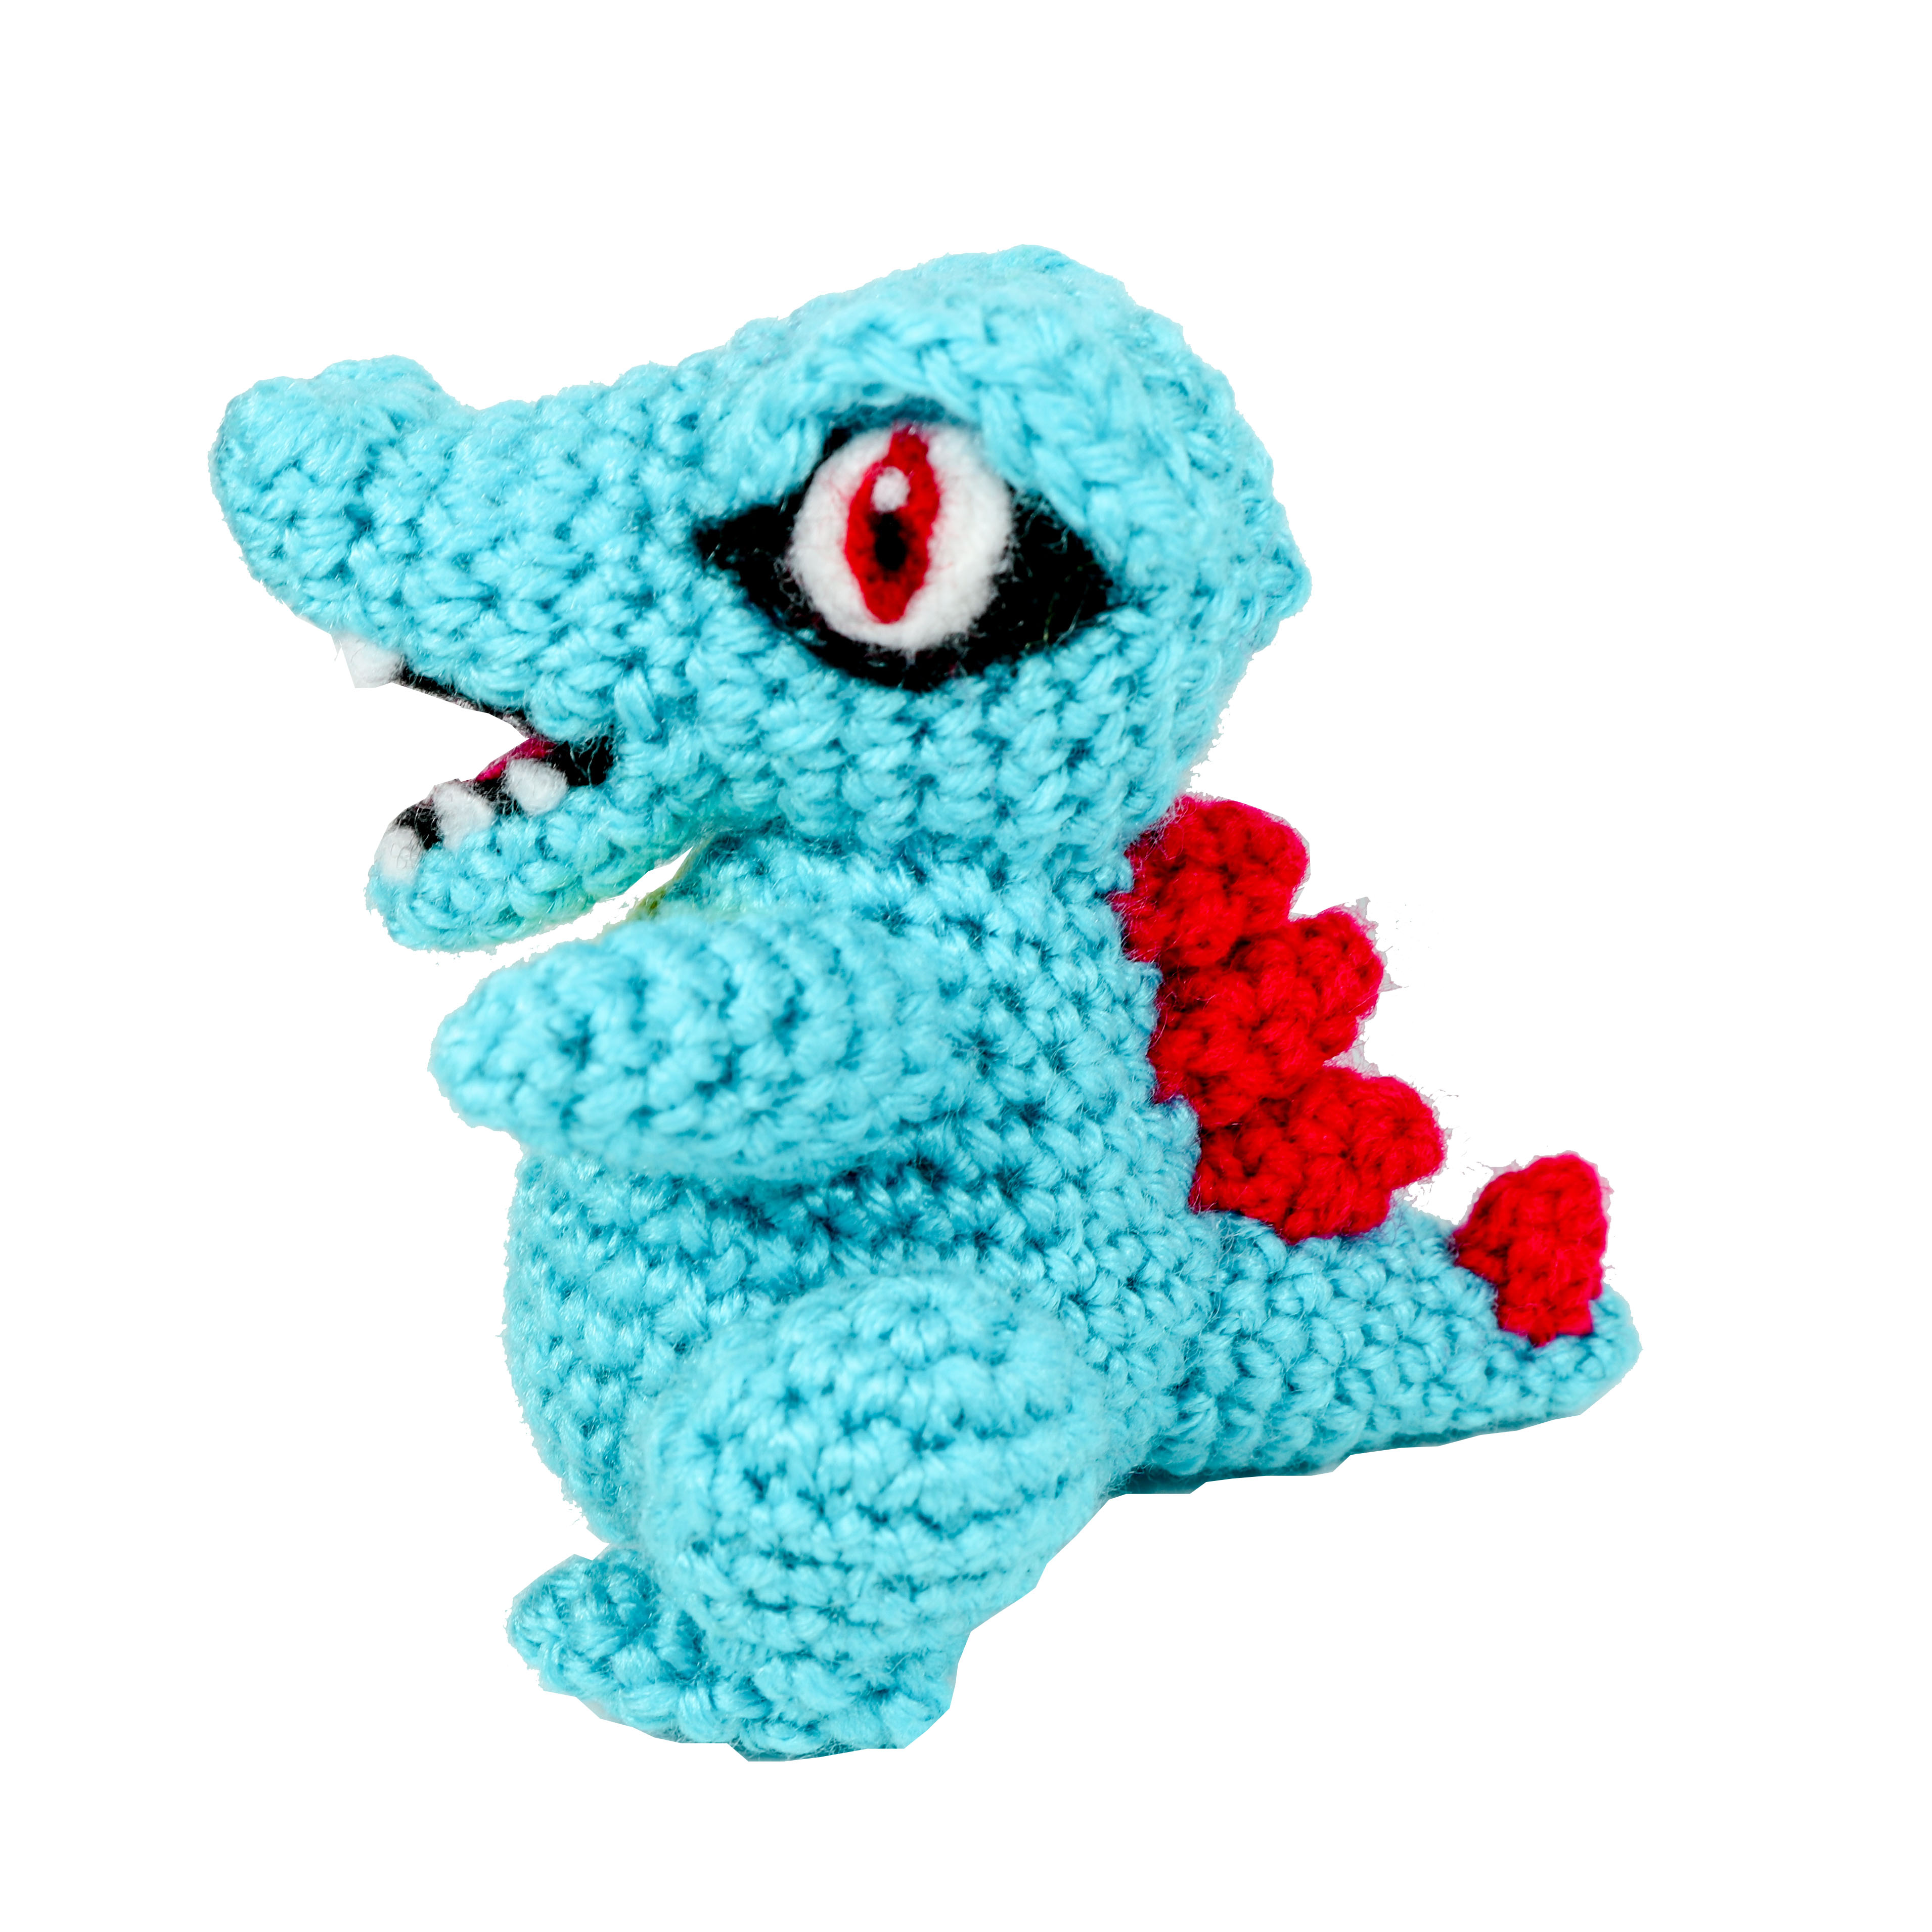
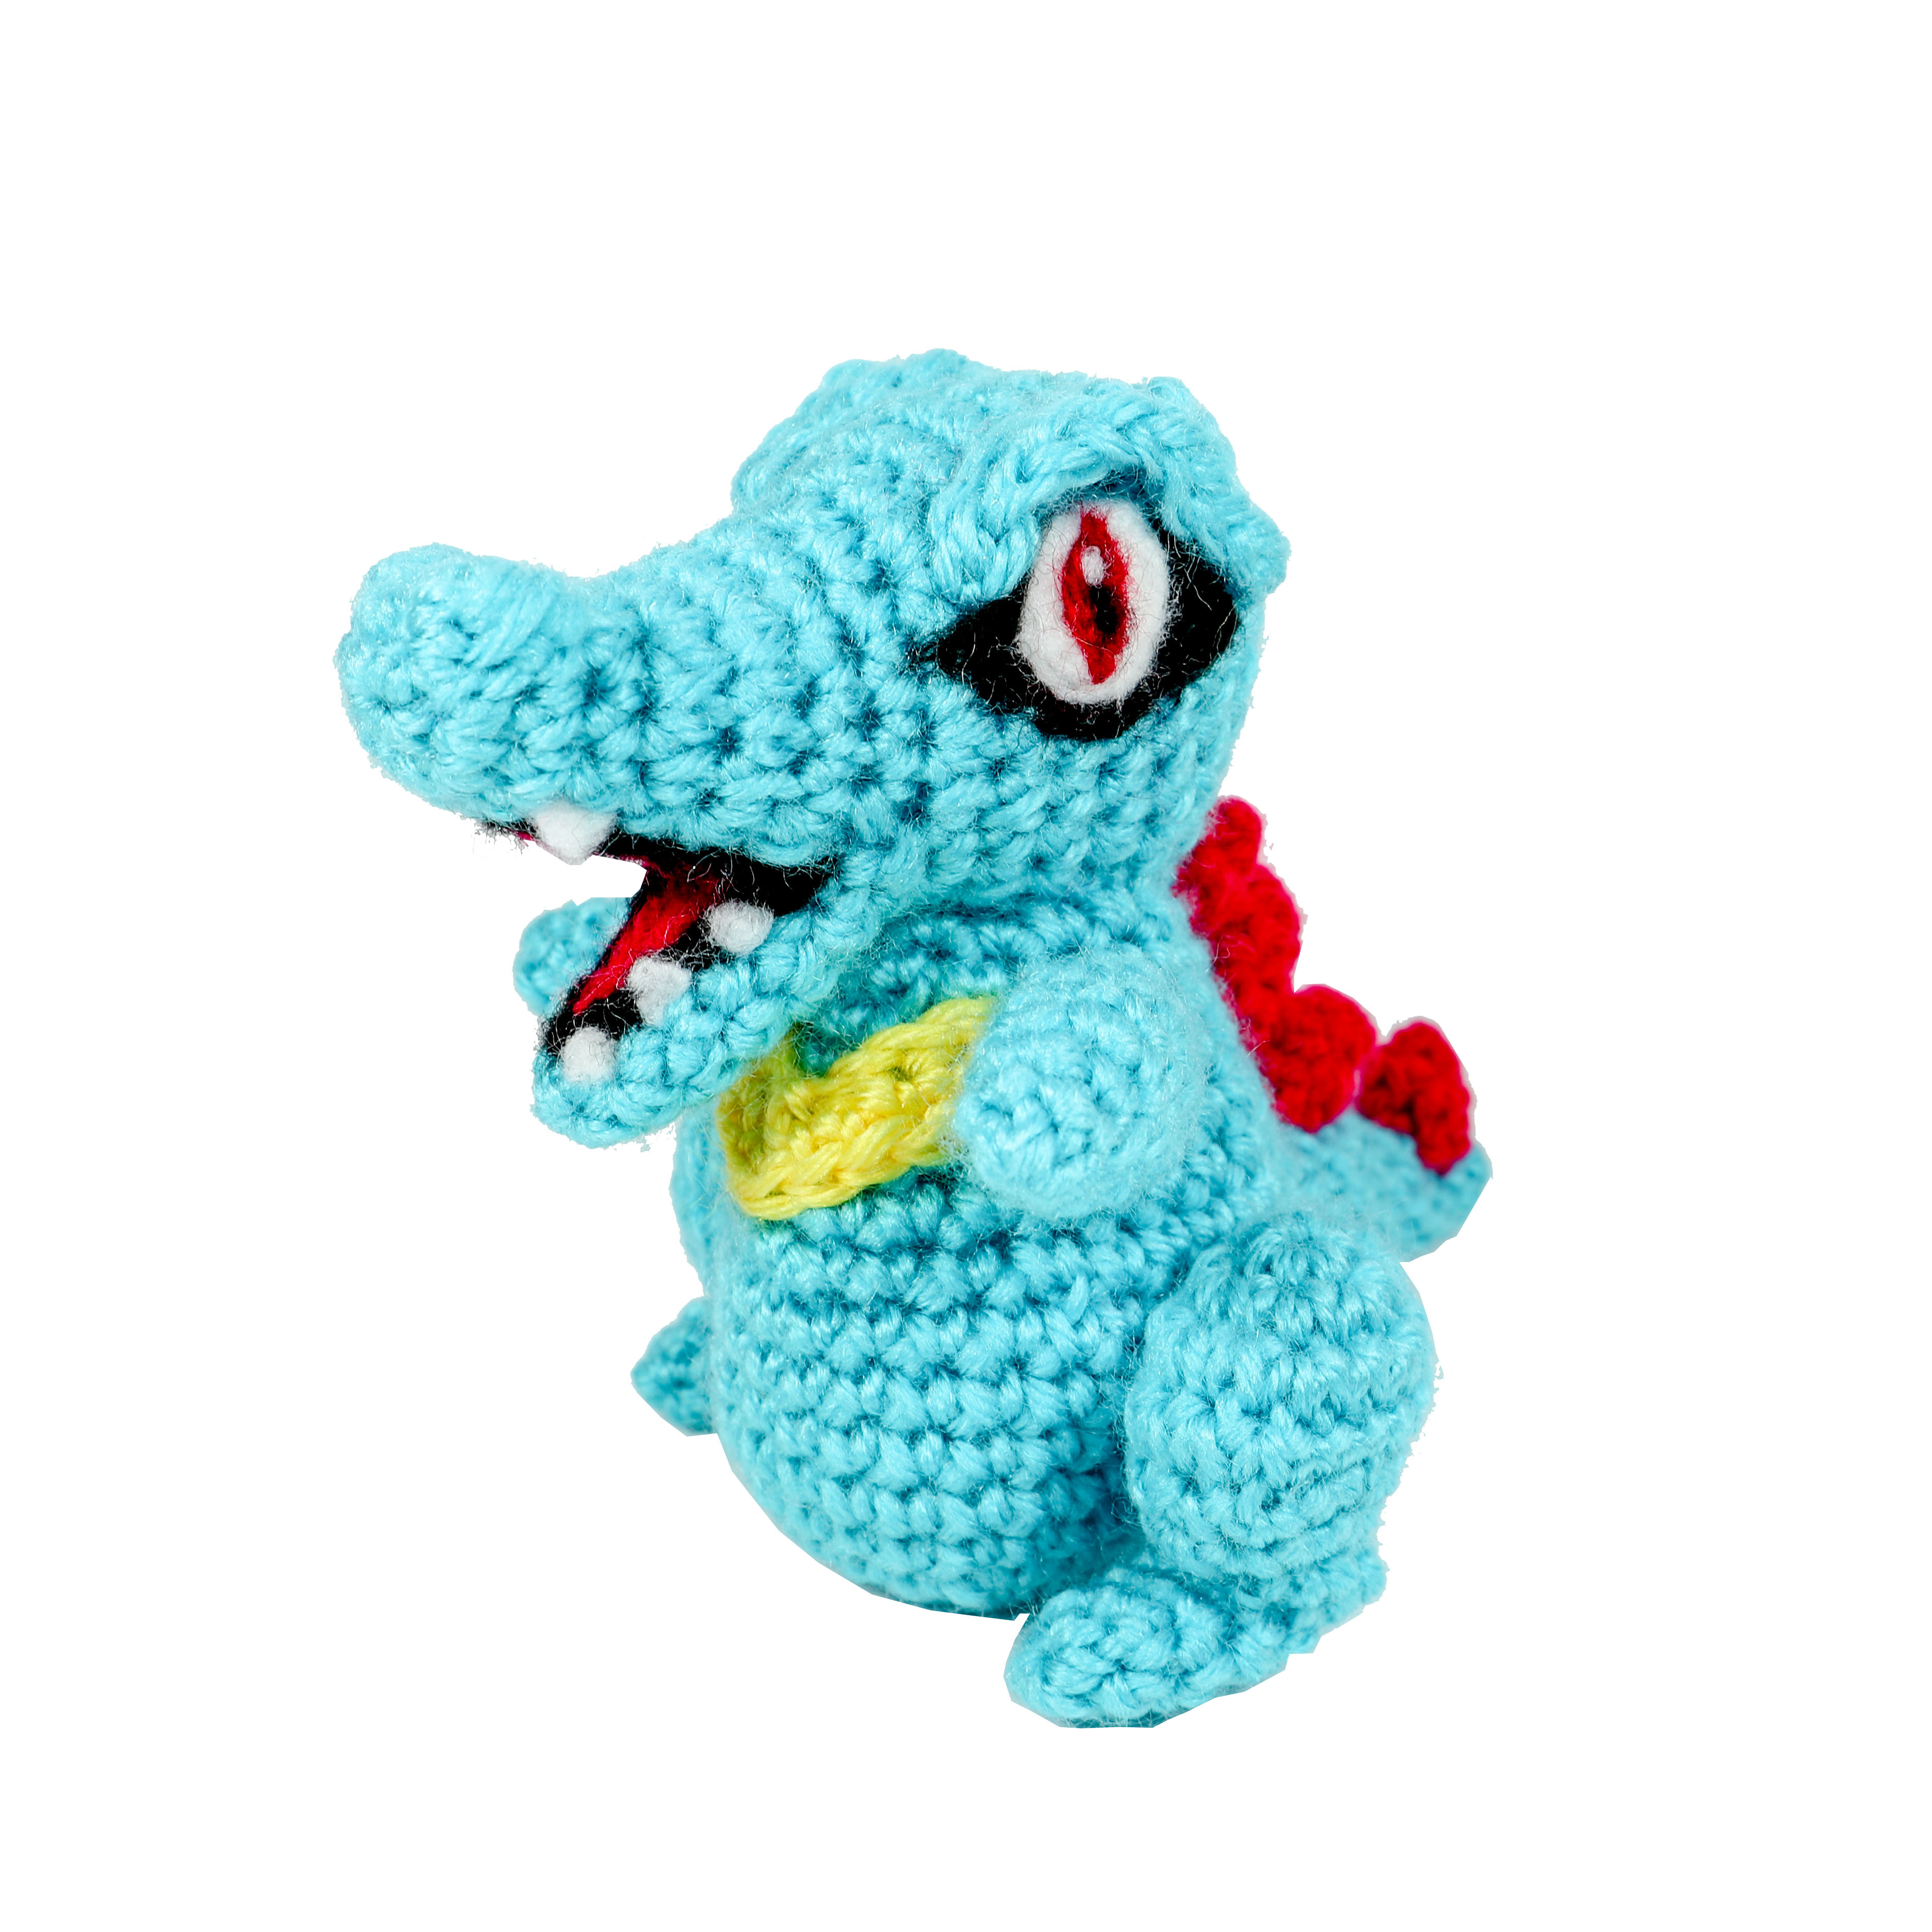
Body: Attach the head to the top of the body, the tail to the back, and the legs to either side. Attach the yellow chevron at the chest and the arms at either end of the chevron, angled outward.
I hope you enjoy your amigurumi Totodile!
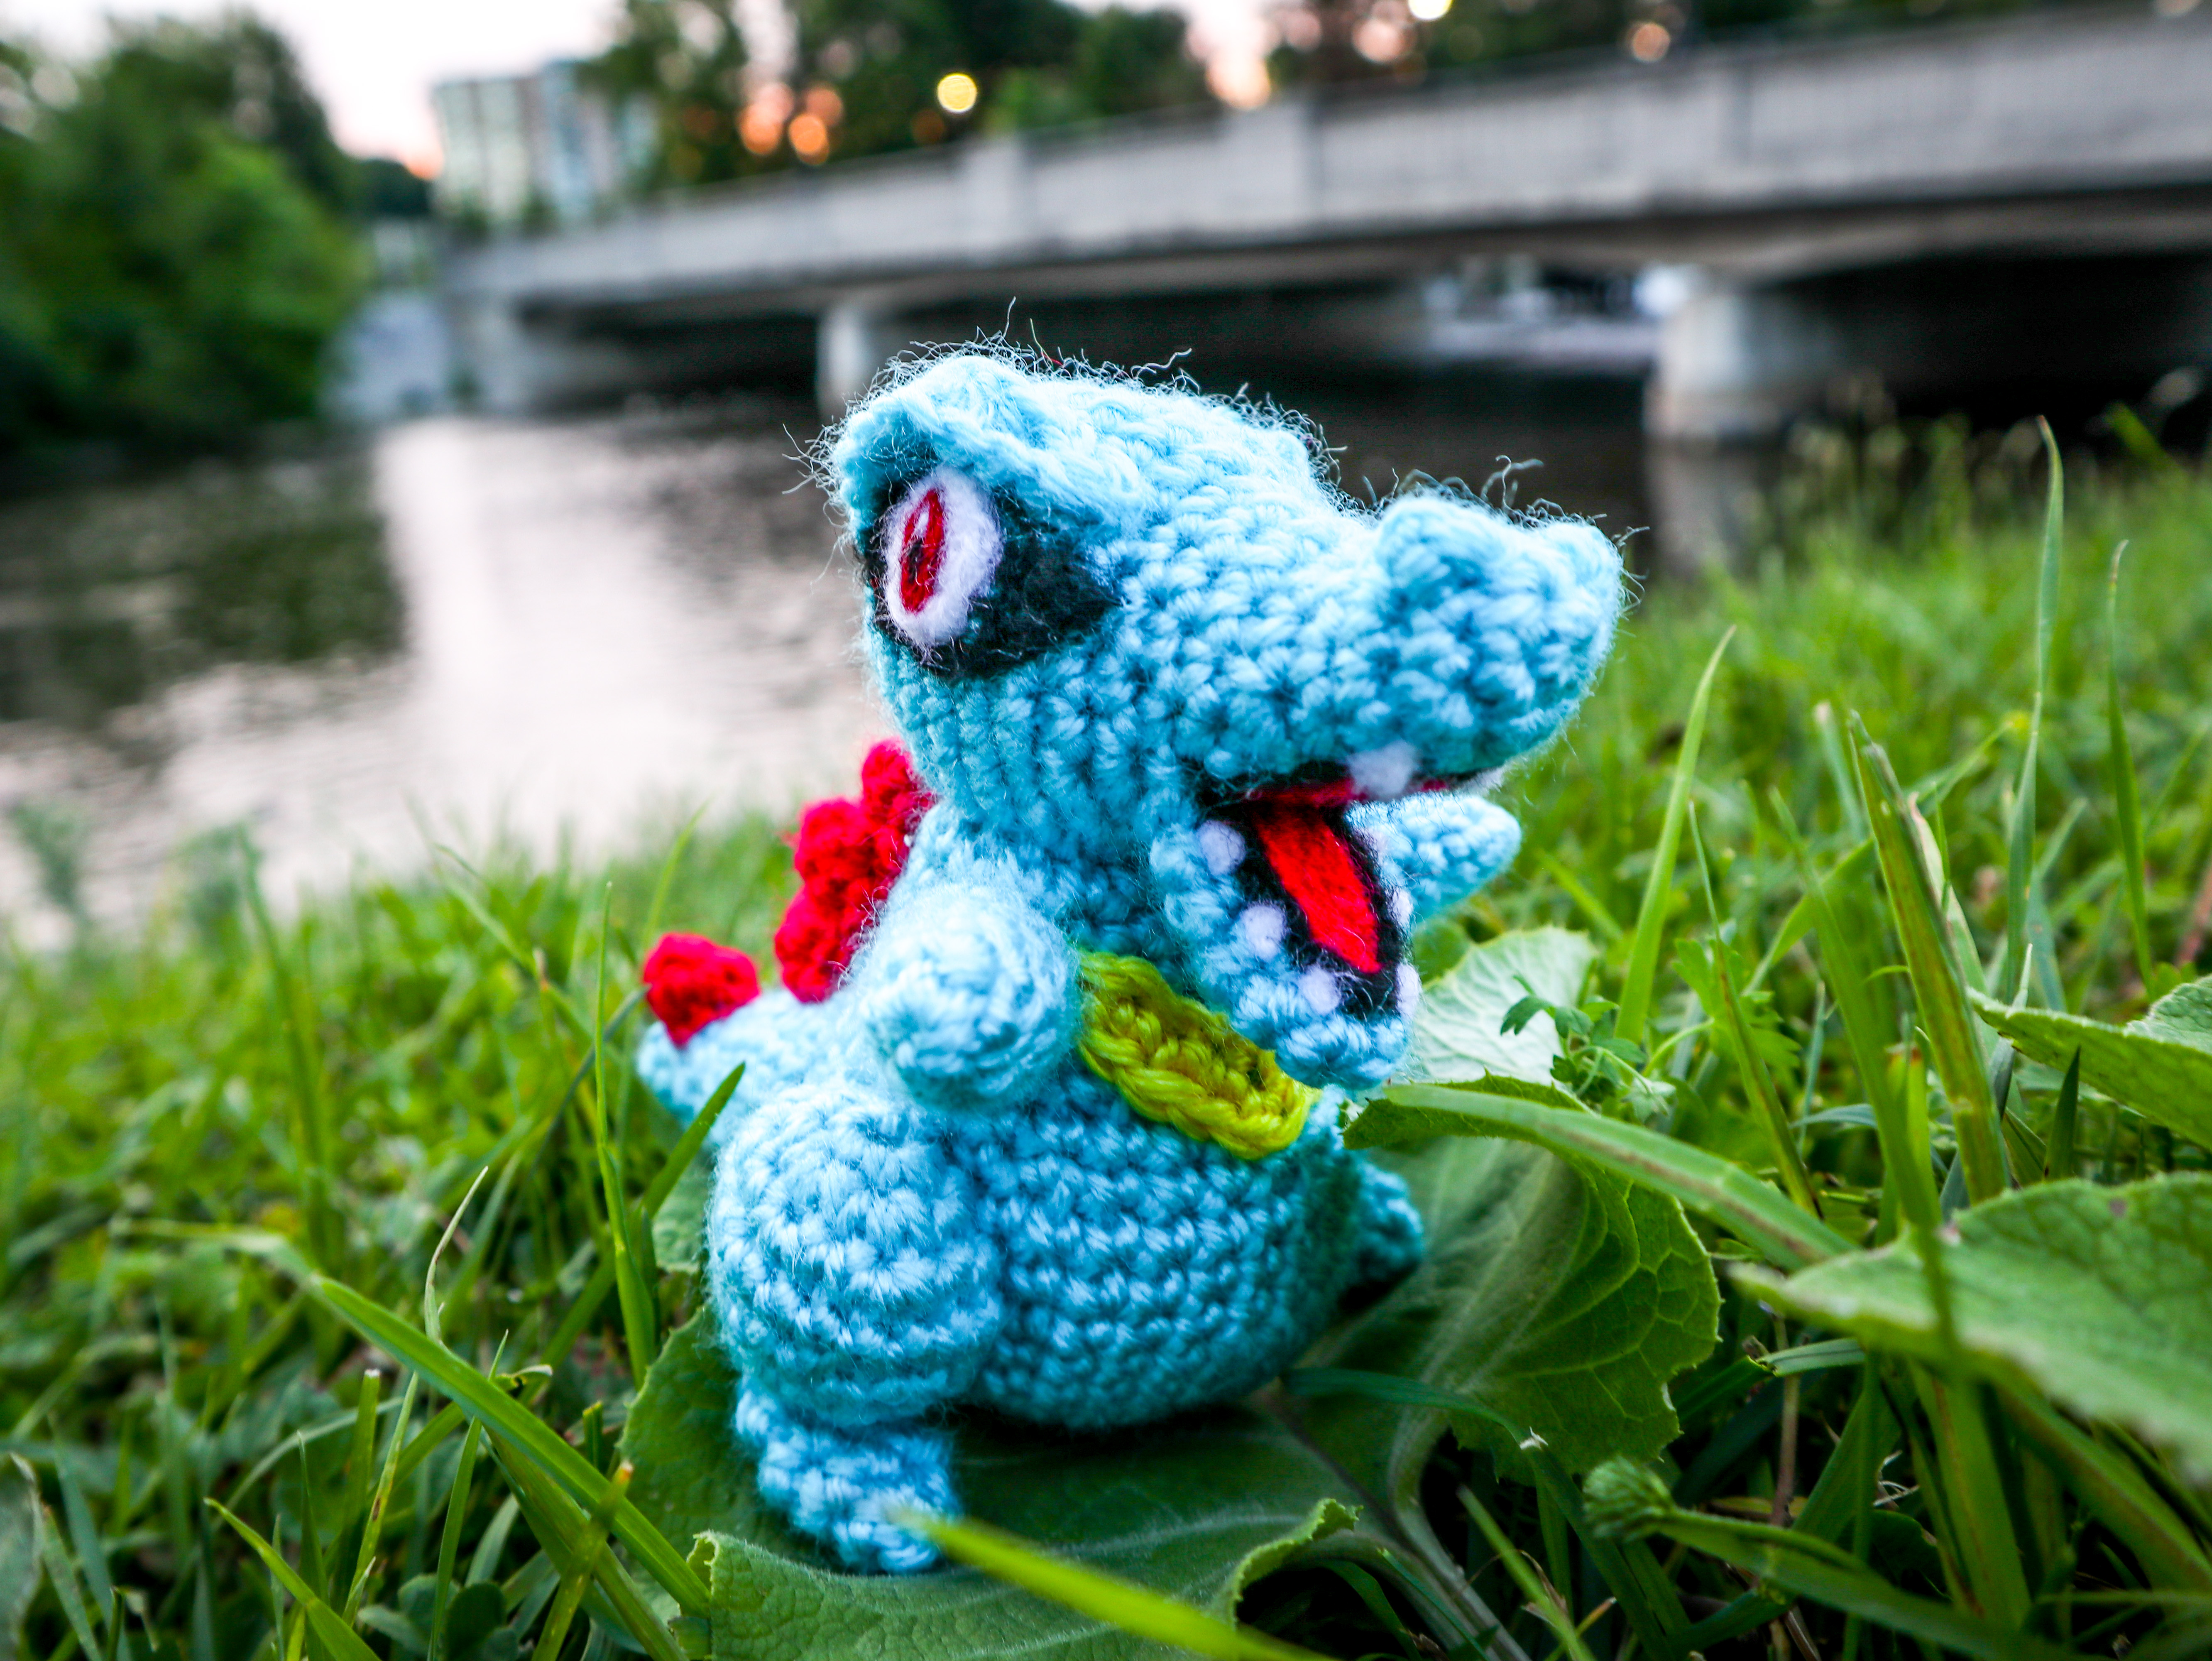 Totodile struggles to view the sunset behind him along the river in Preston, Cambridge, Ontario Canada
Thank you for trying this pattern – I hope you enjoy your Amigurumi Totodile!
Click here to purchase a downloadable pdf version of this crochet pattern
This pattern by StringsAway is for personal use only. Please do not sell or redistribute the pattern as your own.
Leave a Reply
5 Responses
Pamela
Hello!
My name is Pamela. Im from Brazil.
I saw the Totodile Pattern but I don’t know how you made the eyes.
Please, could you teatch me how to do this?
Thank you very much!
Lisa
Hello! Thank you so much for visiting my site. The eyes were made by needle felting extra yarn ends. Here is a video I made on how to do this- for a different pokemon, but the technique is the same. https://youtu.be/cbFUBU7xltk . I hope that helps! – Lisa from StringsAway
Missybumble
Hi, I love your patterns! I just finished Turtwig and I just started your Totodile.
I am stuck on row 3, the bobble stitch. Could you help please?
Missy
Lisa
Hi! Thanks so much for trying out the pattern! Hm for bobble stitch maybe check out the video on the Buneary pattern – ‘ Body’ section . Hopefully that helps give a visual to the written description of the stitch. Let me know if you still have trouble !
Missybumble
Hi Lisa,
Thank you! I have finished crocheting now and I am seeing the parts together.
He is looking cute! Thanks for the lovely patterns ?
Missy