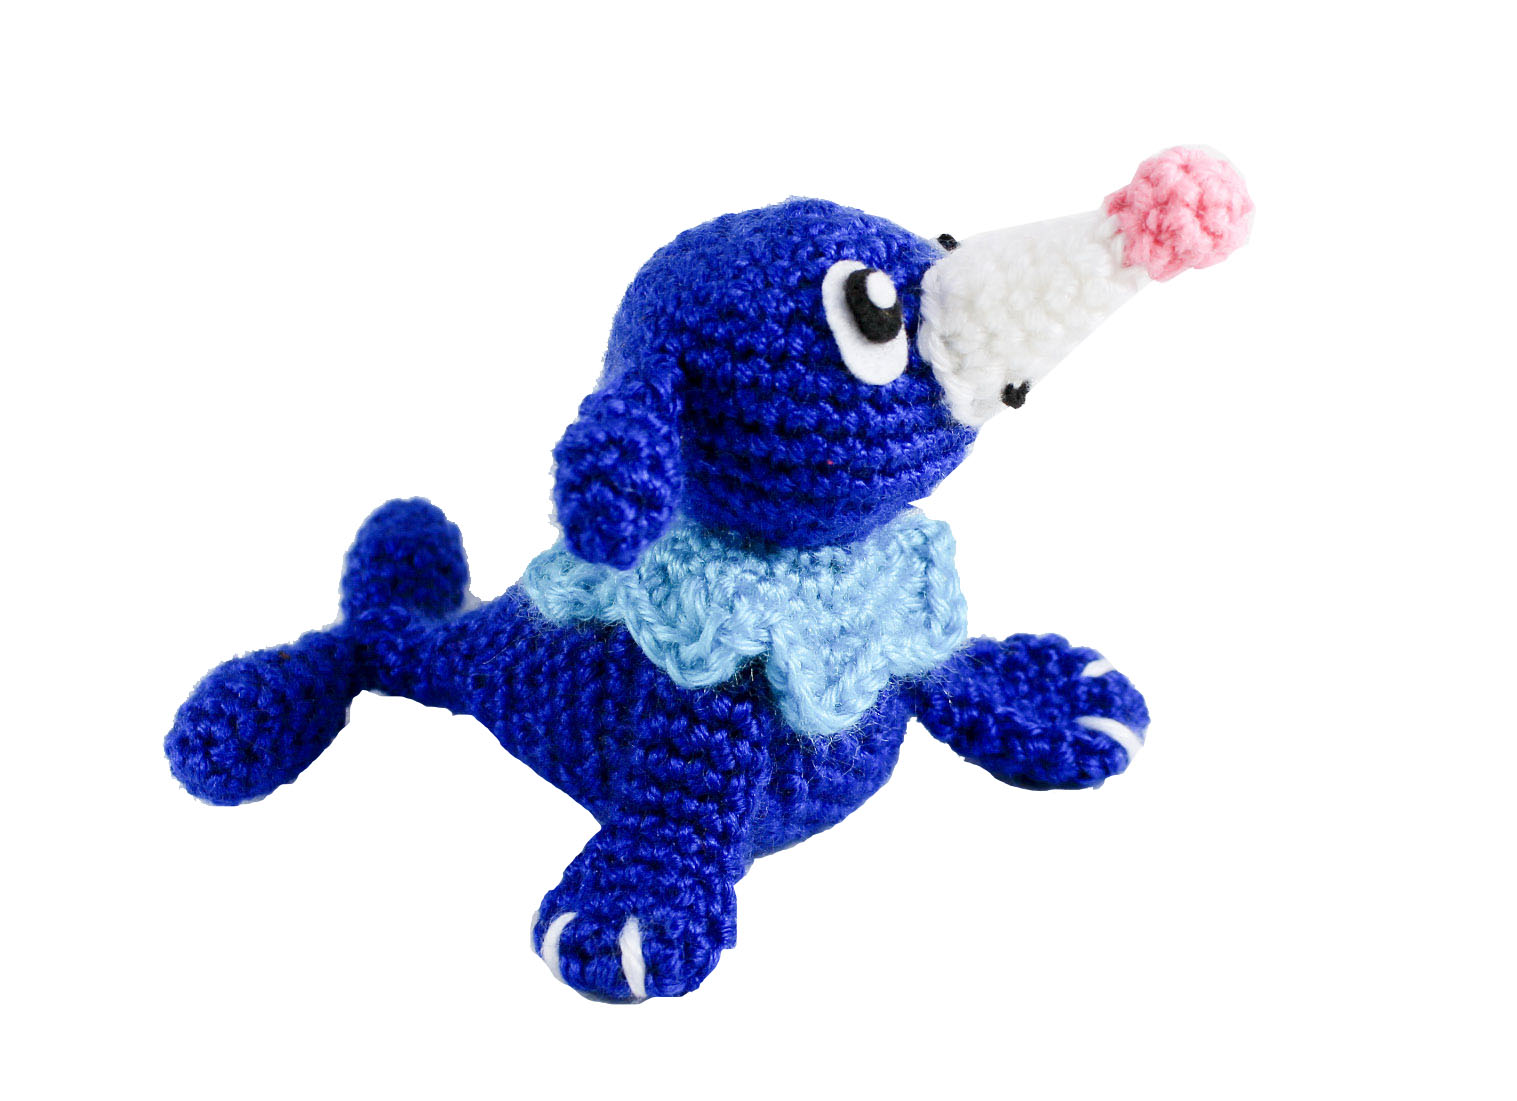
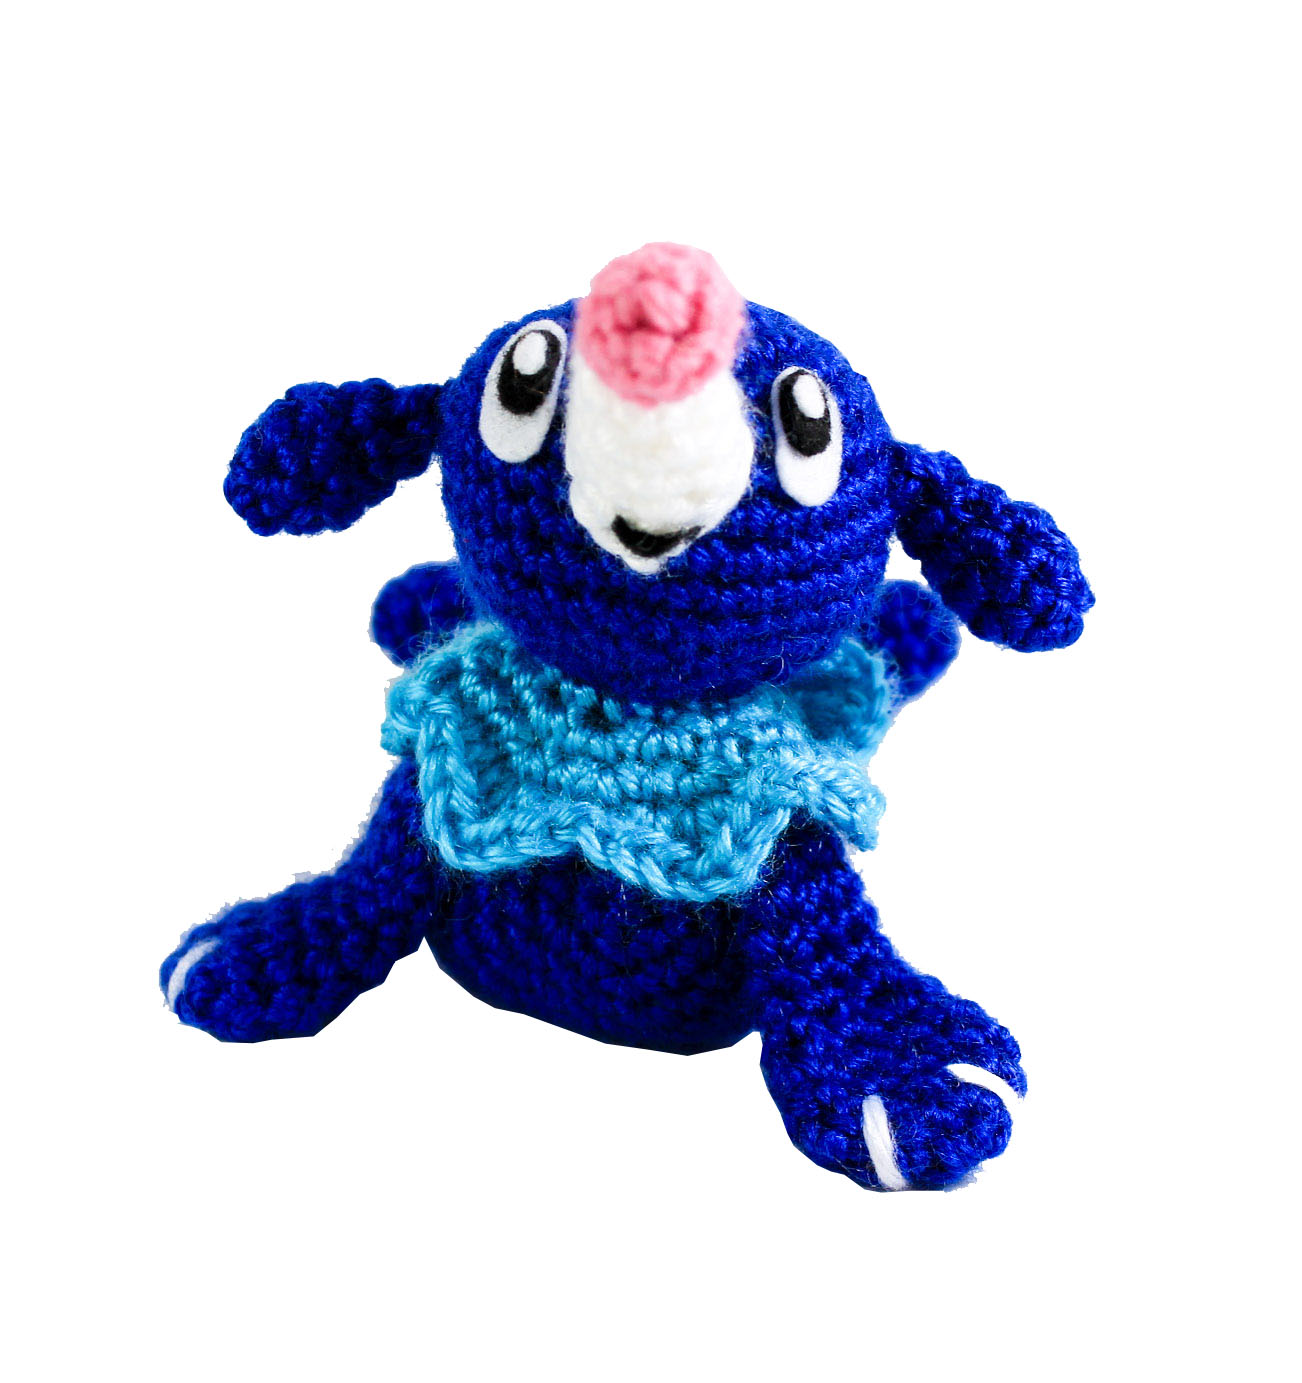
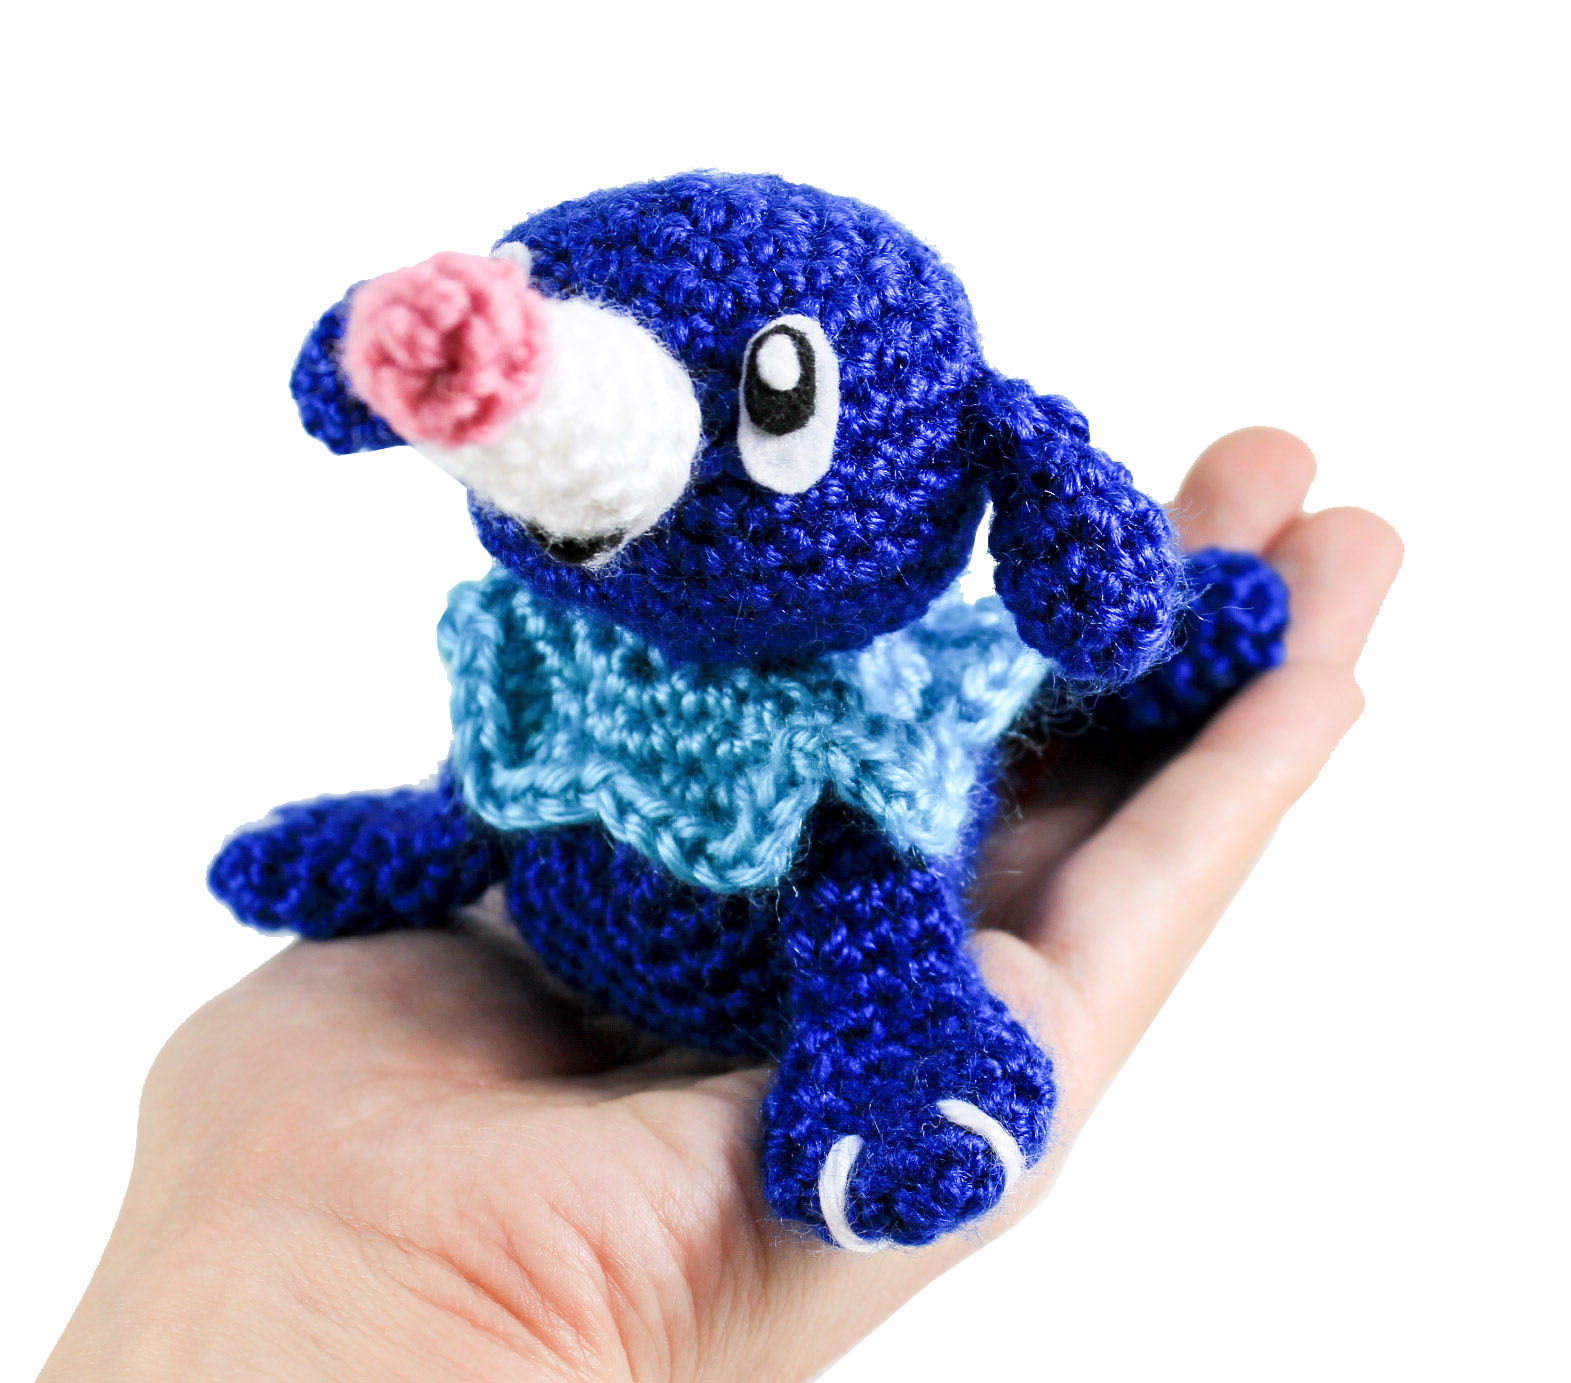
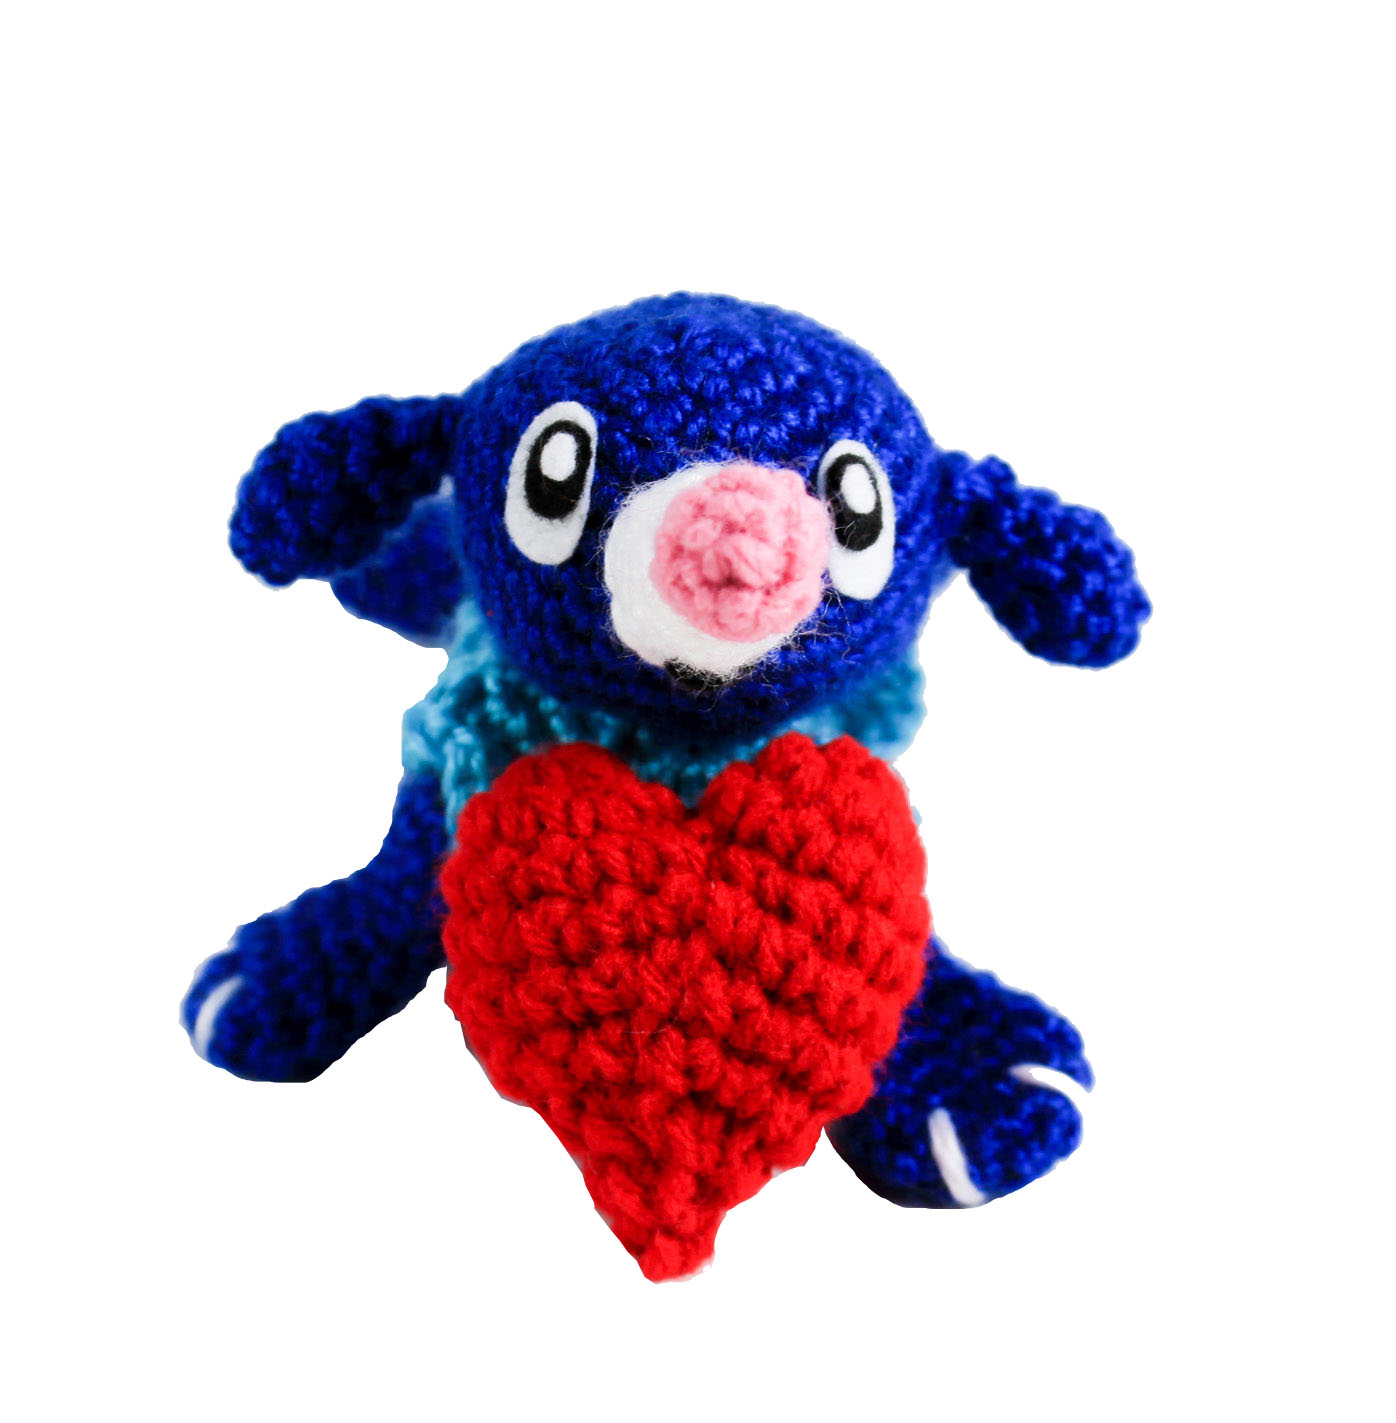
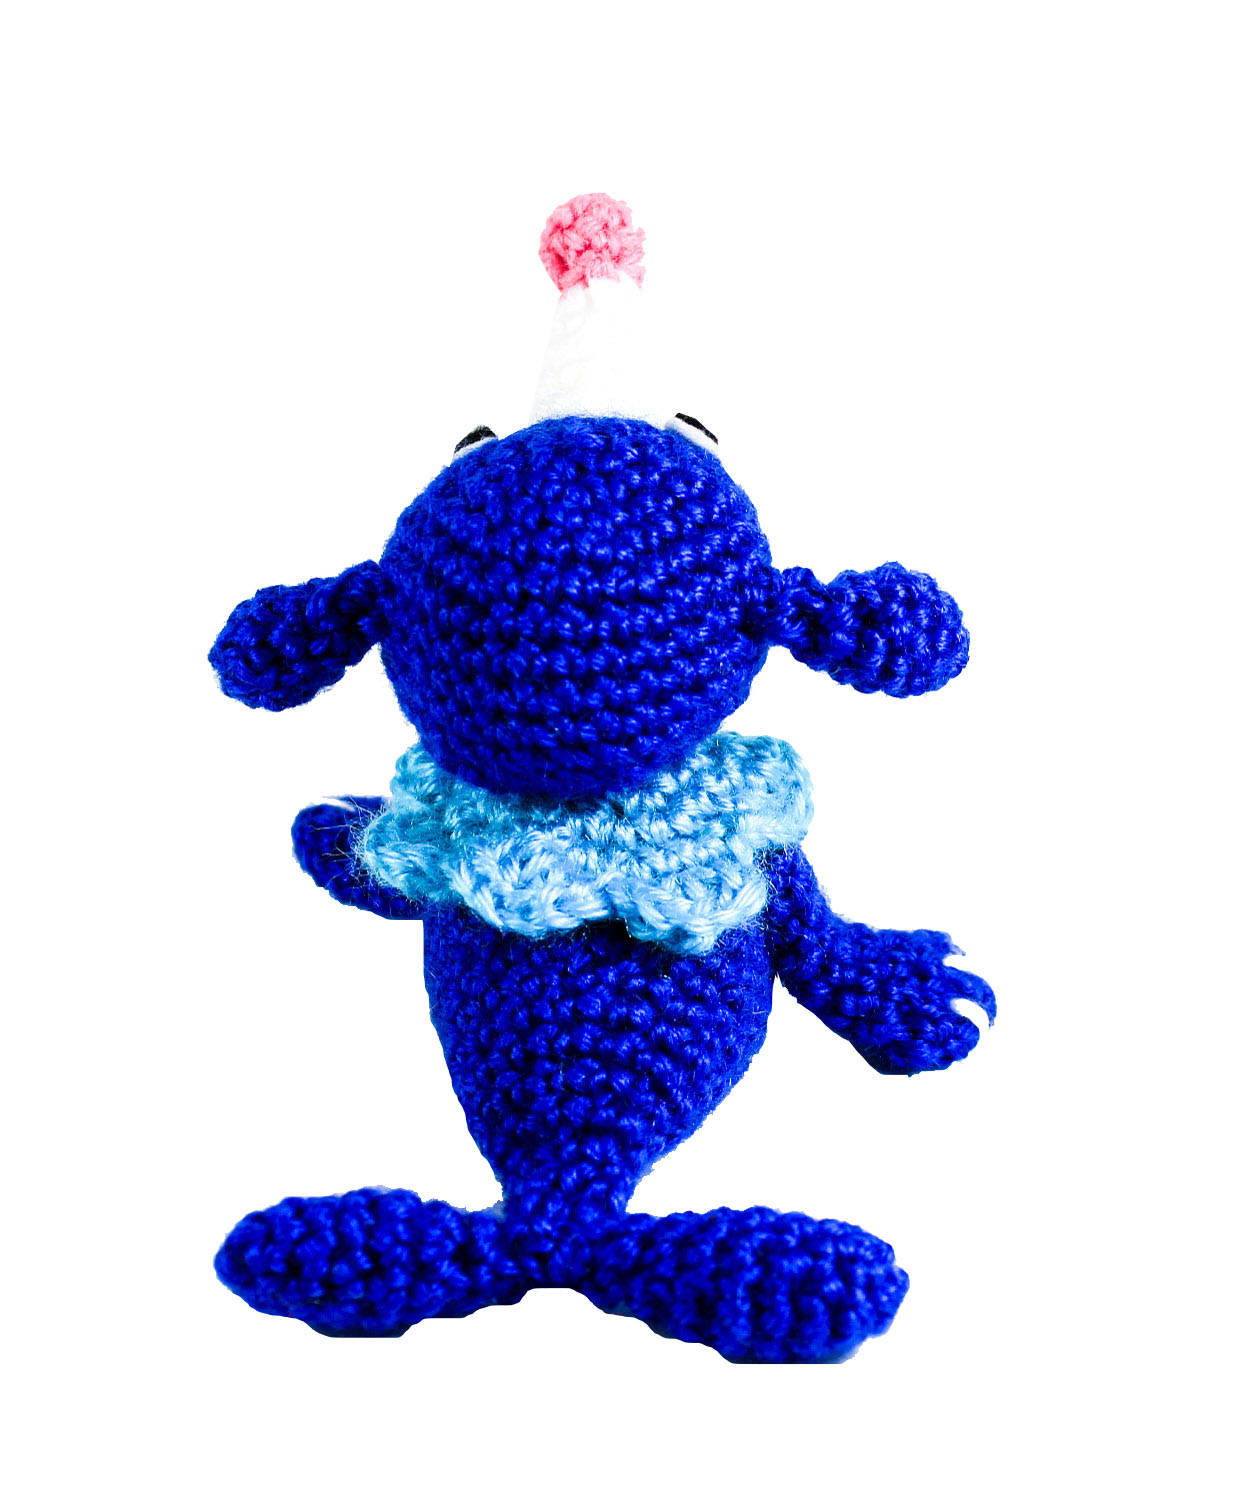
Popplio is the cute sea-lion water-type starter from Pokemon Sun and Moon. It is known for blowing huge bubbles from it’s nose. Go ahead and crochet your own little sea-pup to add to your amigurumi team!
Prefer a pdf version to download and print? Buy one here!
Materials
- Yarn: : Dark blue, light blue, white, pink yarn (light-weight, shiny yarn was used)
- 3.5 mm crochet hook – fiber-fill stuffing
- Felt: black, white (for the eyes), felting needle if desired
- Scissors, yarn needle for assembly
Abbreviations
R(#): Round number
MR: magic ring
Sc: single crochet
Inc: increase (2 sc in same stitch)
Hdc: half double crochet
Hdc inc: Hdc increase (2 hdc in same stitch)
Dec: decrease (decrease 2 sc into one)
I recommend using Invisible Decrease
Tch: turn chain (chain one and switch directions)
Ch: chain
Sl st: slip stitch
f/o: fasten off
Check out my Learn to Crochet page for video tutorials on how to do the types of stitches listed above.
Body
Using Dark Blue:
R1. 6 sc in MR (6)
R2. Inc around (12)
R3. ‘Sc 1, inc’ around (18)
R4. ‘Sc 2, inc’ around (24)
R5. ‘Sc 3, inc’ around (30)
R6-7. Sc around (30) two times
R8. ‘Sc 8, dec’ around (27)
R9. ‘Sc 7, dec’ around (24)
R10. ‘Sc 4, dec’ around (20)
R11. Sc around (20)
R12. ‘Sc 3, dec’ around (16)
R13. Sc around (16)
Don’t forget to add stuffing.
R14. ‘Sc 6, dec’ around (14)
R15. ‘Sc 5, dec’ around (12)
R16. ‘Sc 2, dec’ around (9)
R17. ‘Sc 1, dec’ around (6)
R18-19. Sc around (6) 2 times. f/o
Head
Using Dark Blue:
R1. 6 sc in MR (6)
R2. Inc around (12)
R3. ‘Sc 1, inc’ around (18)
R4. ‘Sc 2, inc’ around (24)
R5. ‘Sc 3, inc’ around (30)
R6-R10. Sc around (30) 5 times
R11. ‘Sc 3, dec’ around (24)
R12. ’Sc 2, dec’ around (18)
(Don’t forget to add stuffing!)
R13. ‘Sc 1, dec’ around (12)
R14. In inner loops only:
Dec around (6) and f/o
Collar
Using Light Blue:
R1. Sc into the outer loops left by R14 of the ‘Head’ (12)
R2. Inc around (24)
R3. ‘Sc 1, inc’ around (36)
R4: in 1st sc: sl st,
in 2nd sc: sc,
in 3rd sc: hdc,
In 4th sc: dc, ch1, dc,
In 5th sc: hdc, sc
Continue repeating around the
entire ring, on last sc, sl st to 1st
sc. (Makes 7 ‘frills’)
Arms
Make 2 using dark blue:
R1. 6 sc in MR (6)
R2. Inc around (12)
R3. Sc around (12)
R4. ‘Sc 1, dec’ around (8)
R5. Sc around (8)
R6. Dec, Sc 6 (7)
R7-10. Sc around (7) 4 times
Do not stuff, press flat.
Tail
Make 2 using dark blue:
R1. 5 Sc in MR (5)
R2. Sc 1, inc, Sc 2, inc (7)
R3. Sc around (7)
R4. Sc 1, inc, Sc 3 , inc, Sc 1 (9)
R5. Sc around (9)
R6. Sc 1, dec, Sc 3, dec, Sc 1 (7)
R7. Sc 1, dec, Sc 1, dec, Sc 1 (5)
R8. Sc 1, dec, dec (3) f/o
Ears
Make 2 using dark blue:
R1. 4 Sc in MR (4)
R2. Inc, Sc1, Inc, Sc 1 (6)
R3. Inc, Sc 5 (7)
R4. Sc around (7)
R5. Dec, Sc 2, Dec, Sc 1 (5)
R6. Dec, Sc 1, Dec (3) f/o.
Snout
Using white:
R1. 4 Sc in MR (4)
R2. Sc1, Inc, Sc 1, Inc (6)
R3. Sc around (6)
R4. Sc 2, Inc, Sc 2, Inc (8)
R5. Sc around (8)
R6. Sc 3, Inc, Sc 3, Inc (10)
R7. Sc around (10) f/o.
Nose
Using pink:
R1. 4 Sc in MR (4)
R2. Inc around (8)
R3. Sc around (8)
R4. Dec around (4) f/o.
Assembly of Crochet Popplio
Head: Attach the pink nose to the end of the white snout. Attach the snout to the head angling slightly upward and the ears to either side of the head.
Body: Attach the head and frills to the body. Attach the arms to the body positioning such that the arms extend from beneath the neck frill. Using white yarn sew in 2 claws at the end of each Arm. Attach the tail to either side of the end of the body. Create eyes and mouth with felt pieces or using needle felting as desired.
I hope you enjoy your Popplio Amigurumi!
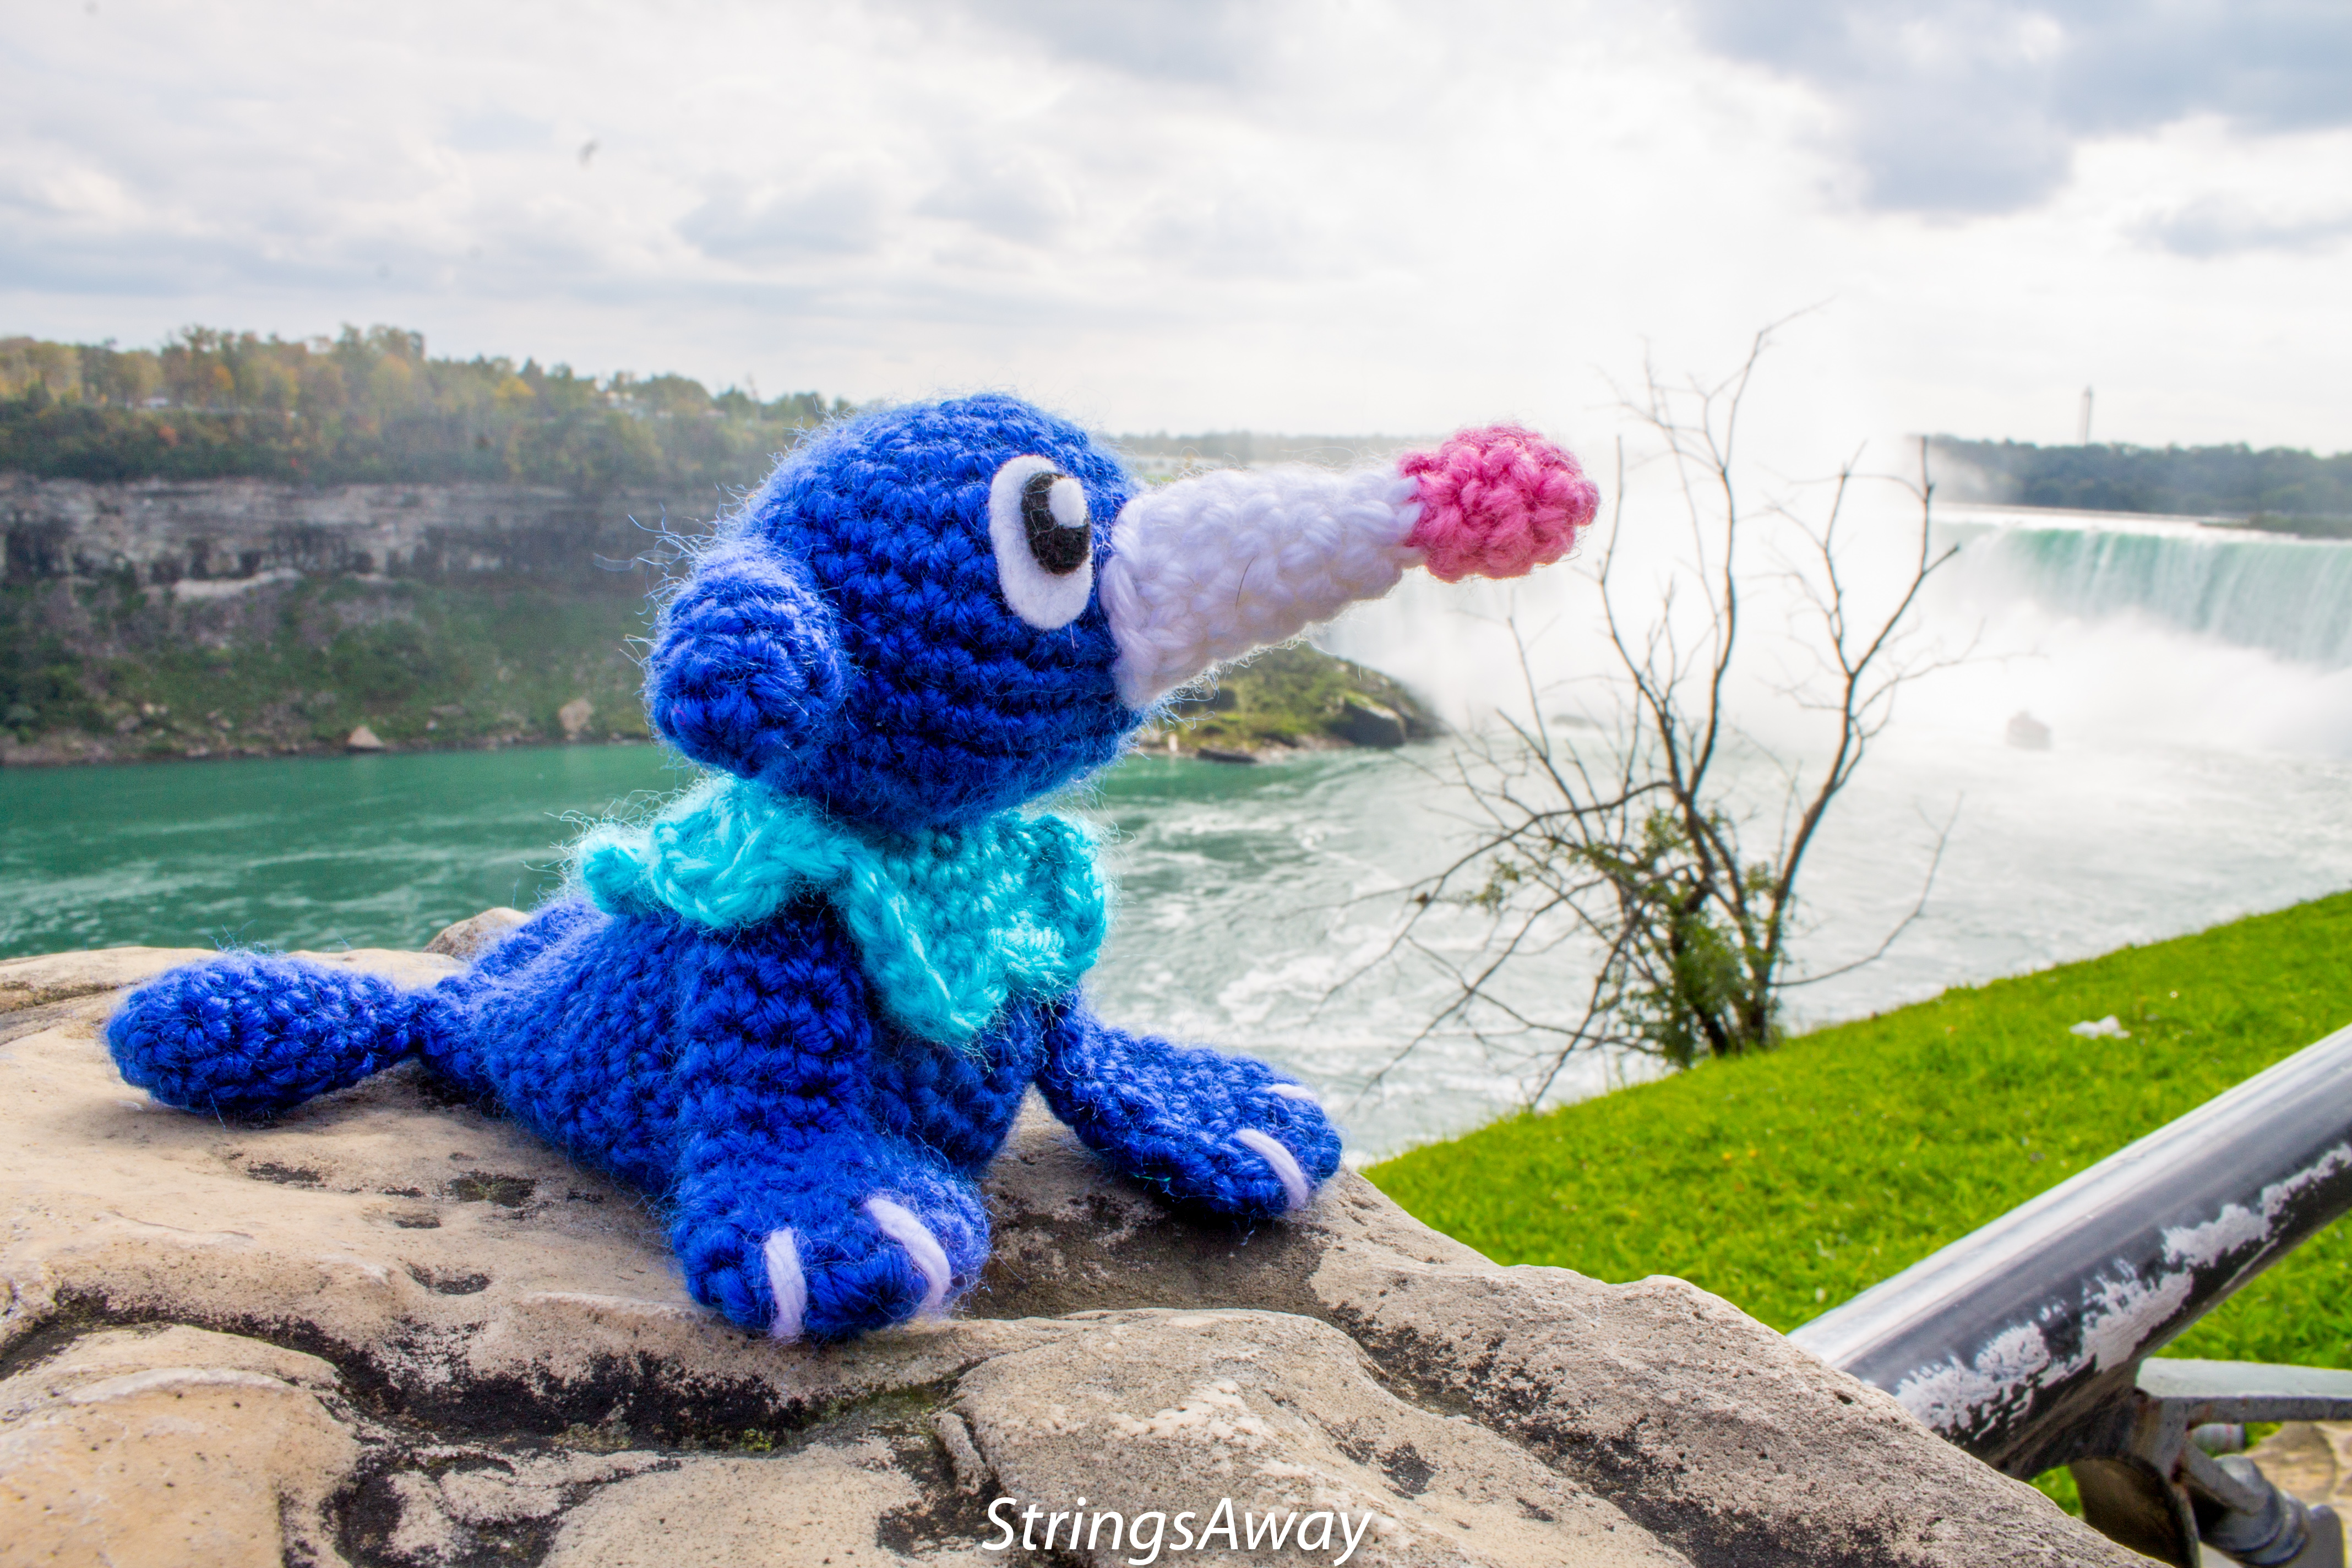 Popplio visits Niagara Falls, Canada.
Thank you for trying this pattern – I hope you enjoy your Amigurumi Popplio!
Click here to purchase a downloadable pdf version of this crochet pattern
This pattern by StringsAway is for personal use only. Please do not sell or redistribute the pattern as your own.