The final Eeveelution (to date, that is) Sylveon, is here! Sylveon is the fairy-type Eeveelution and she has a LOT going on. With so many ribbons, bows, and color changes, making and assembling this pattern will test your patience. In a way, it’s almost fitting- to evolve Eevee into Sylveon in the game, you have to spend a lot of time with it to raise your friendship level. So, whether you’re playing the game or just crocheting this plushie for someone, you’re going to have to put in some real time and effort to get a Sylveon.
That being said, I recommend at least some experience with crocheting amigurumi before attempting to make Sylveon- particularly color changing, working in small rounds (rounds of 4), and joining separate pieces into one continuous round (ribbon ends.)
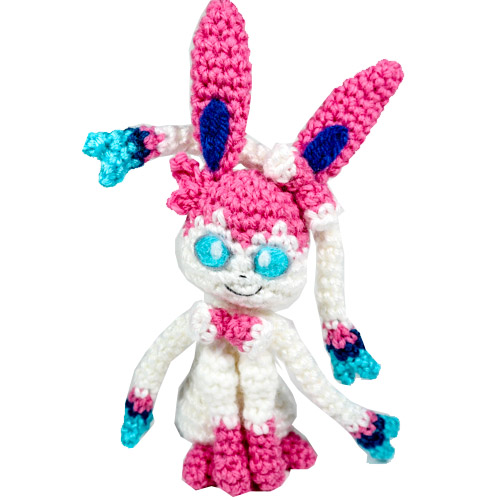
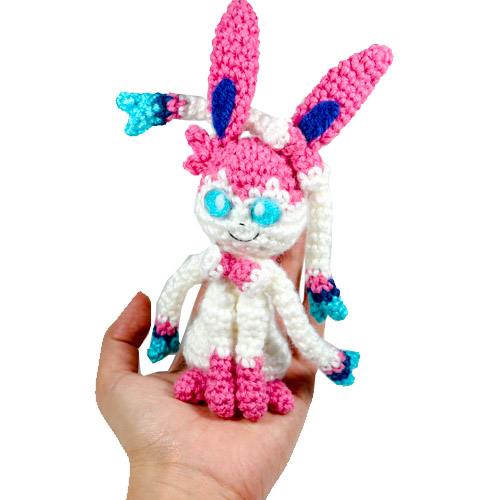
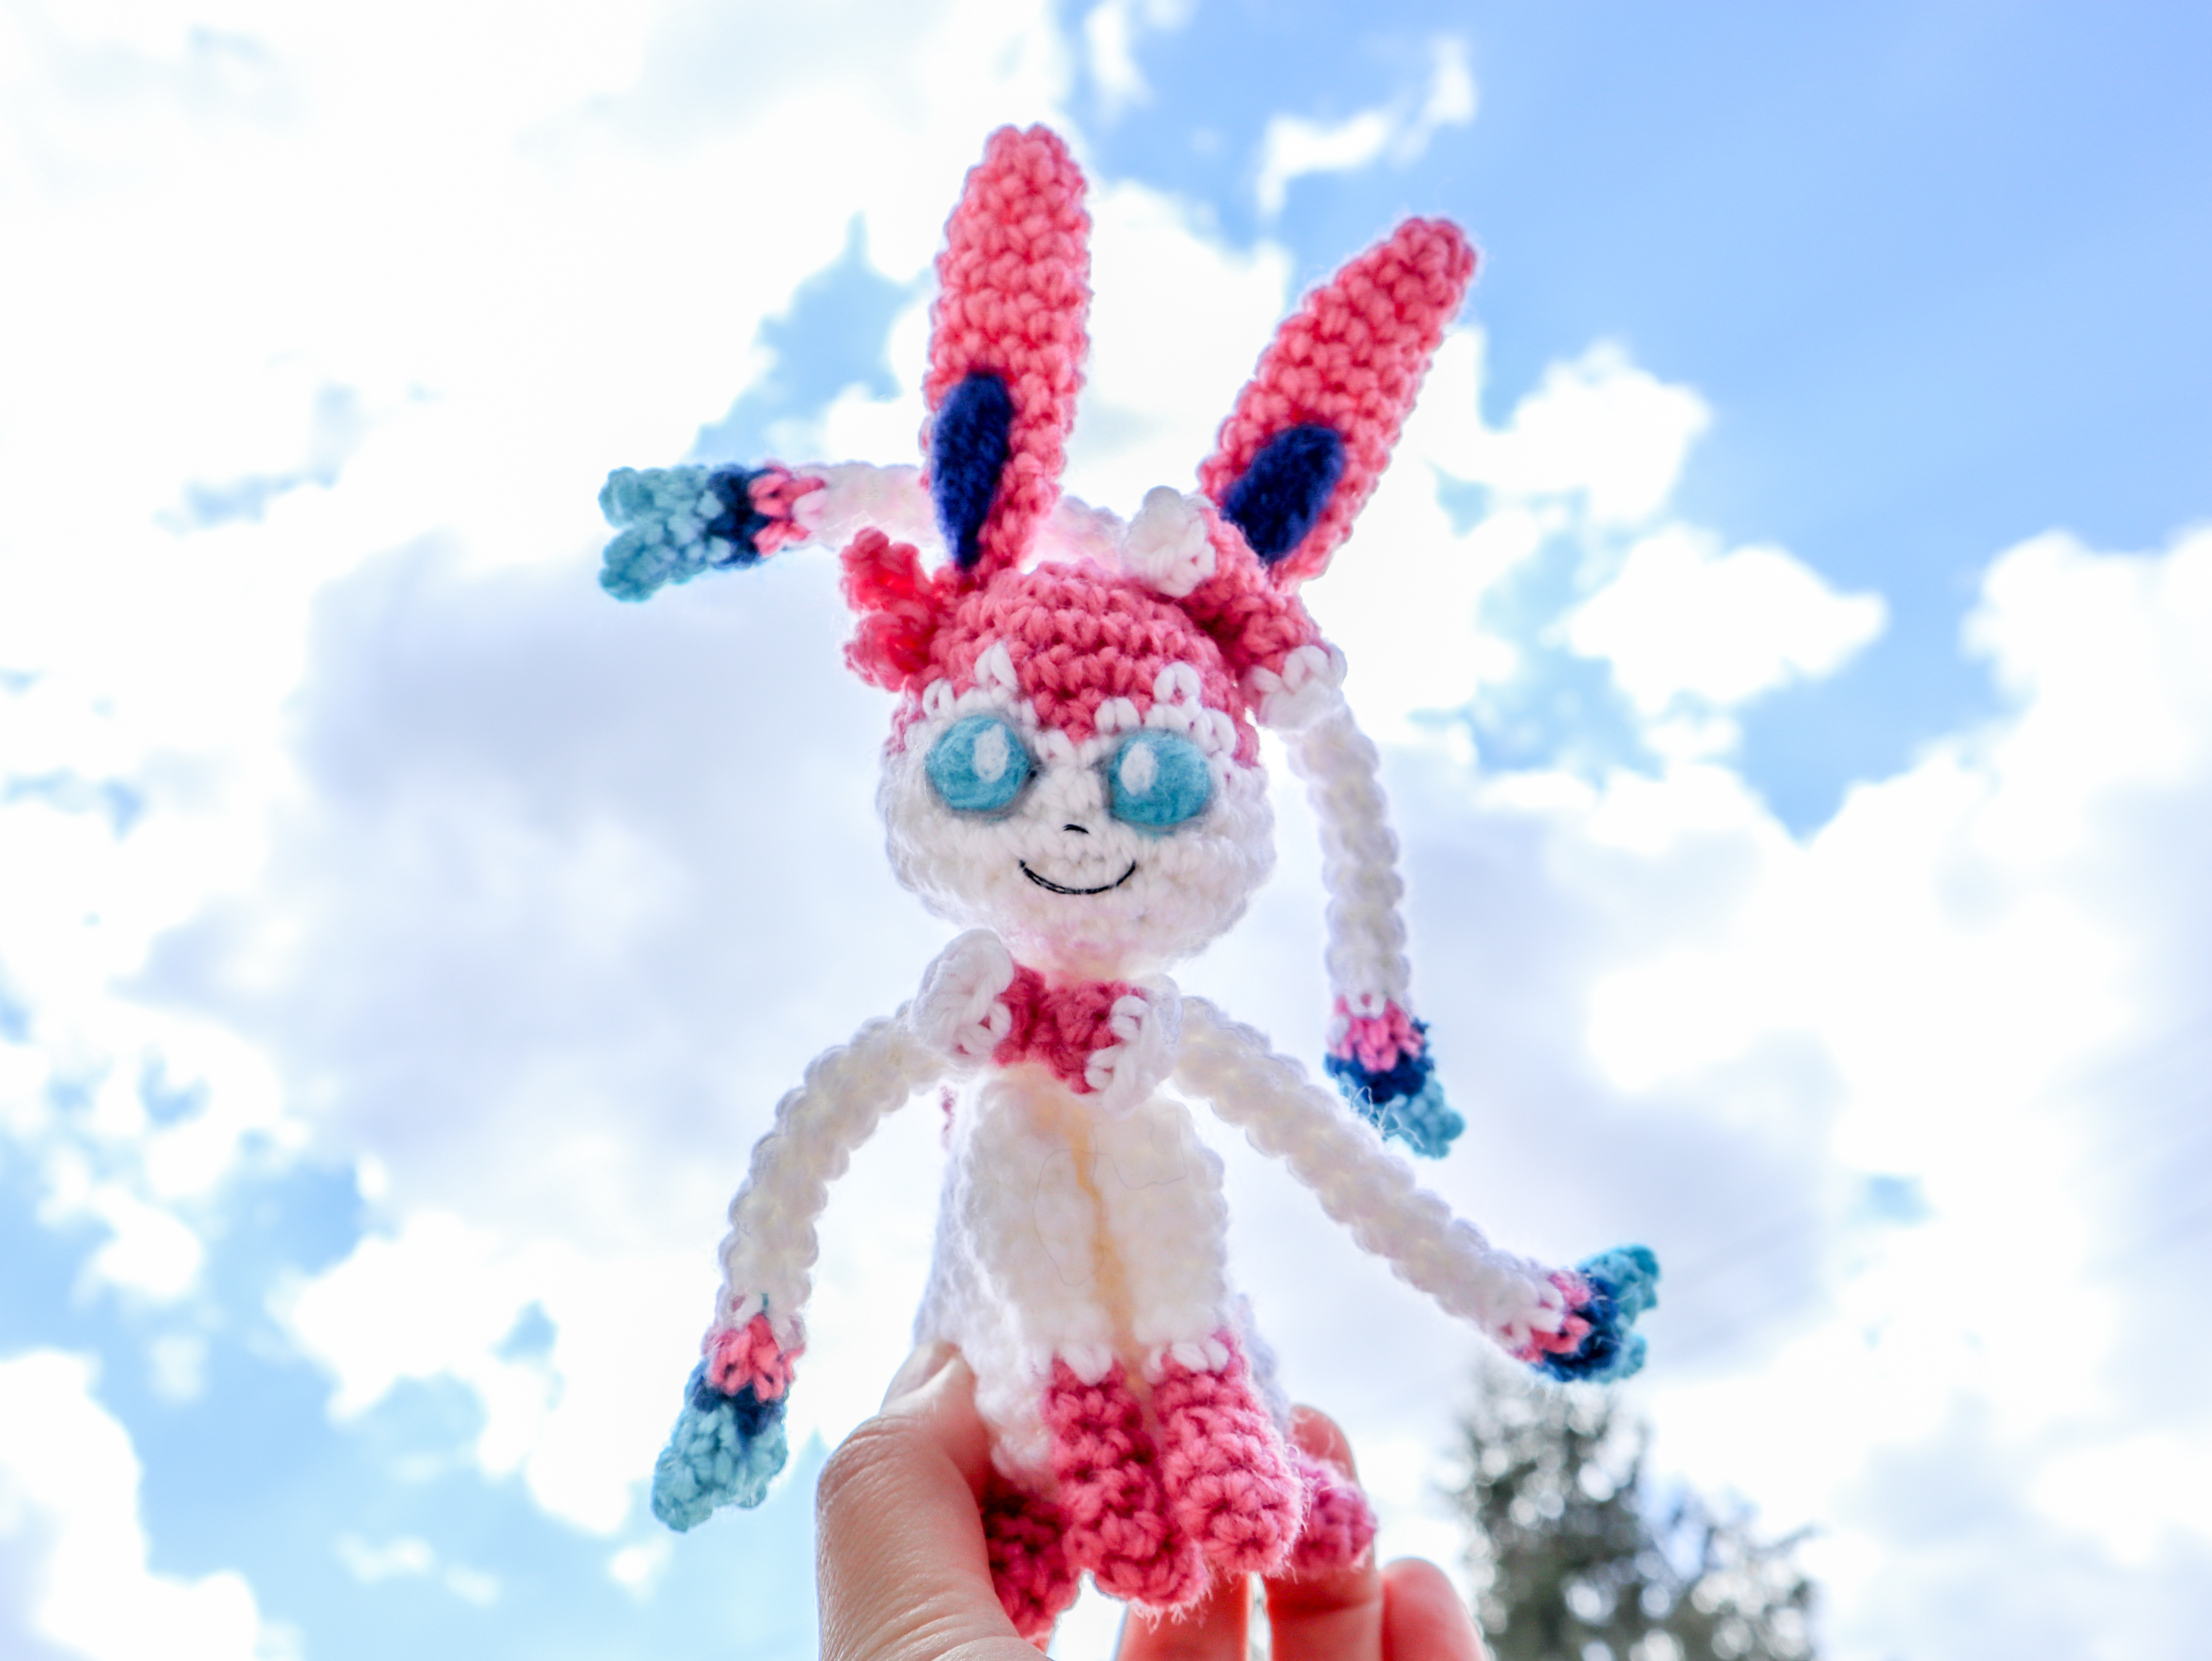
When completed, Sylveon fits in the palm of an adult sized hand. I hope you enjoy crocheting this little Sylveon!
Materials
- Yarn: White, pink, light blue, dark blue (light weight yarn was used)
- 3.5 mm crochet hook – fiber-fill stuffing
- Felt: white, blue, grey (for the eyes), dark blue (for the ear details) and felting needle if desired
- Embroidery thread and needle (for mouth, nose)
- Scissors, yarn needle for assembly
Abbreviations
R(#): Round number
MR: magic ring
Sc: single crochet
Inc: increase (2 sc in same stitch)
Dec: decrease (decrease 2 sc into one)
I recommend using Invisible Decrease
Ch: chain
Tch: turn chain (chain one and change direction)
Sl St: slip stitch
f/o: fasten off
Check out my Learn to Crochet page for video tutorials on how to do the types of stitches listed above.
This pattern is worked in continuous rounds. Instructions between ‘ ‘ are repeated as many times in the round as indicated. This pattern assumes that you stuff body parts as they are made before closing.
Head
Begin with Pink:
R1. 6 Sc in MR (6)
R2. Inc around (12)
R3. ‘Sc 1, Inc’ around (18)
R4. ‘Sc 2, Inc’ around (24)
Begin Changing colors as Instructed:
R5. Pink: Sc 6, White: Sc 1, Pink: Sc 3, White: Sc 1, Pink: Sc 13 (24)
R6. Pink: Sc 5, White: Sc 3, Pink: Sc 1, White: Sc 3, Pink: Sc 12 (24)
R7. Pink: Sc 5, White: Sc 19 (24)
Continue the rest with white:
R8. Sc 6, Inc, Inc, Sc 4, Inc, Inc, Sc 10 (28)
R9. Sc 6, ‘Sc 1, Inc’ x 2, Sc 4, ‘Sc 1, Inc’ x 2, Sc 10 (32)
R10. ‘Sc 2, dec’ around (24)
R11. ‘Sc 1, dec’ around (16)
R12. Dec around (8)
F/o and do not close the opening. Leave a yarn tail for sewing onto the top of the body. Stuff.
Body
Using White:
R1. 6 Sc in MR (6)
R2. Inc around (12)
R3-5. Sc around (12) for three rounds
R6. ‘Sc 3, Inc’ around (15)
R7. Sc around (15)
R8. ‘Sc 4, Inc’ around (18)
R9-10. Sc around (18) for two rounds
R11. Sc 7, Inc x 4, Sc 3, Inc x 4 (26)
R12. Sc 7, ‘Sc 1, Inc’ x 3, Sc 5, ‘Sc 1, Inc’ x 3, Sc 2 (32)
R13. Sc around (32)
R14. Sc 14, Dec, Dec, Sc 2, Dec, Dec, Sc 8 (28)
R15. ‘Sc 5, dec’ around (24)
R16. ‘Sc 2, dec’ around (18)
R17. ‘Sc 1, dec’ around (12)
R18. Dec around (6)
Stuff well, F/o, close loop.
Arms
Make 2 – Begin with Pink:
R1. 4 Sc in MR (4)
R2. ‘Sc 1, Inc’ around (6)
R3 Sc around (6)
R4. ‘Sc 1, Dec’ around (4)
R5-6. Sc around (4) for two rounds
Change to white color:
R7-9. Sc around (4) for three rounds
R10. ‘Sc 1, Inc’ around (6)
R11-12. Sc around (6) for two rounds
R13. ‘Sc 1, Dec’ around (4)
F/o, stuff lightly, close opening
Feet
Make 2- using Pink:
R1. 4 in MR (4)
R2. ‘Sc, Inc’ around (6)
R3-4. Sc around (6) two times
F/o and do not close opening. Leave yarn a tail for sewing to the body.
Bows
Make 4 pieces. Begin with Pink:
R1. 3 Sc in MR (3)
R2. Inc, Sc 2 (4)
Change to white color:
R2. Inc, Sc 3 (5)
F/o and leave a yarn tail. Do not stuff, but press flat. Use the white yarn tail to sew the opening closed.
After making the 4 pieces, use pink yarn to sew R1 of two pieces together to make two bows.
Ears
Make 2 – using Pink:
R1. 4 in MR (4)
R2. ‘Sc 1, Inc’ around (6)
R3. Sc around (6)
R4. ‘Sc 2, Inc’ around (8)
R5-10. Sc around (8) for six rounds
R4. ‘Sc 2, Dec’ around (6)
R2. ‘Sc 1, Dec’ around (4)
On one ear only (Sylveon’s right ear): Ch 3, tch, Sc 3. Then Ch 2, tch, sl st x 2. F/o (these make the hair pieces below the right ear.)
F/o , do not stuff, but press flat. Leave a yarn tail to attach ears to head.
Tail
Using Pink:
R1. 3 in MR (3)
R2. Inc, Sc 2 (4)
R3. Sc around (4)
R4. ‘Sc 1, Inc’ around (6)
R5. Sc around (6)
R6-8. Sc 1, Dec, Sc 2, Inc (6) For 3 rounds
R9. Sc around (6)
R10. ‘Sc 1, Dec’ around (4)
Small tuft at base of tail: Chain 3, Tch, Sc 3, Sl st in to same stitch on base as chain originates from.
F/o, do not stuff, press flat, and leave a yarn tail to sew onto body.
Ribbons
Begin using light blue:
R1. 3 Sc in MR (3)
R2. Sc around (3)
F/o. Repeat a second time, but instead of f/o, join the pieces by working into the first piece:
R3. Sc in all 3 sc of the first piece, then in all 3 sc of the second piece (6)
Switch to Dark blue color:
R4. Sc 4, Dec (5)
Switch to Pink color:
R5. Sc Around (5)
Switch to White color:
R6. Sc 3, Dec (4)
R7-16. Sc Around (4) for 10 rounds.
F/o and leave a yarn tail for attaching to body or back of ear. Repeat all of the above 3 more times to make 4 ribbons total.
Assembly of Crochet Sylveon
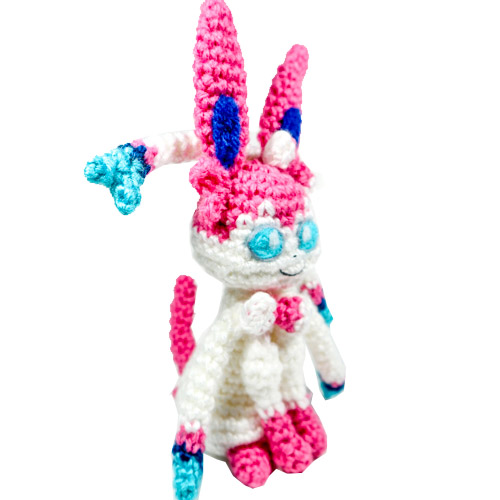
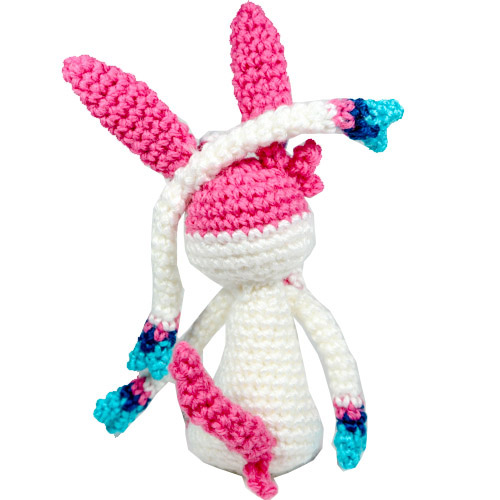
Assemble as shown in pictures- be sure to pin limbs in place before sewing to properly adjust position.
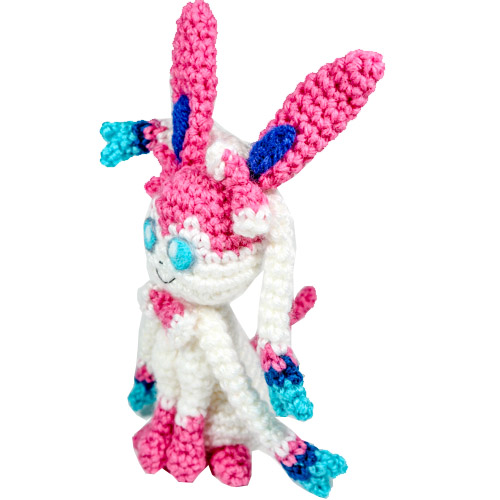
Head: Sew the ears to either side of the top of the head. The right ear has the two little pink hair tufts below it- sew these onto the head at the base of the right ear as well. Sew one of the bows in front of the left ear at the bottom. Sew two of the ribbons behind the left ear- joined together at the base of the ear.
Body: Sew the head on top of the body. The ‘bumps’ on the bottom of the body piece are meant to be thighs. Sew the feet over the bumps angling slightly outward. Attach the arms to the body, placing in between the feet. Just above the arms: Attach two of the ribbons, joined at their white ends, above the shoulders but below the head. Sew one of the bows on top of the area where the ribbons are joined. The tail is attached to the back of the center of the body.
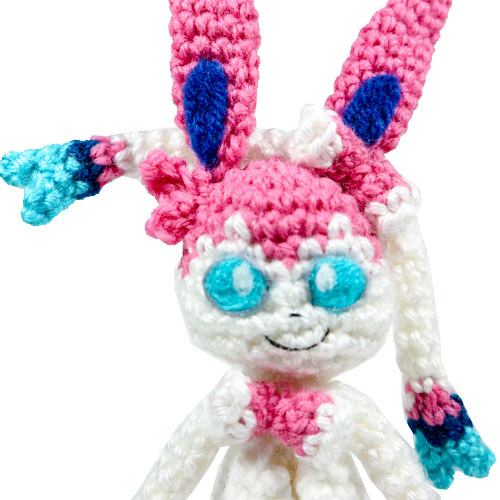
The eye details were added by needle felting loose yarn ends . Alternatively, one can cut out and attach colored felt pieces. Note for the face: The cheeks don’t seem to properly line up exactly with the eyes/forehead. I did try to fix this, but was unsuccessful. When making the eyes, use the ‘forehead markings’ as more of a guide for eye placement rather than trying to line it up exactly with the position of the cheeks. Finally, make the nose and mouth by embroidery.
Thank you for trying this pattern – I hope you enjoy your Amigurumi Sylveon!
Coming soon to my shop- a downloadable version of this Sylveon crochet pattern!
This pattern by StringsAway is for personal use only. Please do not sell or redistribute the pattern as your own.