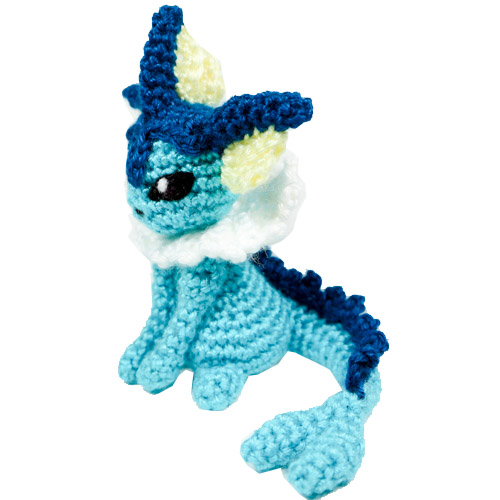
Vaporeon is the water-type Eeveelution from exposure to a water-stone. This aquamarine Pokemon has so many cute water features like a mermaid-tail, ear fins, and a coffee-filter neck reminscent of gills! Vaporeon has a lot of delicate pieces, so be sure to have time and patience when you decide to attempt this pattern.
When completed, Vaporeon fits in the palm of an adult sized hand. I hope you enjoy crocheting this little Vaporeon!
Prefer a pdf version to download and print? Buy one here!
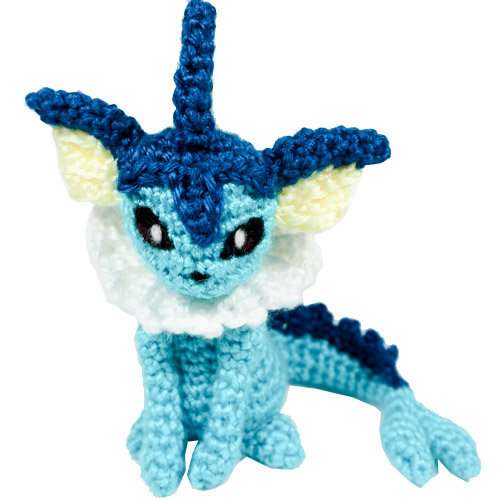
Materials
- Yarn: Light blue, Dark blue, White, Light Yellow (light weight yarn was used)
- 3.5 mm crochet hook – fiber-fill stuffing
- Felt: Black, white, purple (for the eyes and nose details) and felting needle if desired
- Scissors, yarn needle for assembly
Abbreviations
R(#): Round number
MR: magic ring
Sc: single crochet
Inc: increase (2 sc in same stitch)
Dec: decrease (decrease 2 sc into one)
I recommend using Invisible Decrease
Ch: chain
Tch: turn chain (chain one and change direction)
Sl St: slip stitch
Hdc: Half double crochet
HdcInc: increase using Hdc (2 Hdc in same stitch)
Dc: Double crochet
f/o: fasten off
Check out my Learn to Crochet page for video tutorials on how to do the types of stitches listed above.
This pattern is worked in continuous rounds. Instructions between ‘ ‘ are repeated as many times in the round as indicated. This pattern assumes that you stuff body parts as they are made before closing.
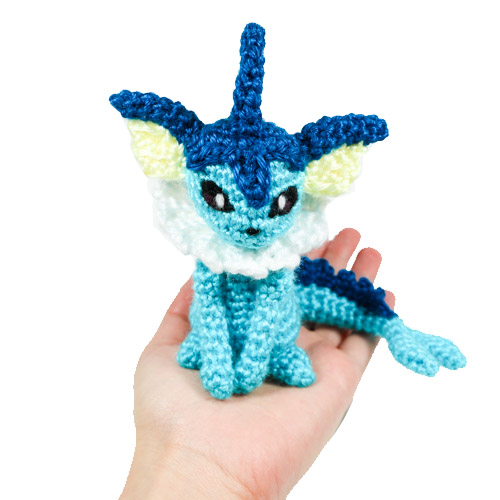
Head
Using Light Blue:
R1. 6 Sc in MR (6)
R2. Inc around (12)
R3. ‘Sc 1, Inc’ around (18)
R4. ‘Sc 2, Inc’ around (24)
R5-6. Sc around (24) for two rounds
R7. Sc 11, Inc, Inc, Sc 11 (26)
R8. Sc 12, Inc, Inc, Sc 12 (28)
R9. ‘Sc 2, dec’ around (21)
R10. ‘Sc 1, dec’ around (14)
R11. Dec around (7)
F/o and do not close the opening. Leave a yarn tail for sewing onto the top of the body. Stuff.
Body
Using Light Blue:
R1. 6 Sc in MR (6)
R2. Inc around (12)
R3-4. Sc around (12) for two rounds
R5. ‘Sc 3, Inc’ around (15)
R6. Sc around (15)
R7. ‘Sc 4, Inc’ around (18)
R8. Sc around (18)
R9. Sc 7, Inc x 4, Sc 3, Inc x 4 (26)
R10. Sc 7, ‘Sc 1, Inc’ x 3, Sc 5, ‘Sc 1, Inc’ x 3, Sc 2 (32)
R11. Sc around (32)
R12. Sc 14, Dec, Dec, Sc 2, Dec, Dec, Sc 8 (28)
R13. ‘Sc 5, dec’ around (24)
R14. ‘Sc 2, dec’ around (18)
R15. ‘Sc 1, dec’ around (12)
R16. Dec around (6)
F/o, close loop.
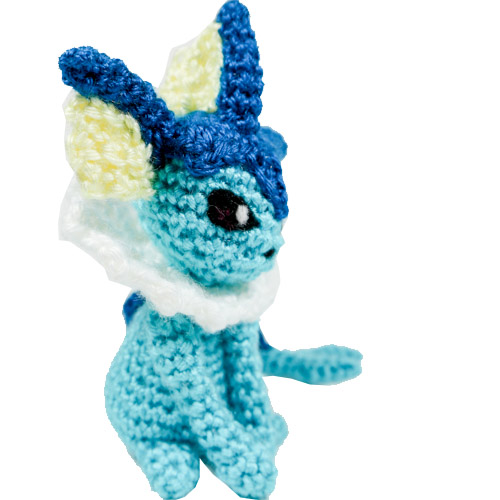
Arms
Make 2 -using Light Blue:
R1. 4 Sc in MR (4)
R2. ‘Sc 1, Inc’ around (6)
R3 Sc around (6)
R4. ‘Sc 1, Dec’ around (4)
R5-9. Sc around (4) for five rounds
R10. ‘Sc 1, Inc’ around (6)
R11-12. Sc around (6) for two rounds
R13. ‘Sc 1, Dec’ around (4)
F/o, stuff lightly, close opening. Leave a tail to sew to the body.
Feet
Make 2- using Light Blue:
R1. 4 in MR (4)
R2. ‘Sc, Inc’ around (6)
R3-4. Sc around (6) two times
F/o and do not close opening. Leave yarn a tail for sewing to the body.
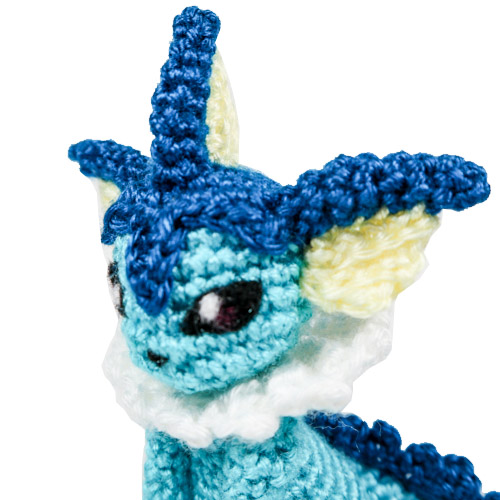
Neck Frill
Using white:
R1. 6 Sc in MR (6)
R2. Inc around (12)
Begin making the frills:
- Ch 7. Turn / Continue in 3rd ch from hook: Sc 4, sl st to the next stitch on circular base, tch
***
From now on, work all stitches in back loops only
Do not work in the ‘sl st and tch’ from the previous step. Skip these and work up the previous frill:
Sc 4, ch 3, turn, skip the ch 3 and Sc 4 back towards the circular base. Sl st to the next stitch on circular base, and tch.
***
Repeat the above steps (between ***) until you reach the end of the round. F/o and Sew the edge of the last frill to the back of the first frill. Weave in the yarn end.
Helmet
Using Dark Blue:
R1. 6 Sc in MR (6)
R2. Inc around (12)
R3. ‘Sc 1, Inc’ around (18)
R4. ‘Sc 2, Inc’ around (24)
Note: in the following steps, instructions enclosed within brackets [ ] are worked into the same base stitch.
Begin creating the front features of the helmet/face:
Small side protrusion: [Hdc, ch 2, Hdc ] , sc 2 ,
‘Noseguard’ protrusion: Ch 4 – turn work/ continue in 2nd ch from hook: Sl st, sc, Hdc. Sl st to next stitch on base.
Small side protrusion: Sc 2, [ Hdc, ch 2, Hdc ]
Sc 8, leave the rest unworked.
F/o and leave a long yarn tail to sew onto head.
Ears and Head Fin
Make 3 fins- using Dark Blue:
R1. 3 in MR (3)
R2. Inc, Sc 2 (4)
R3-4. Sc around (4) for two rounds
R5. Inc, Sc 3 (5)
R6-7. Sc around (5) for two rounds
F/o, leave a tail to sew to head.
Webbing: Make 3 – using light yellow:
Row 1. Ch 5 . Turn work/ continue in 2nd ch from hook:
Row 2.Sc 4, tch
From this point on work in back loops only
Row 3. Sc 2, dec, tch
Row 4. Sc 3, tch
Row 5. Sc 1, dec. F/o
The webbing is sewn with the long side (Row 1) onto the fin and one of the small sides onto the head. I recommend waiting until you have finished the head and helmet before sewing the webbing onto the fins so that you can guarantee proper placement of the webbing pieces.
Tail
Using Light Blue:
R1. 3 in MR (3)
R2. Inc, Sc 2 (4)
R3. Inc, Sc 3 (5)
R4. Inc, Sc 4 (6)
R5. Sc around (6)
R6. ‘Sc 1, Dec’ around (4)
F/o. Repeat all of the above a second time, then, instead of F/o, proceed to join with the first piece:
R7. Sc around on all stitches of the first tail piece (4), then continue to sc in all stitches of the second tail piece (8)
R8. ‘Sc 2, Dec’ around (6)
R9. Sc 4, Dec (5)
R10-11. Sc around (5) for two rounds
R12. Sc 4, Inc (6)
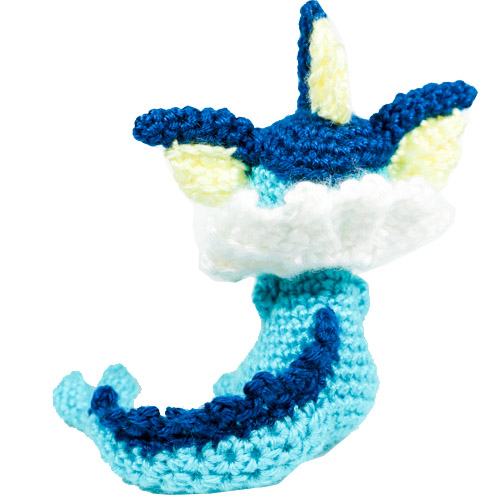
You’re going to see some unusual increasing and decreasing in the next rounds. My goal with this was to try and give the tail a ‘curved’ shape so it curls around the side of the body.
R13-14. Sc 2, Dec, Sc 1, Inc (6) for two rounds
R15. Sc 4, Inc, Inc (8)
R16-18. Sc 2, Dec, Sc 2, HdcInc, Hdc (8) for three rounds
R19. Sc 1, Dec, Sc 2, HdcInc x 3 (10)
R20-21 Sc 2, Dec, Sc 2, Hdc, HdcInc, Hdc, Sc (10) for two rounds
Finally, F/o, stuff well, and leave a long tail for sewing to the back of the body.
Tail/Back Spikes
Using Dark Blue:
Ch 20, Turn / Continue in 2nd ch from hook:
Sl st, Ch 3, Sl st into the next chain.
Repeat above (ch 3, then sl st to next chain) to form spikes. At the end, F/o and leave a long yarn tail for sewing to the back and tail.
Assembly of Crochet Vaporeon
Assemble as shown in pictures- be sure to pin limbs in place before sewing to properly adjust position.
Head: Place the helmet over the top of the head such that the nose-guard protrusion is pointing down just above the nose. Sew in place. Arrange the fins for the ears and head: the ears are placed on either side of the helmet over the junction of the helmet and head, and the center fin is palced at the top of the helmet above the forehead. After these are placed, sew on the yellow webbing- making sure that it touches the side of the face (ears) or the top of the helmet (top fin.)
Body: Place the coffee-filter-I-mean-neck-frill piece under the head. Note that on my Vaporeon I pulled this piece slightly to the back, meaning the center of this piece is not directly on top of the body, but rather at the lower back of Vaporeon’s head. Think of it as a ‘popped collar’ sort of placement. Sew the head to the body with the filter in place beneath.
The ‘bumps’ on the bottom of the body piece are meant to be thighs. Sew the feet over the bumps angling slightly outward. Attach the arms to the body, placing in between the feet, and so that the tips of the arms just touch the ground, and the top sides of the arms are positioned as ‘shoulders.’ The tail is attached to the back of the center of the body, angled so that the tail curves slightly forward around the side of the body. Finally the tail/back spikes piece is sewed over the top and center of the tail, and extends slightly up the back of Vaporeon.
The eye details were added by needle felting loose yarn ends . Alternatively, one can cut out and attach colored felt pieces.
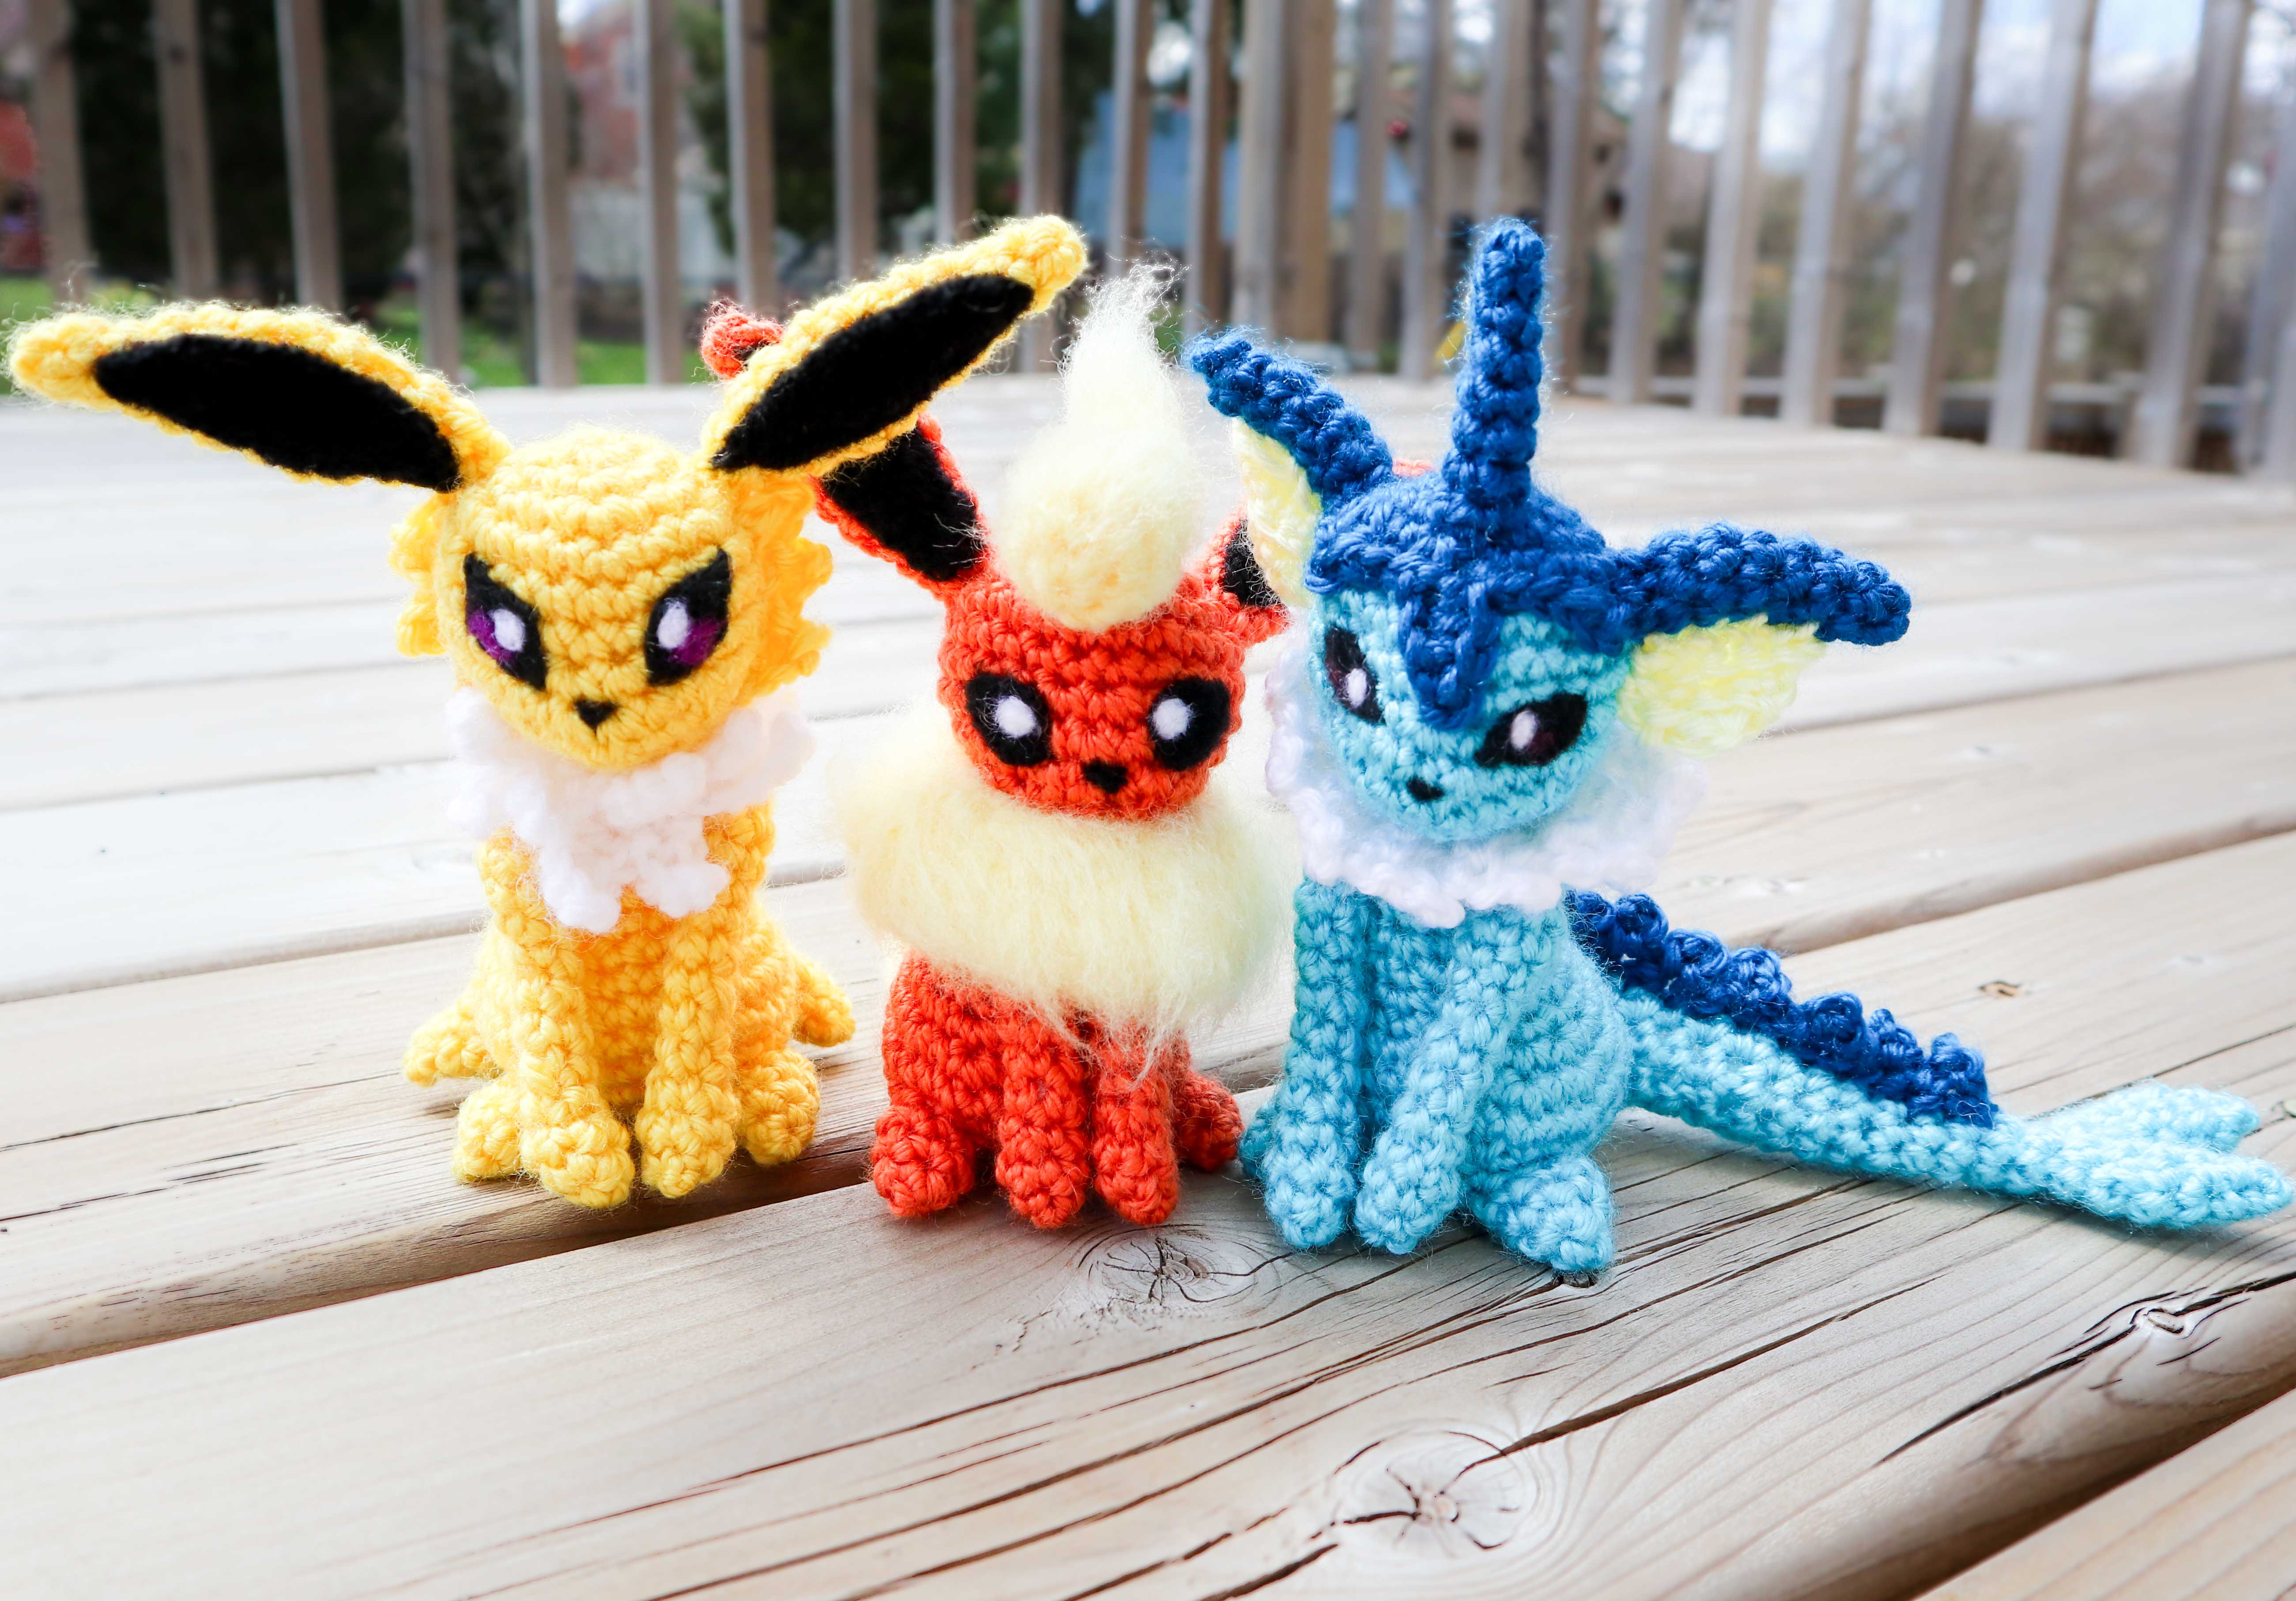
Thank you for trying this pattern – I hope you enjoy your Amigurumi Vapreon!
Click here to purchase a downloadable version of this Vaporeon crochet pattern!
This pattern by StringsAway is for personal use only. Please do not sell or redistribute the pattern as your own.
2 Responses
Beatriz Santander
The spanish translation is wrong. IT says Diciembre, instead of Dec. (Decrease)
Lisa
Thanks for commenting! Unfortunately I do not make the translations for the website (they are auto generated by Google I believe.) I have only posted the original website in English! Sorry about that.