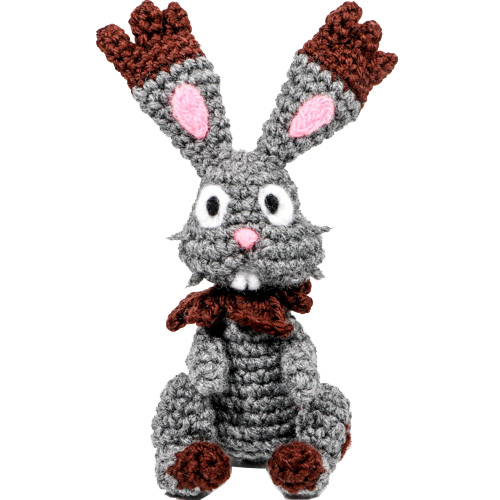
I wanted to crochet a bunny-like Pokemon for Easter. Since already have free patterns for Buneary and Scorbunny , I guess that leaves little Bunnelby!
Bunnelby is a goofy looking rabbit, it uses its ears as shovels to burrow below the ground. Indeed, the name Bunnelby comes from ‘tunnel’ and ‘bunny.’
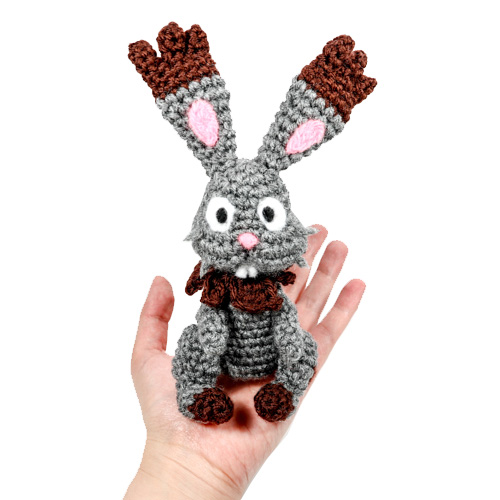
When completed, Bunnelby is approximately 7″ tall (tail to tip of ears) and 3″ wide, and fits in the palm of one hand. I would recommend this pattern for intermediate-level crocheters as it involves color changing and using different types of stitches.
Materials
- Yarn: Grey, Brown
- 3.5 mm crochet hook – fiber-fill stuffing
- Felt: black, white, pink (for the eyes, nose, mouth, ears) and felting needle if desired
- Scissors, yarn needle for assembly
Abbreviations
R(#): Round number
MR: magic ring
Sc: single crochet
Inc: increase (2 sc in same stitch)
Tc: Treble/triple crochet
Dec: decrease (decrease 2 sc into one)
I recommend using Invisible Decrease
Ch: chain
Sl st: slip stitch
f/o: fasten off
Check out my Learn to Crochet page for video tutorials on how to do the types of stitches listed above.
This pattern is worked in continuous rounds. Instructions between apostrophes: ‘ … ‘ are repeated as many times in the round as indicated. This pattern assumes that you stuff body parts as they are made before closing.
Head
Using Grey:
R1. 6 Sc in MR (6)
R2. Inc around (12)
R3. ‘Sc 1, inc’ around (18)
R4-R6. Sc around (18) three times
R7. Sc 4, Inc 10, Sc 4 (28)
R8. Sc 4, ‘Sc 1, inc’ four times, skip 1 sc on base, ‘Sc 1, inc’ four times, Sc 6 (34)
R9. Sc 4, ‘Sc 1, dec’ four times, skip 1 sc on base, ‘Sc 1, dec’ four times, Sc 5 (25)
R10. Sc 4, Dec 8, Sc 5 (17)
R11. Sc 1, Dec 8 (9)
F/o and do not close the opening. Leave a tail for sewing onto the body. Stuff.
Body
Using Grey:
R1. 6 Sc in MR (6)
R2. Inc around (12)
R3. ‘Sc 1, inc’ around (18)
R4-7. Sc around (18) four times
R8. ‘Sc 5, inc’ around (21)
R9-12. Sc around (21) four times
R13. ‘Sc 5, dec’ around (18)
R14. ‘Sc 1, dec’ around (12)
R15. Dec around (6)
F/o, close loop.
Ears
Begin with Brown:
R1. 4 in MR (4)
R2-3. Sc ar (4) two times
F/o and repeat above 2 more times to make 3 ends. When completing the 3rd end, do not f/o but continue on:
R4. Join the ends together- Sc 2 on middle piece, Sc 4 on one end piece, Sc 2 across back of middle piece, and Sc 4 on final ear piece (12)
R5. ‘Sc 5, inc’ around (14)
R6. Sc around (14)
Switch to Grey:
R7. Sc around (14)
R8. ‘Sc 5, dec’ around (12)
R9. ‘Sc 4, dec’ around (10)
R10. Sc around (10)
R11. ‘Sc 3, dec’ around (8)
R12. Sc around (8)
R13. ‘Sc 2, dec’ around (6)
F/o, leave a tail for sewing to the head. Repeat all of the above a second time to make 2 ears.
Arms
Make 2 -Using Grey:
R1. 4 Sc in MR (4)
R2. ‘Sc 1, inc’ around (6)
R3-4. Sc around (6) two times
Make a shoulder for sewing:
ch 1, turn, Sc 4. F/o and leave a tail to sew to body.
Tail
Using Grey:
R1. 4 Sc in MR (4)
R2. Sc around(4)
R3. ‘Sc 1, inc’ around (6)
R4. Sc around (6)
F/o, leave a tail to sew to body.
Feet
Make 2- Begin with brown:
R1. 6 in MR (6)
R2. ‘Sc 2, inc’ around (8)
R3. Sc around (8)
Switch to grey:
R4-R5. Sc around (8) two times
R6. ‘Sc 2, dec’ around (6)
F/o and close loop.
Legs
Make 2- using Grey:
R1. 6 in MR (6)
R2. ‘Sc 2, inc’ around (8)
R3. ‘Sc 3, inc’ around (10)
R4. ‘Sc 4, inc’ around (12)
R5. Sc around (12)
R6. Dec around (6)
F/o, close loop, leaving a tail to attach foot.
Neck Scarf
Using brown- make a circular base:
R1. 6 Sc in MR (6)
R2. Inc around (12)
R3. ‘Sc 3, Inc’ around (15)
Now you will make the frills. Please reference this video for clarification:
Small Frill: Ch 4, in 3rd from hook: Sc 2 towards base. Sl st onto next stitch on circular base.
Large Frill: Sl st onto next stitch on circular base. Chain 7. In 2nd from hook, sl st. Then, Tr into 2nd chain , Tr onto 1st chain. Sl st onto next stitch on circular base.
Sc onto next stitch on base, and repeat all of the above instructions to make 2 more small and large frills.
Assembly of Crochet Bunnelby
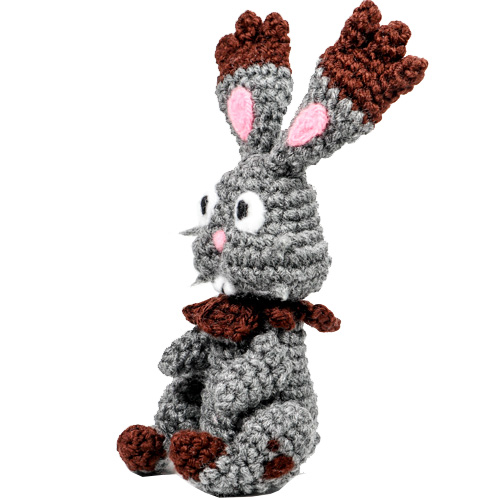
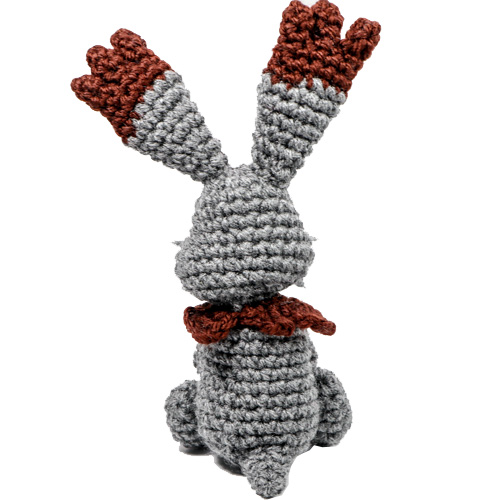
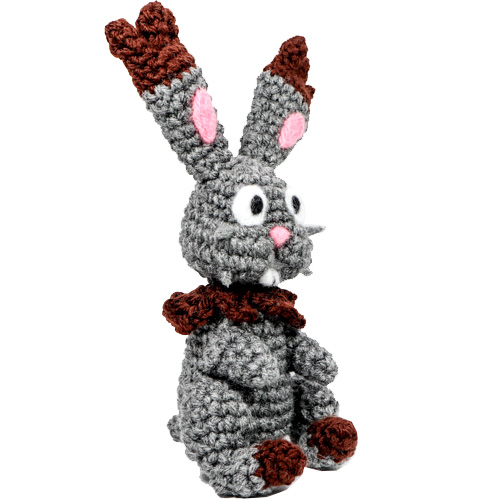
Assemble as shown in pictures- be sure to pin limbs in place before sewing to properly adjust position.
Head: Sew the two ears onto the head, separated by the width of the magic circle of R1 of the head.
Body: Sew the neck frill piece to the top of the body. Sew the arms to either side below the frill and the legs to either side of the body below the arms. Sew the feet over the end of the legs. Sew the tail to the back of the body. Finally sew the head on top of the neck frills.
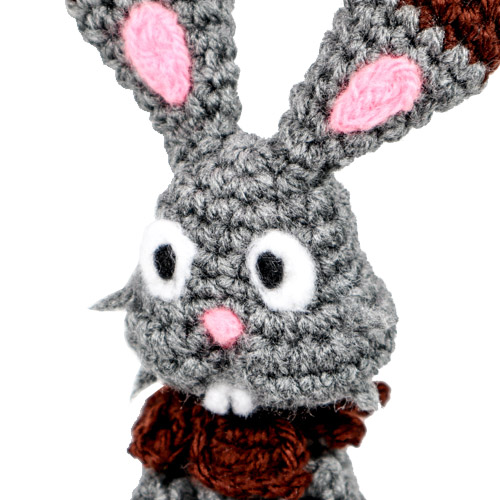
Facial details were added by needle felting loose yarn ends . This technique was used to make the eyes, nose, teeth, whiskers, and pink parts of the ears.
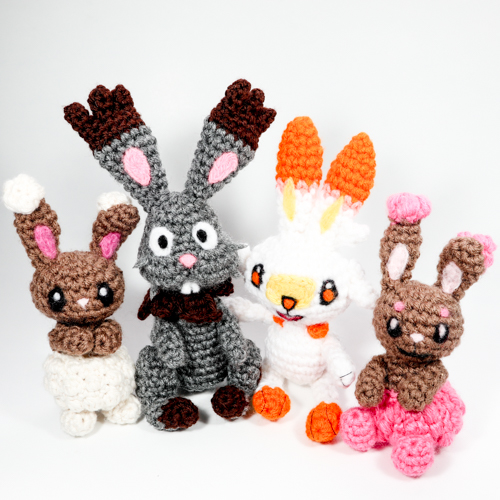
Thank you for trying this pattern – I hope you enjoy your Amigurumi Bunnelby!
Coming soon to my shop- a downloadable version of this Bunnelby crochet pattern!
This pattern by StringsAway is for personal use only. Please do not sell or redistribute the pattern as your own.
