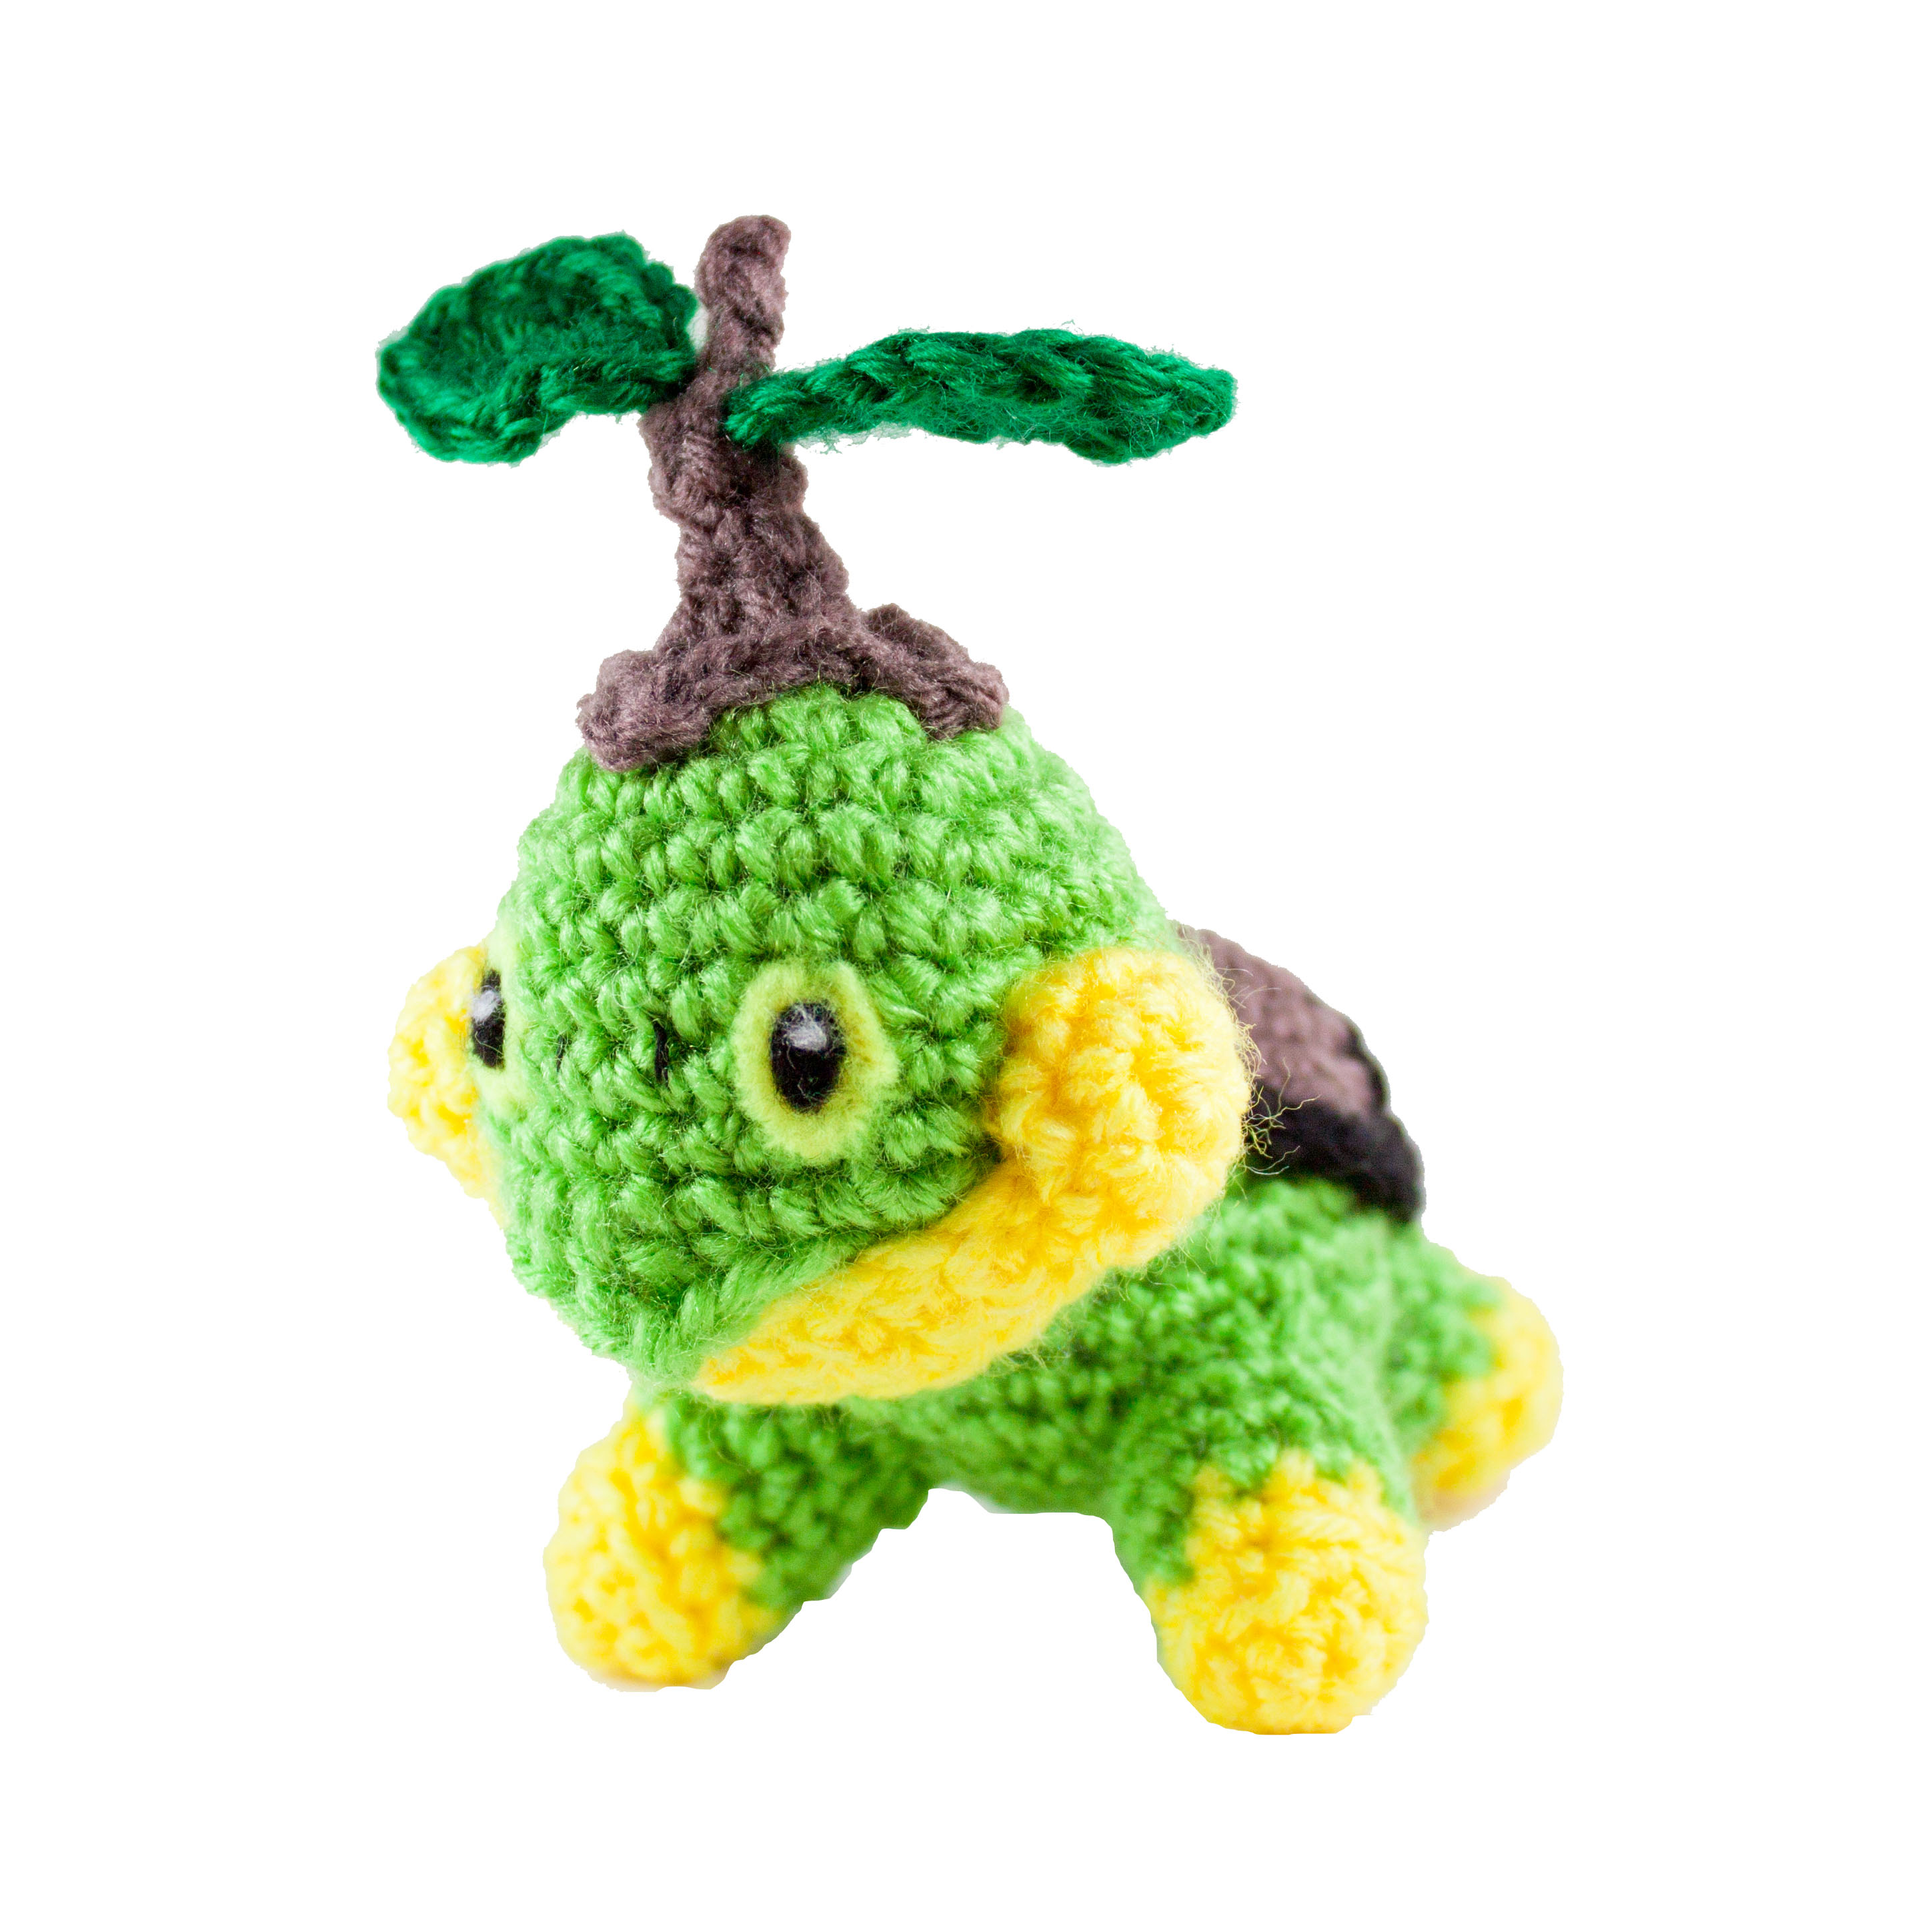
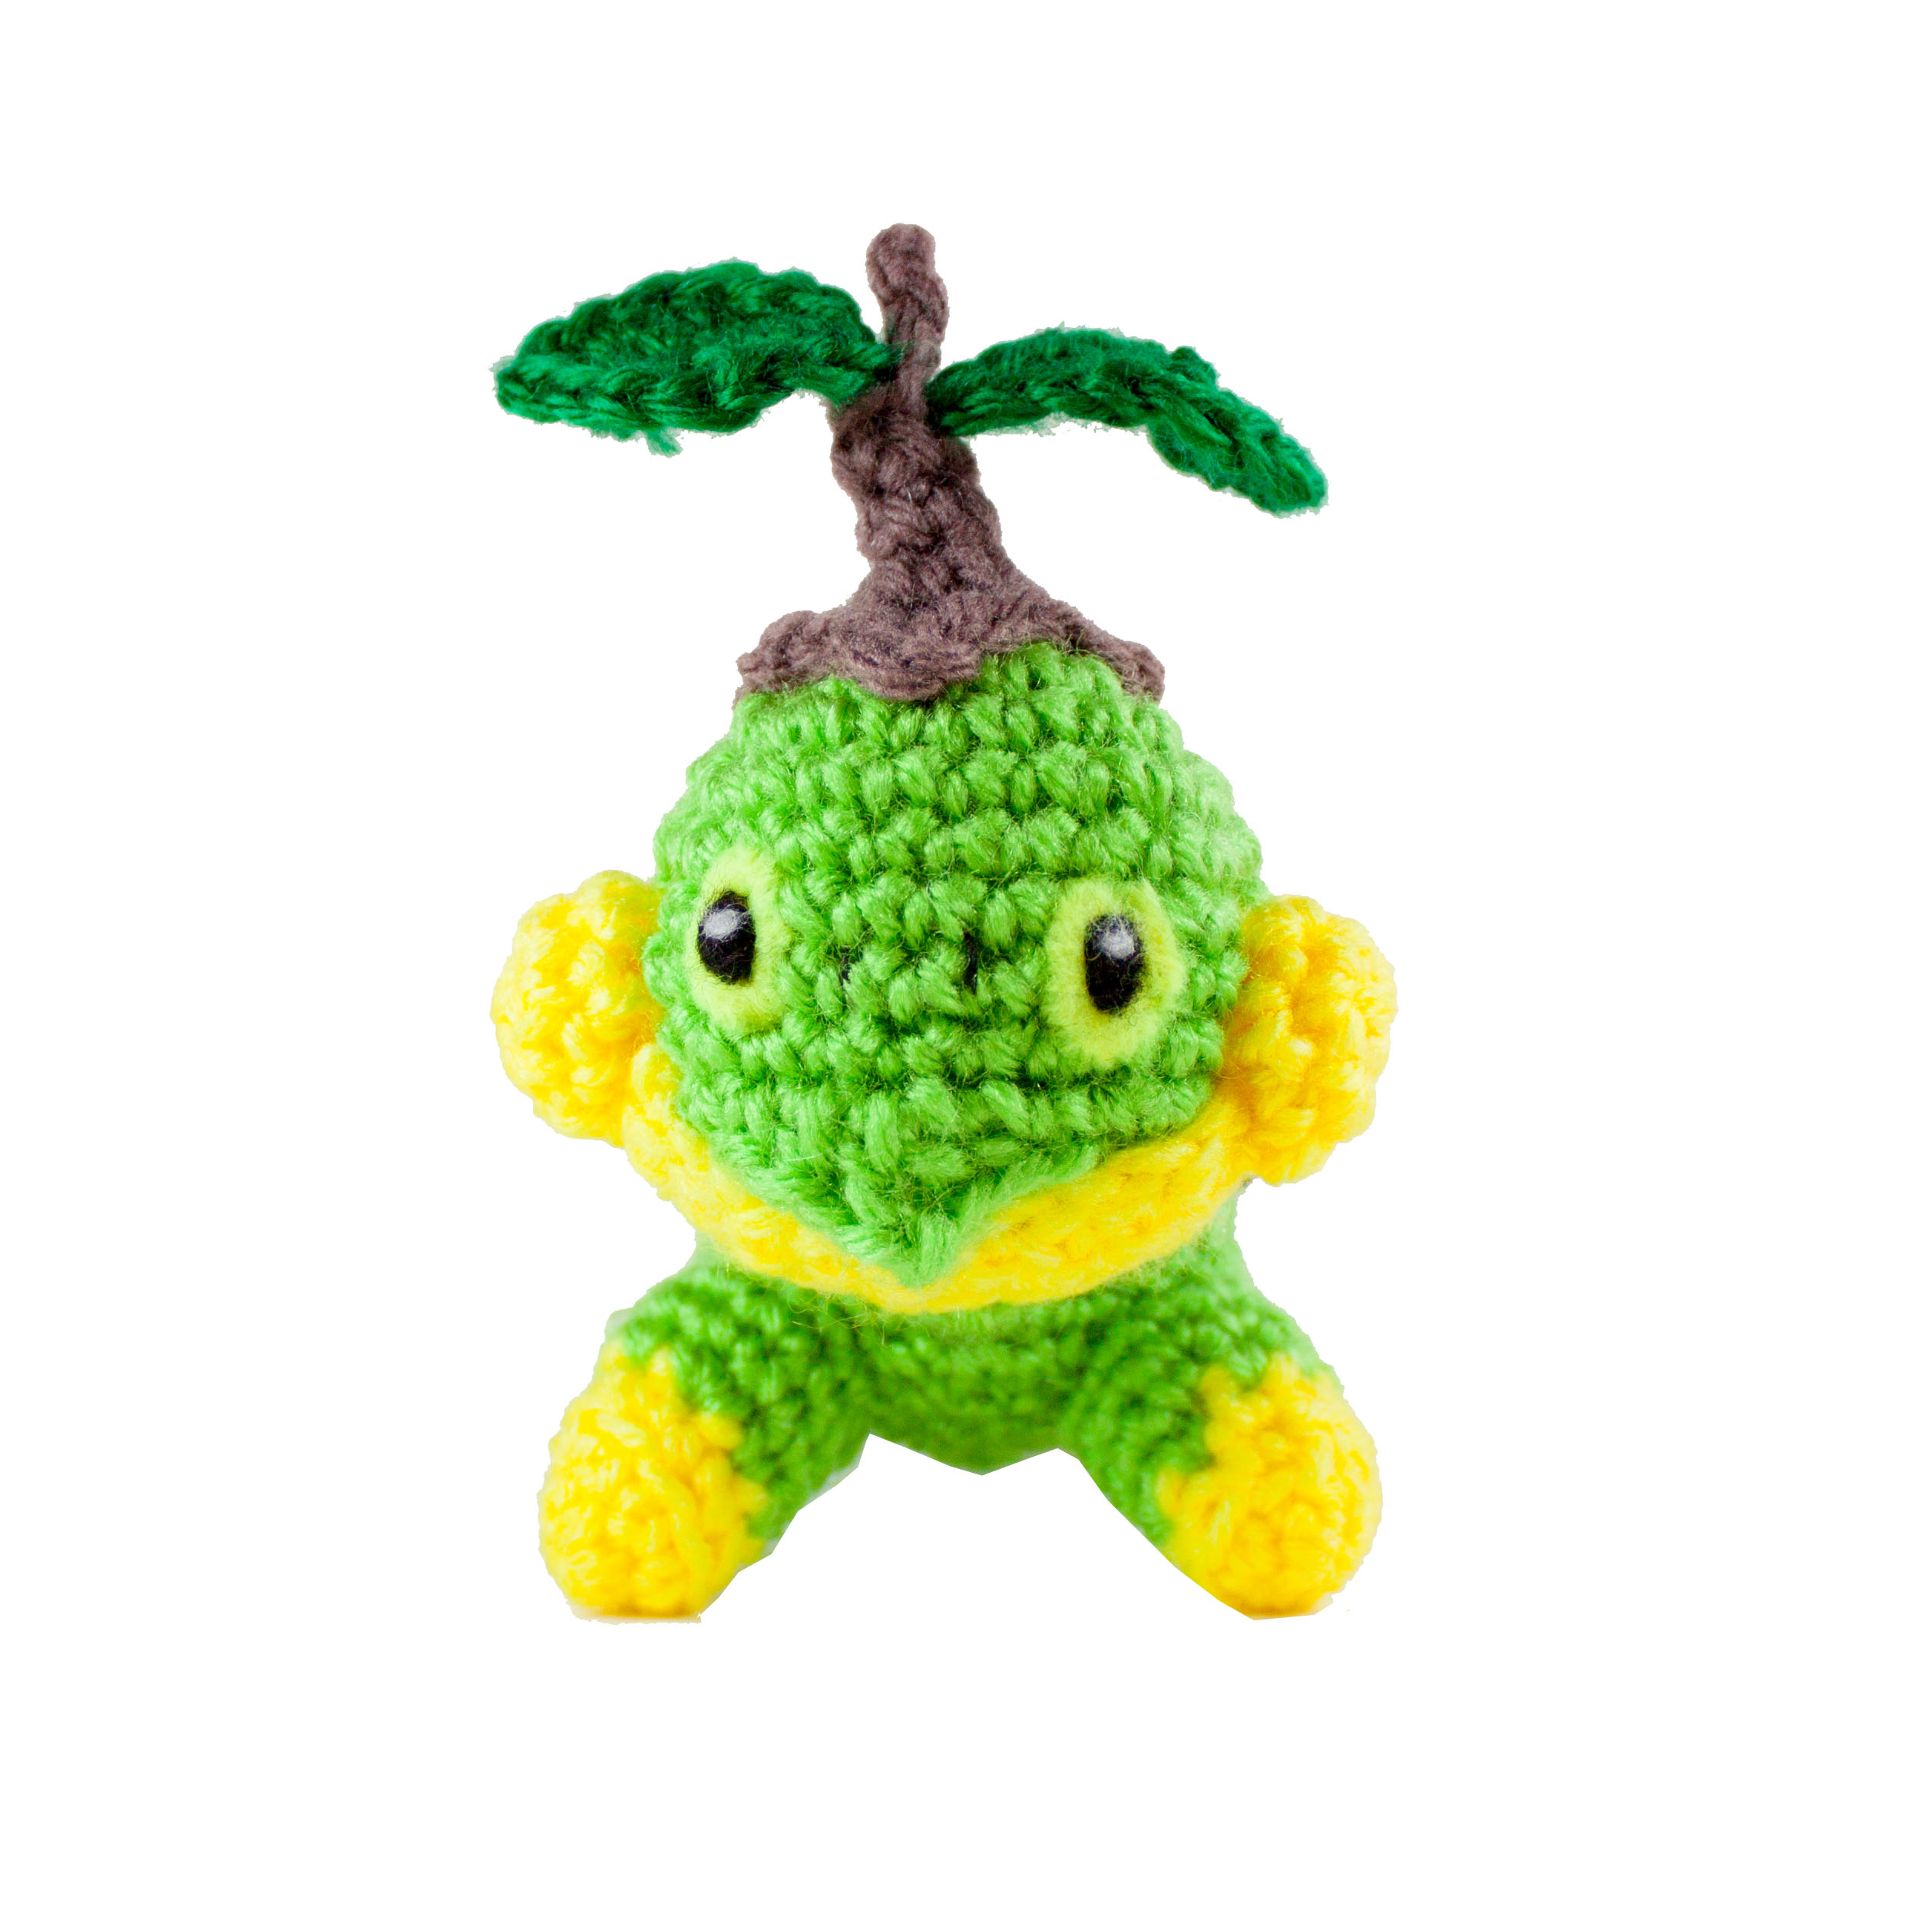
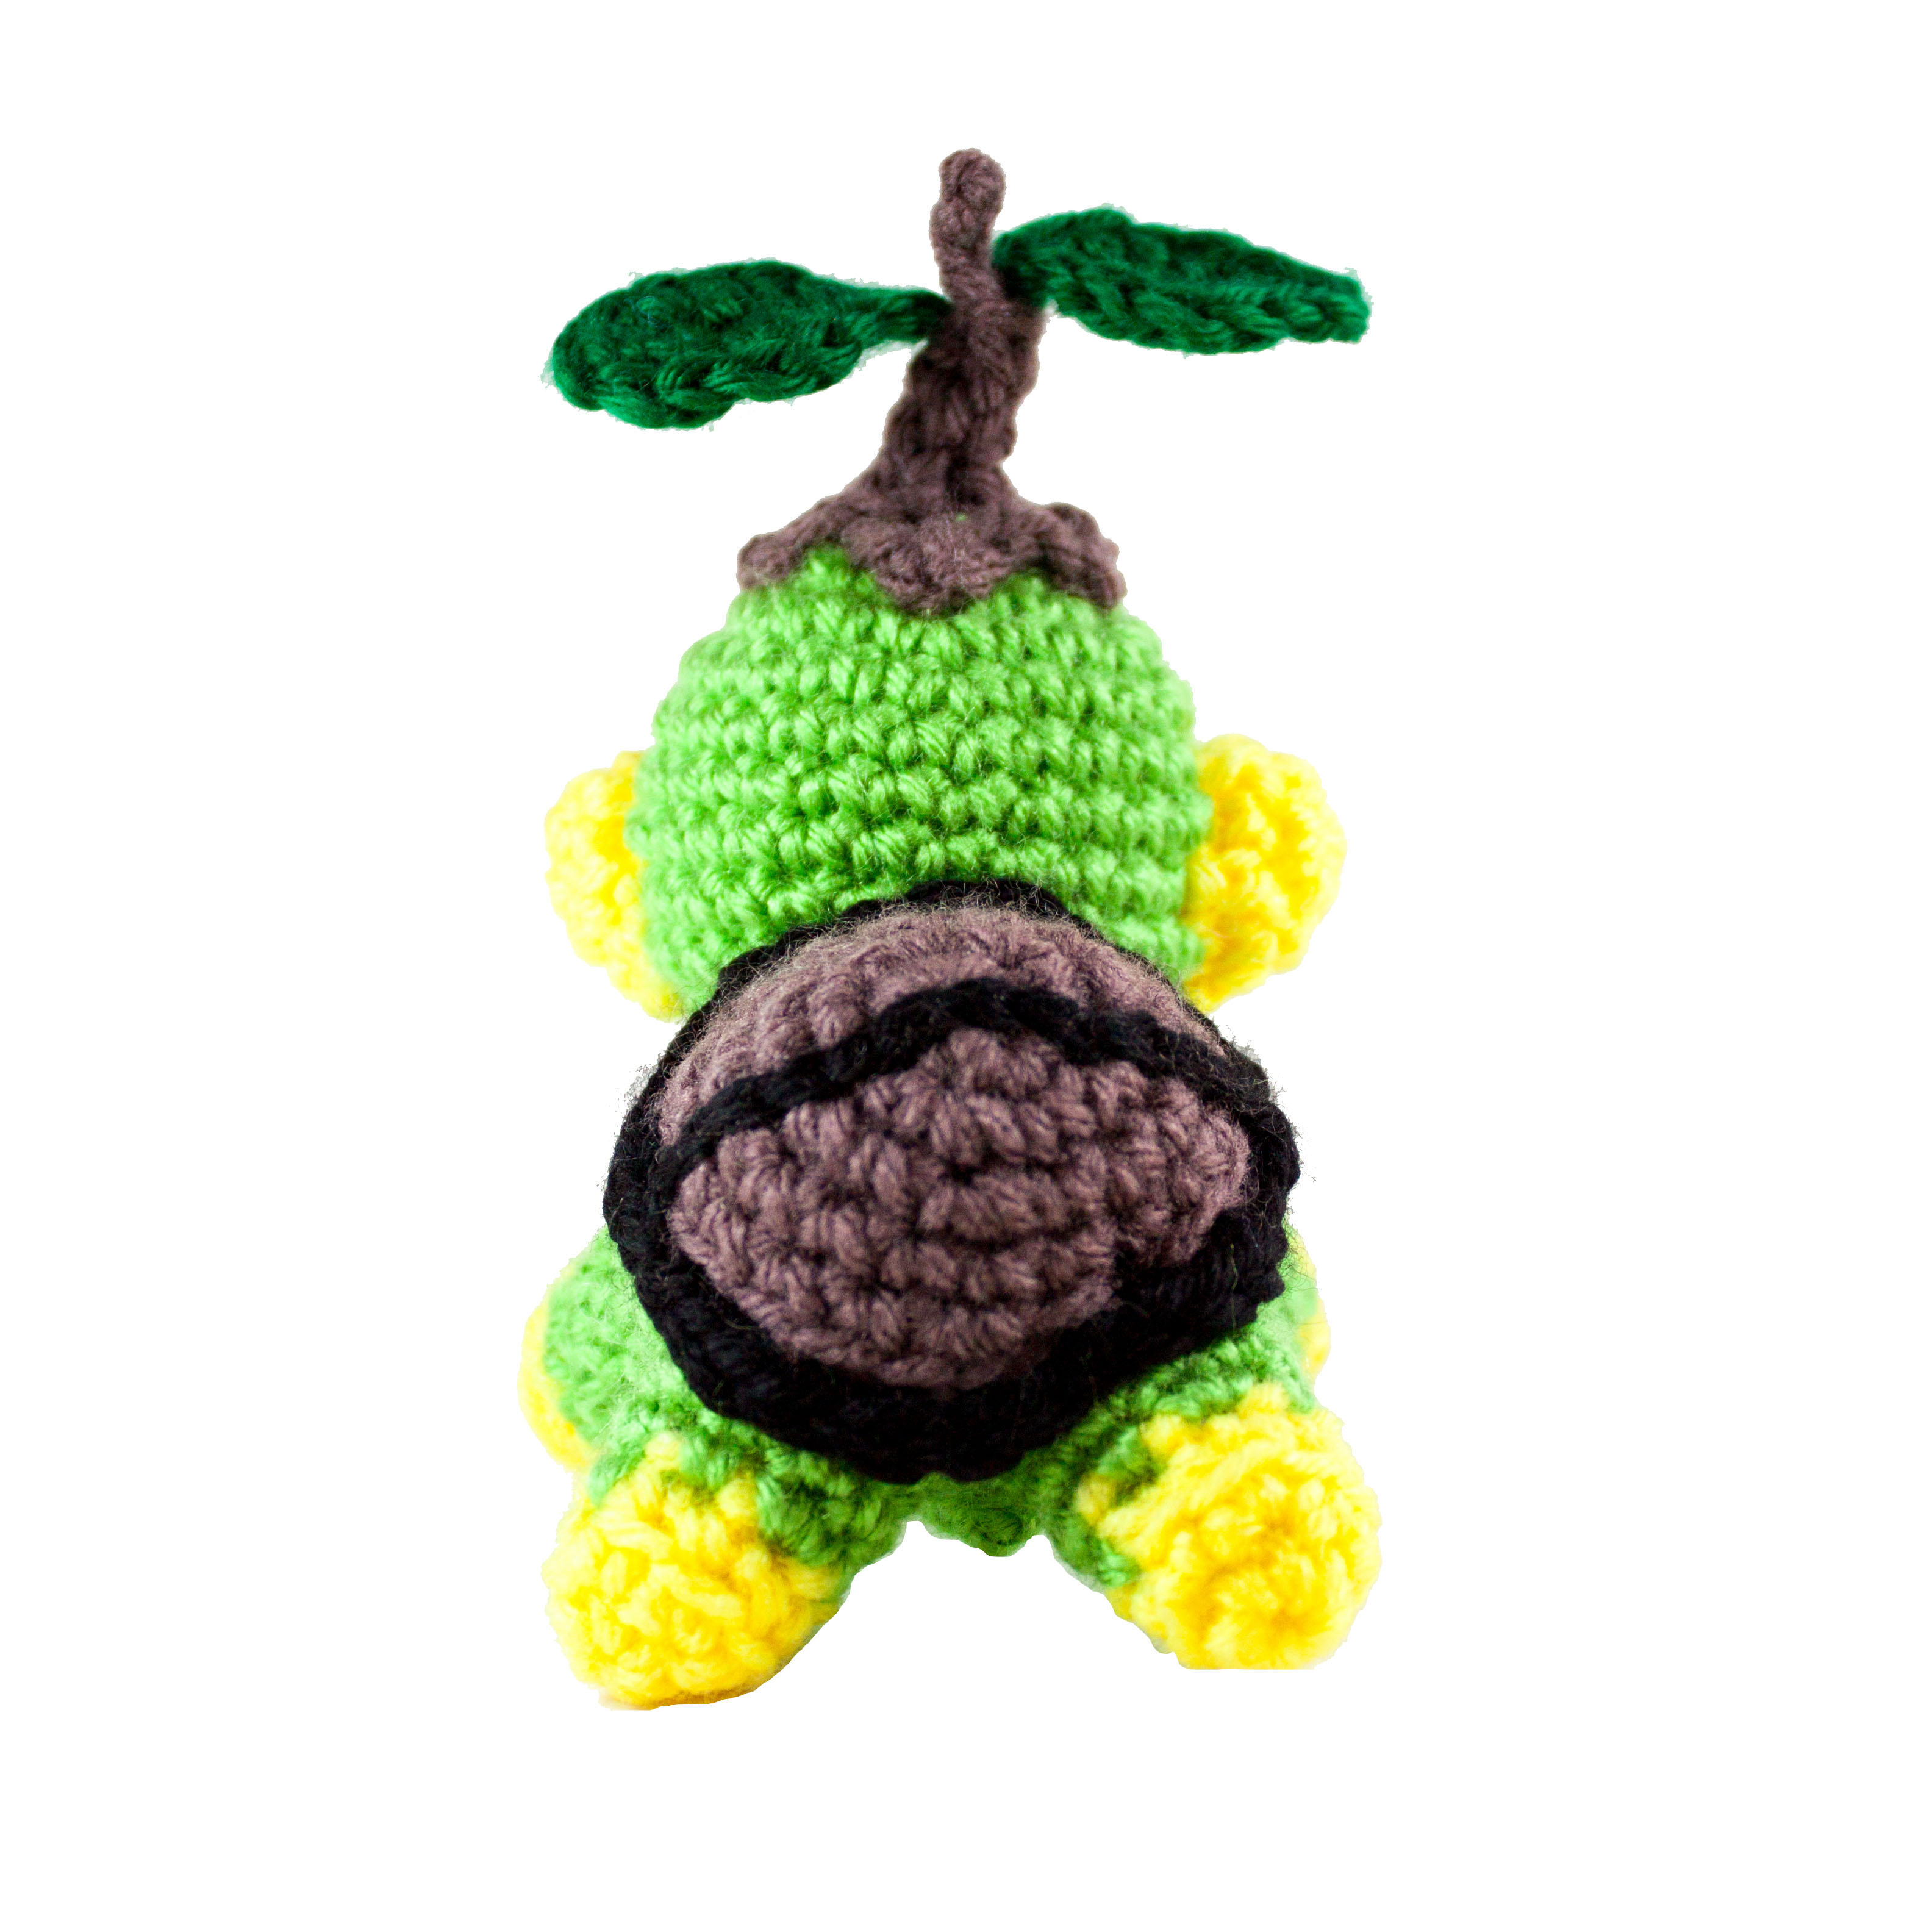
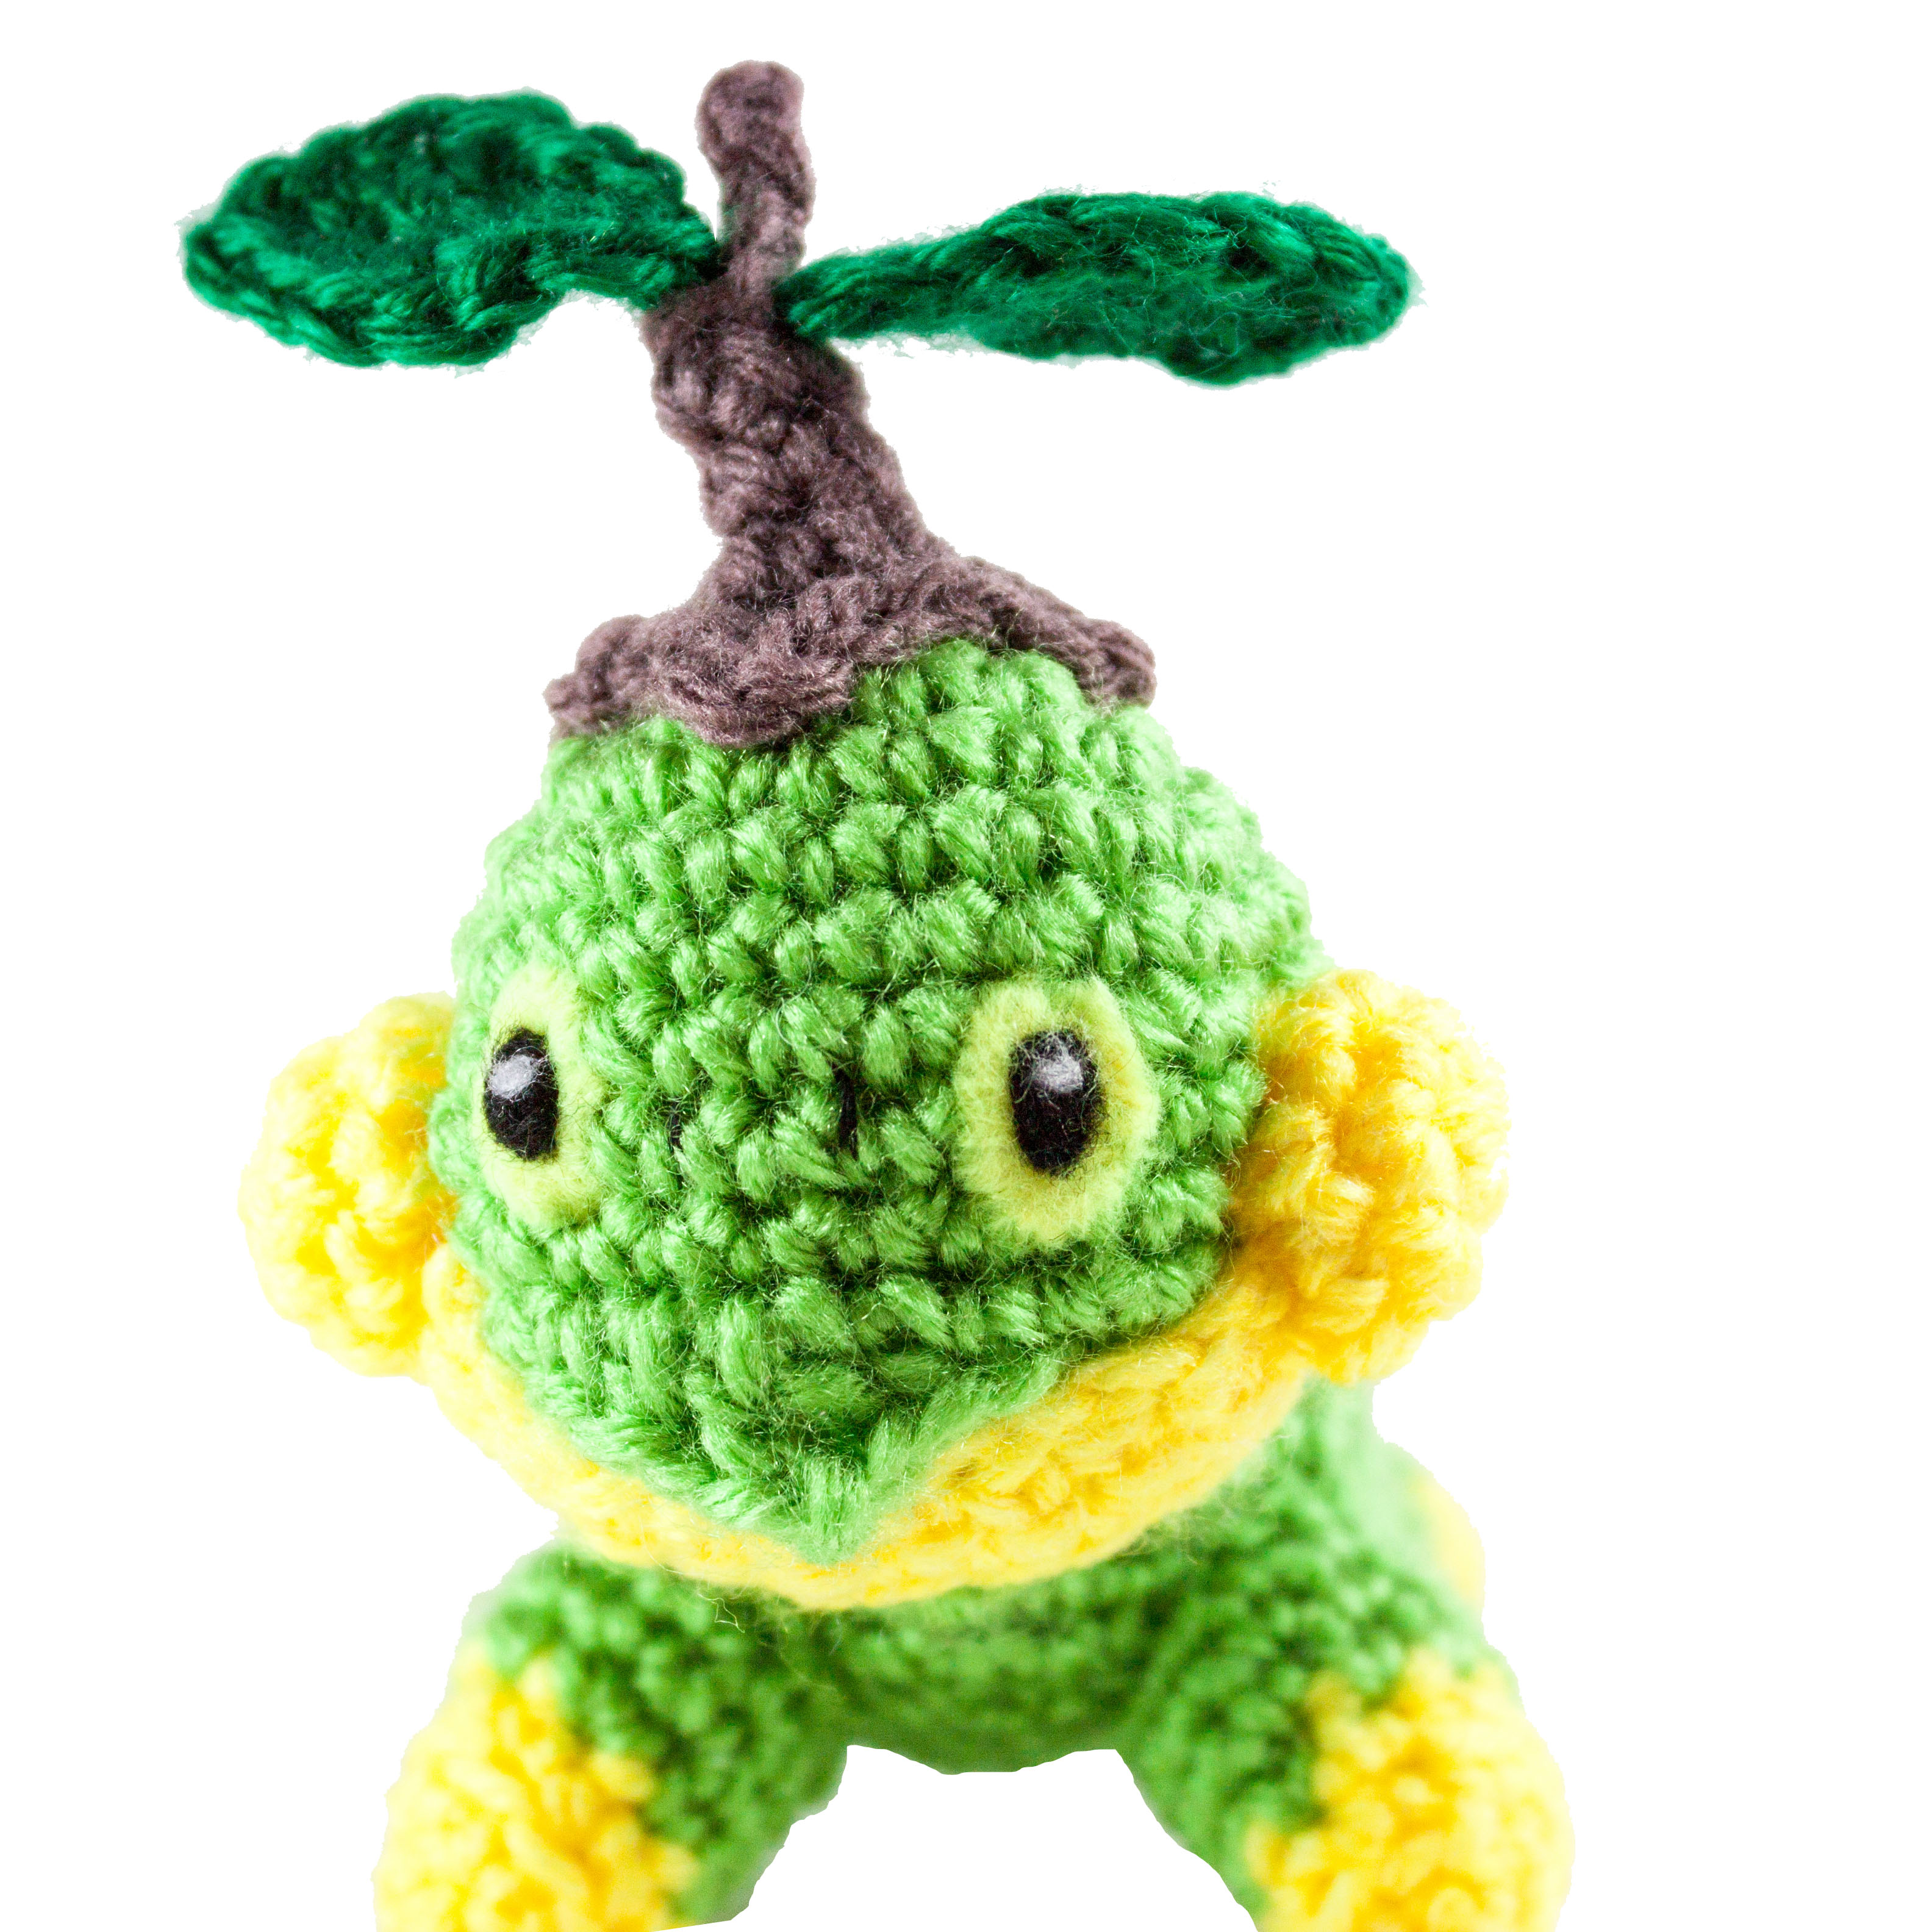
Here comes Turtwig the derpy turtle. I mean, maybe I’m the only one who thinks it’s derpy, but the leaves on his head really remind me of those goofy hats with the spinny helicopters on top that blow in the wind. Do you see it too? Turtwig is the grass-type starter from Pokemon generation 4 (Sinnoh.) Crochet your own now!
Prefer a pdf version to download and print? Buy one here!
Materials
- Yarn: Light green, yellow, dark green (light yarn or ply 3 was used)
- 3.5 mm crochet hook – fiber-fill stuffing
- Felt: black, white, yellow (for the eyes), felting needle if desired
- Scissors, yarn needle for assembly
Abbreviations
R(#): Round number
MR: magic ring
Sc: single crochet
Inc: increase (2 sc in same stitch)
Hdc: half double crochet
Hdc inc: Hdc increase (2 hdc in same stitch)
Dec: decrease (decrease 2 sc into one)
I recommend using Invisible Decrease
Tch: turn chain (chain one and switch directions)
Ch: chain
Sl st: slip stitch
f/o: fasten off
Check out my Learn to Crochet page for video tutorials on how to do the types of stitches listed above.
Head
Using Light Green:
R1. 6 sc in MR (6)
R2. Inc around (12)
R3. Sc 1, inc around (18)
R4. Sc 2, inc around (24)
R5. ‘Sc 7, inc’ around (27)
R6 – R9 Sc around (27) 4 x
R10. Snout -In outer loops only:
Sc, hdc,
In next sc [dc, ch 2, dc],
hdc, sc
Then (in both loops/as usual):
Sc in remaining 23 to end (27)
R11. ‘Sc 7, dec’ around (24)
R14. ‘Sc 2, dec’ around (18)
R15. ‘Sc 1, dec’ around (12)
R16. Dec around (6) f/o.
Don’t forget to add stuffing.
R28. Dec around (6) f/o
Body
Using Light Green, Begin by crocheting an oval:
R1. Ch 4
Sc in 2nd ch from hook and in each of the next 2 chains (3sc)
Inc in last chain (3sc in last chain)
Continue along the other side of the foundation chain: Sc 1, Inc.
End of R1 (8 sc total)
R2: inc, sc, inc 3, sc, inc 2(14)
R3: inc, sc 2, ‘inc, sc’ 3 times, sc, ‘inc, sc ’ 2 times (20)
R4: inc, sc 5, ‘inc, sc’ 3 times, sc 4, ‘inc, sc’ 2 times (26)
R5: inc, sc 7, ‘inc sc 2’ 3 times, sc3, ‘inc, sc 2’ 2 times (32)
R6-R7: Sc around (32)
R8: dec, sc 7, ‘dec, sc 2’ 3 times, sc3, ‘dec, sc 2’ 2 times (26)
R9: dec, sc 5, ‘dec, sc’ 3 times, sc 4, ‘dec, sc’ 2 times (20)
R10: dec, sc 2, ‘dec, sc’ 3 times, sc, ‘dec, sc ’ 2 times (14)
R11: dec around (7) Sew opening closed.
Legs
Make 4. Begin with yellow:
R1.6 sc in MR (6)
R2. Sc 1, inc, Sc 2, inc, Sc 1 (8)
R3. In outer loops: Sc around (8)
Change to light green:
R4. Sc 1, inc, Sc 4, inc, Sc 1 (10)
R5-6. Sc around (10) 2x
On 2 of the legs only (front legs) – proceed to R7.
R7. Sc around (10) f/o
Shell
Begin with brown:
R1.6 sc in MR (6)
R2. Inc around (12)
R3. ‘Sc 1, inc’ around (18)
R4. Sc around (18)
R5. ‘Sc 5, inc’ around (21) f/o
Then using black:
Slip stitch to join onto shell. Surface crochet a black line across the the top of the shell, once you’ve reached the other side:
R6. Sc around the shell for 1 more round (21) f/o.
Chin
Using yellow:
Row 1. Ch 9, tch
Row 2. Sc 9, tch
Row 3. Sc 9, f/o
Cheeks
Make 2 -using yellow:
R1. 5 Sc in MR (5)
R2-R3. Inc around (10) 2x, f/o
Leaves
Using dark green
ch 9. Beginning in 2nd ch from hook, work back along the chain:
Sl st, sc, hdc, dc, dc, hdc, sc, sl st,
Turn work and repeat in other direction:
Sl st, sc, hdc, dc, dc, hdc, sc, sl st
Continue directly to the second leaf: repeat from beginning (ch 9 etc.)
When you finish you should have two leaves that stem from one joined base.
Twig
Using brown:
R1.7 sc in MR (6)
R2. Working in outer loops:
Sl st to next ch, ch 3, join with sl st into next ch on loop
Repeat 3 more times.
sl st into next ch
ch 1 and turn work (you will be going ‘back,’ in the opposite direction. In the reference picture, your next sc will take place in the stitch indicated by the yellow pin, and continue on in the direction of the white pins.)
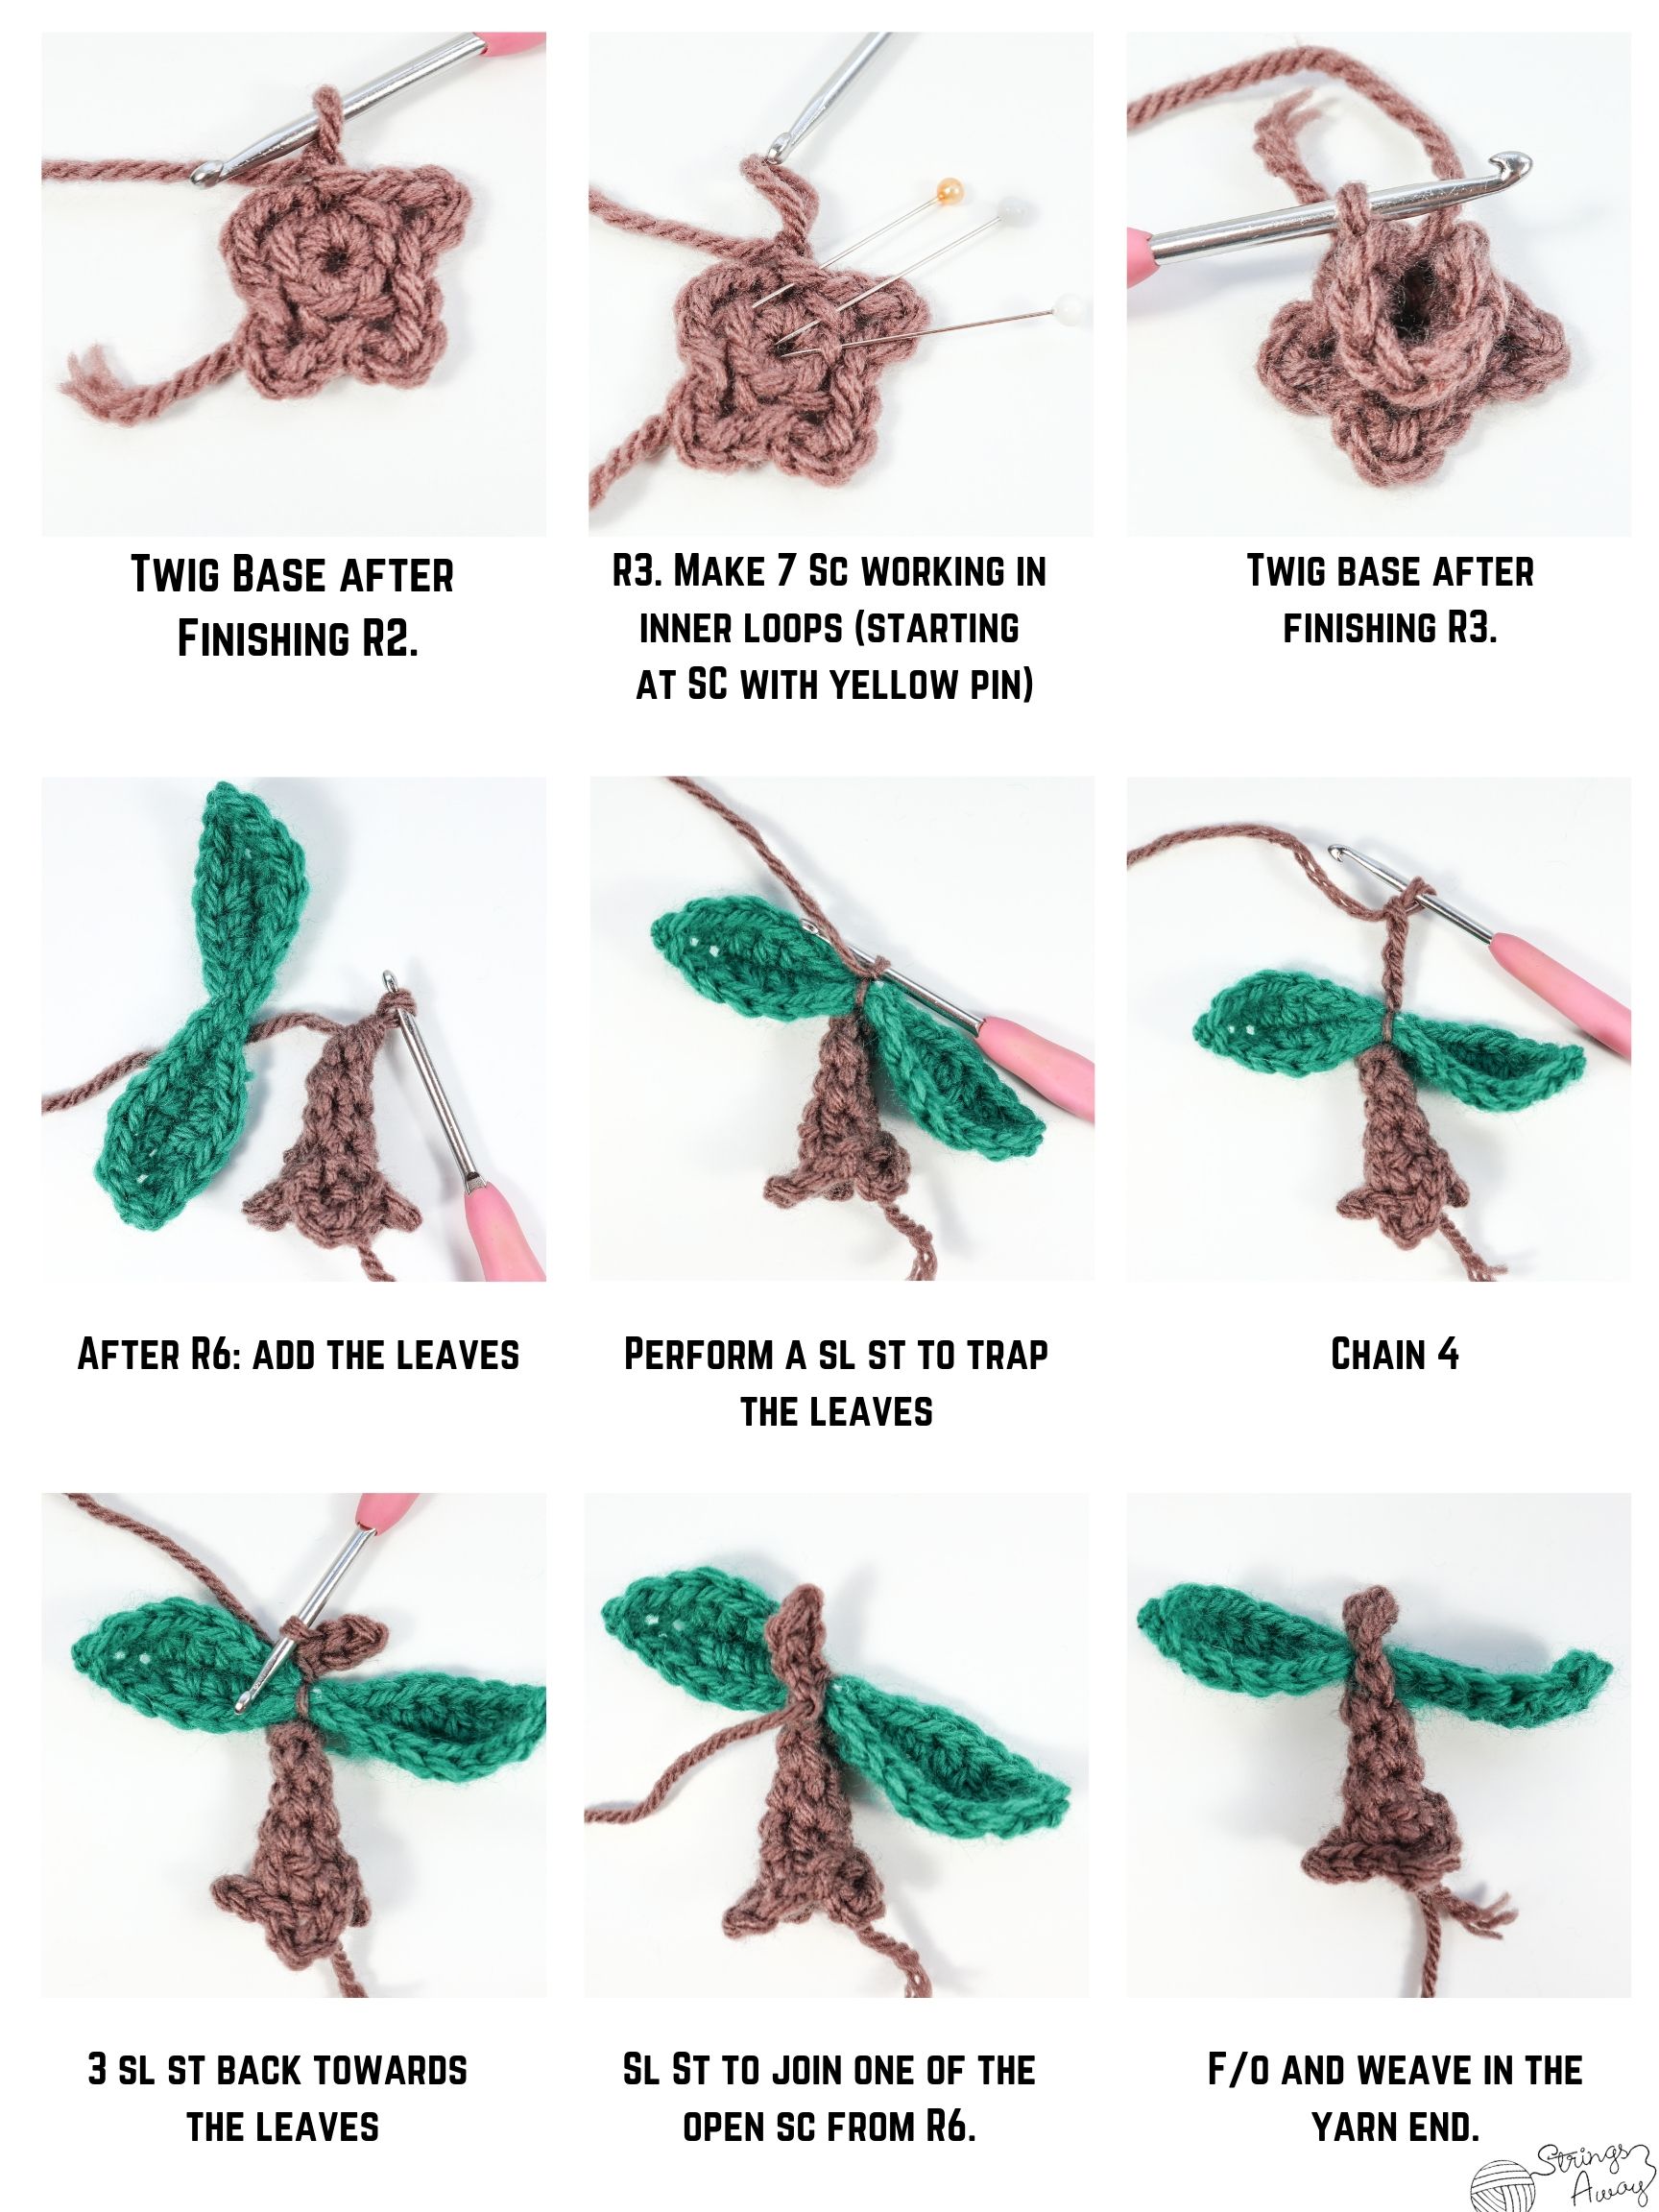
Working in the remaining inner loops:
R3. Make 7 Sc working in
Continue working in the round as usual:
R4. Dec, sc1, dec, sc 2 (5)
R5. Sc ar (5)
R6. Dec, sc, dec (3)
Place the two leaves on top of your work so far. Do a tight sl st to ‘trap’ the leaves in the stem.
Chain 4, then working back (in second ch from hook), 3 sl st, and sl st into one of the open stitches of R6. F/o and weave in the thread.
Assembly of Crochet Turtwig
Attach the twig and leaves to the top of the head. Attach the cheeks and jaw to the head. Attach the head to the front of the body and shell over the back – angle the shell slightly towards the back to ensure the head appears to emerge from the body not from the top of the shell. Finally attach the legs – with the longer legs positioned at the front and slightly angled to ‘push’ Turtwig off the ground and prevent the weight of the head from tipping forward.
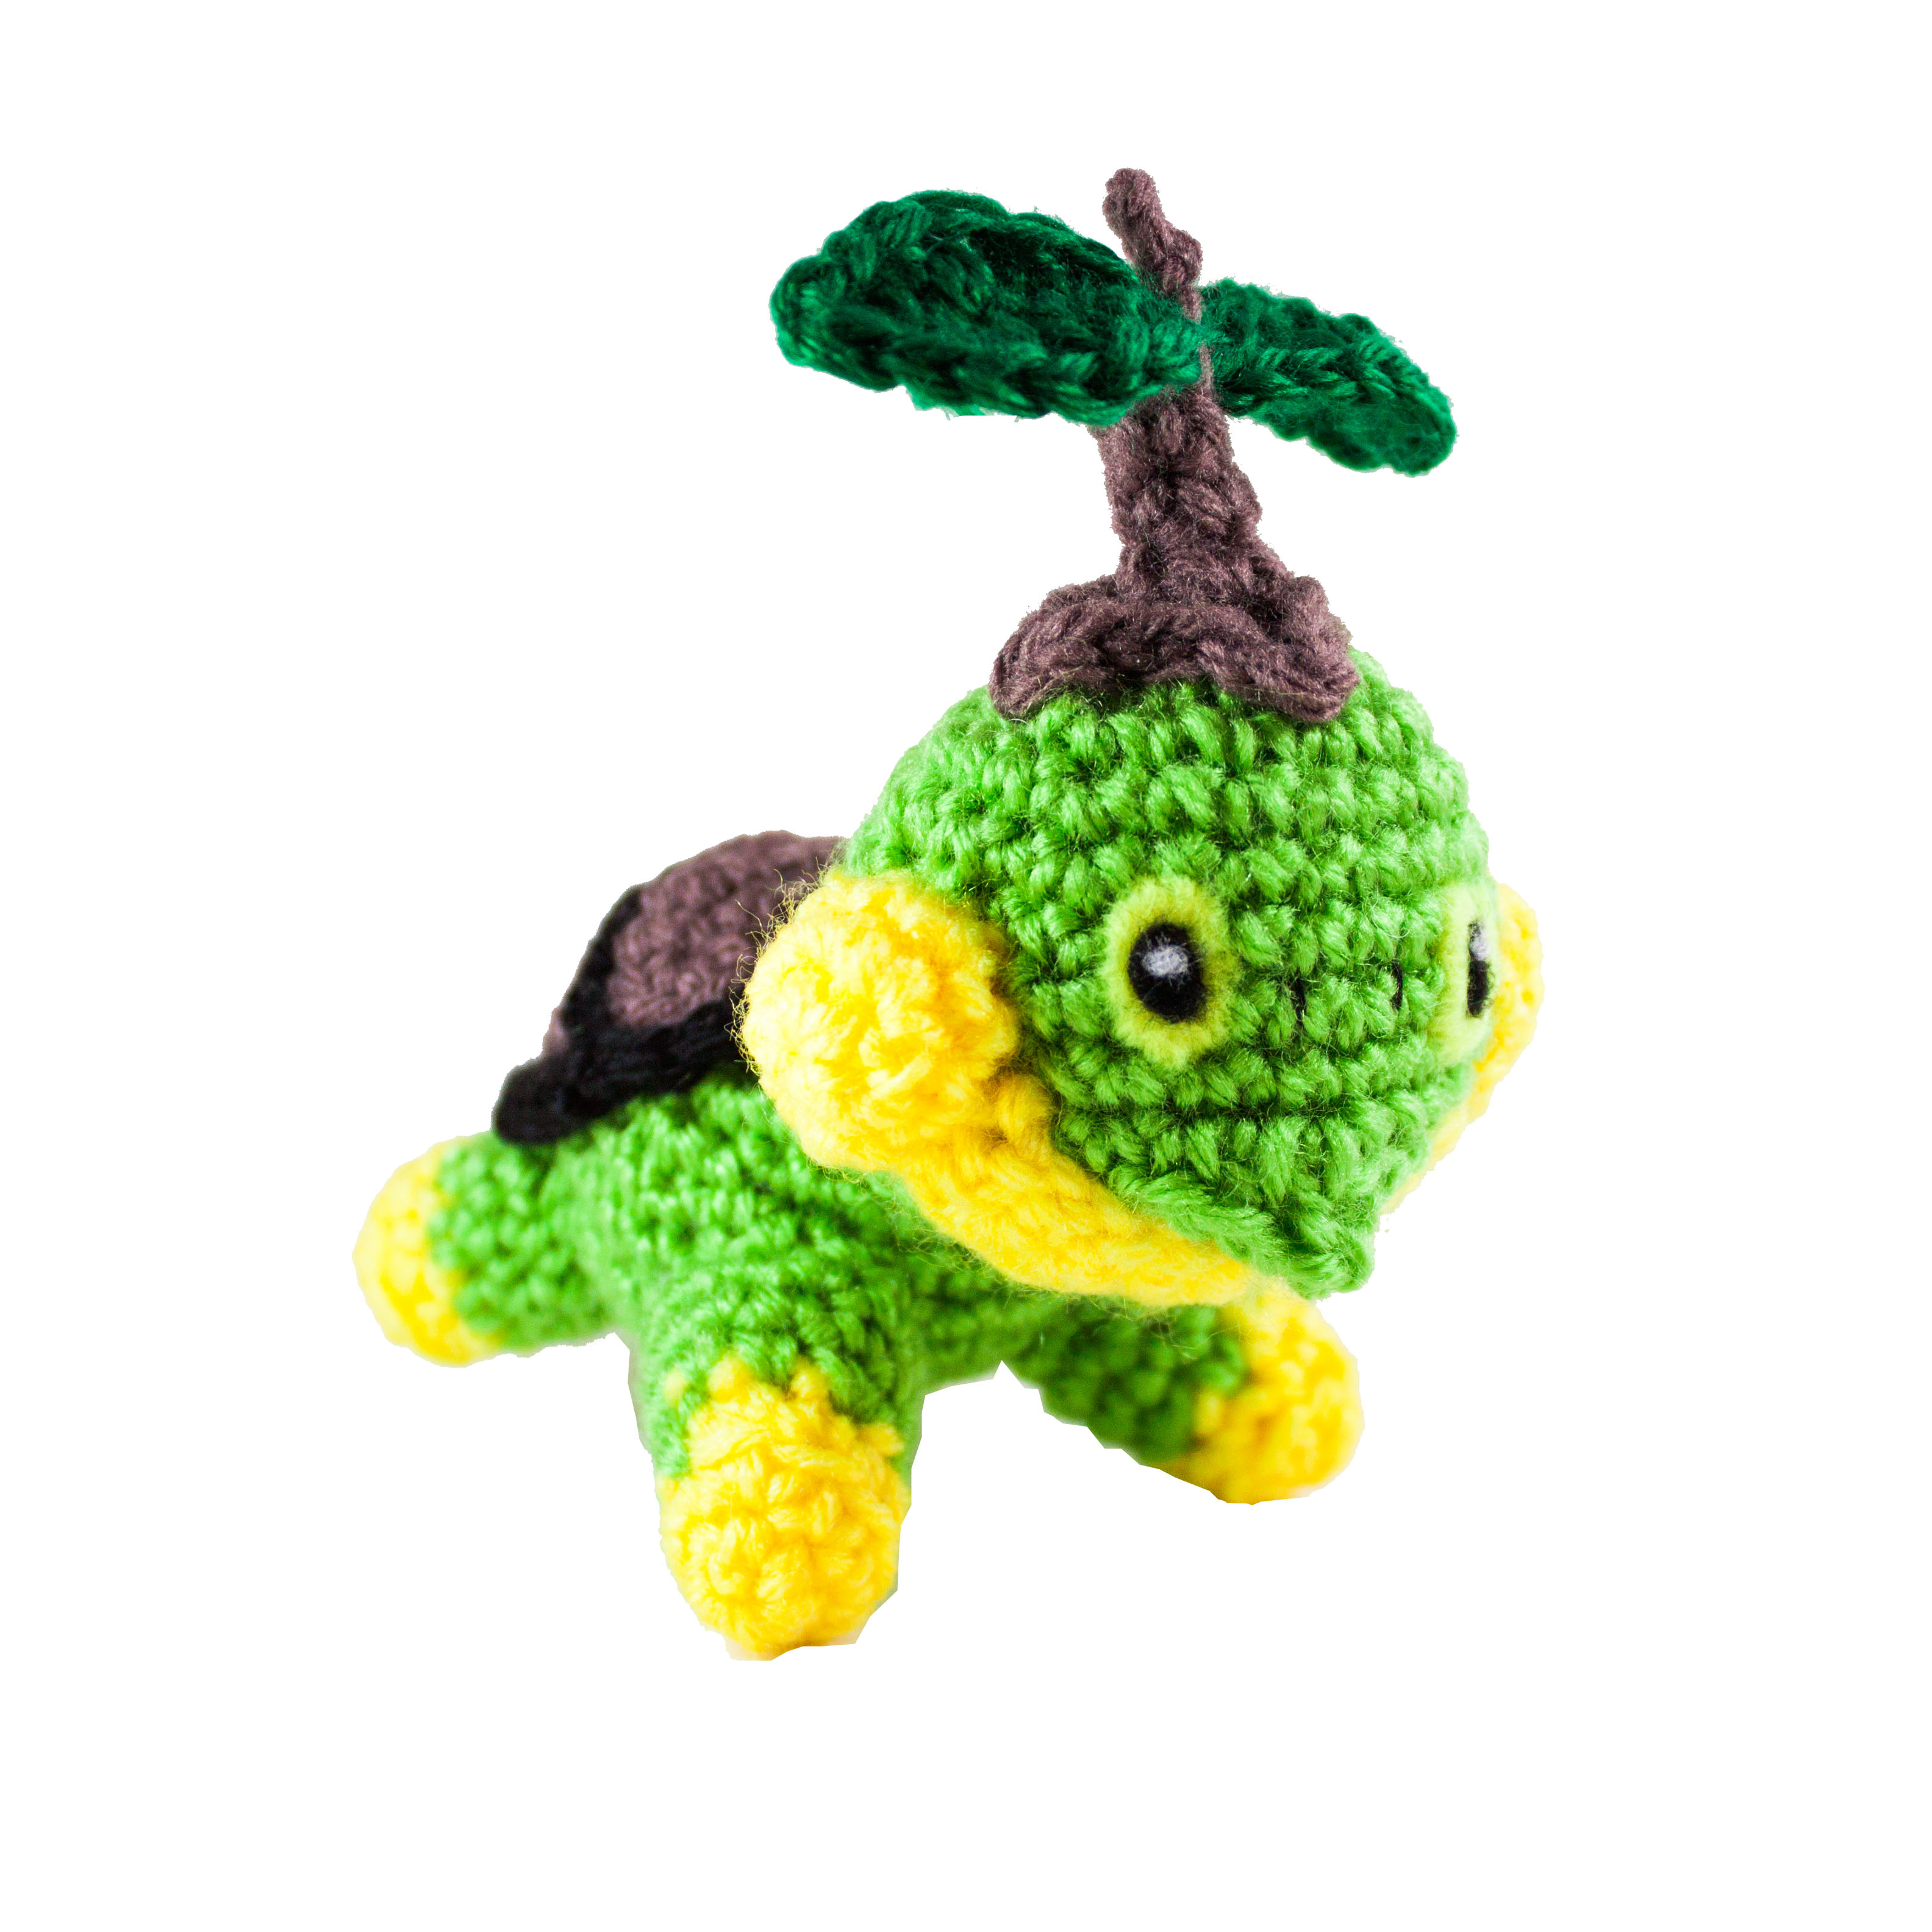
I hope you enjoy your Turtwig Amigurumi!
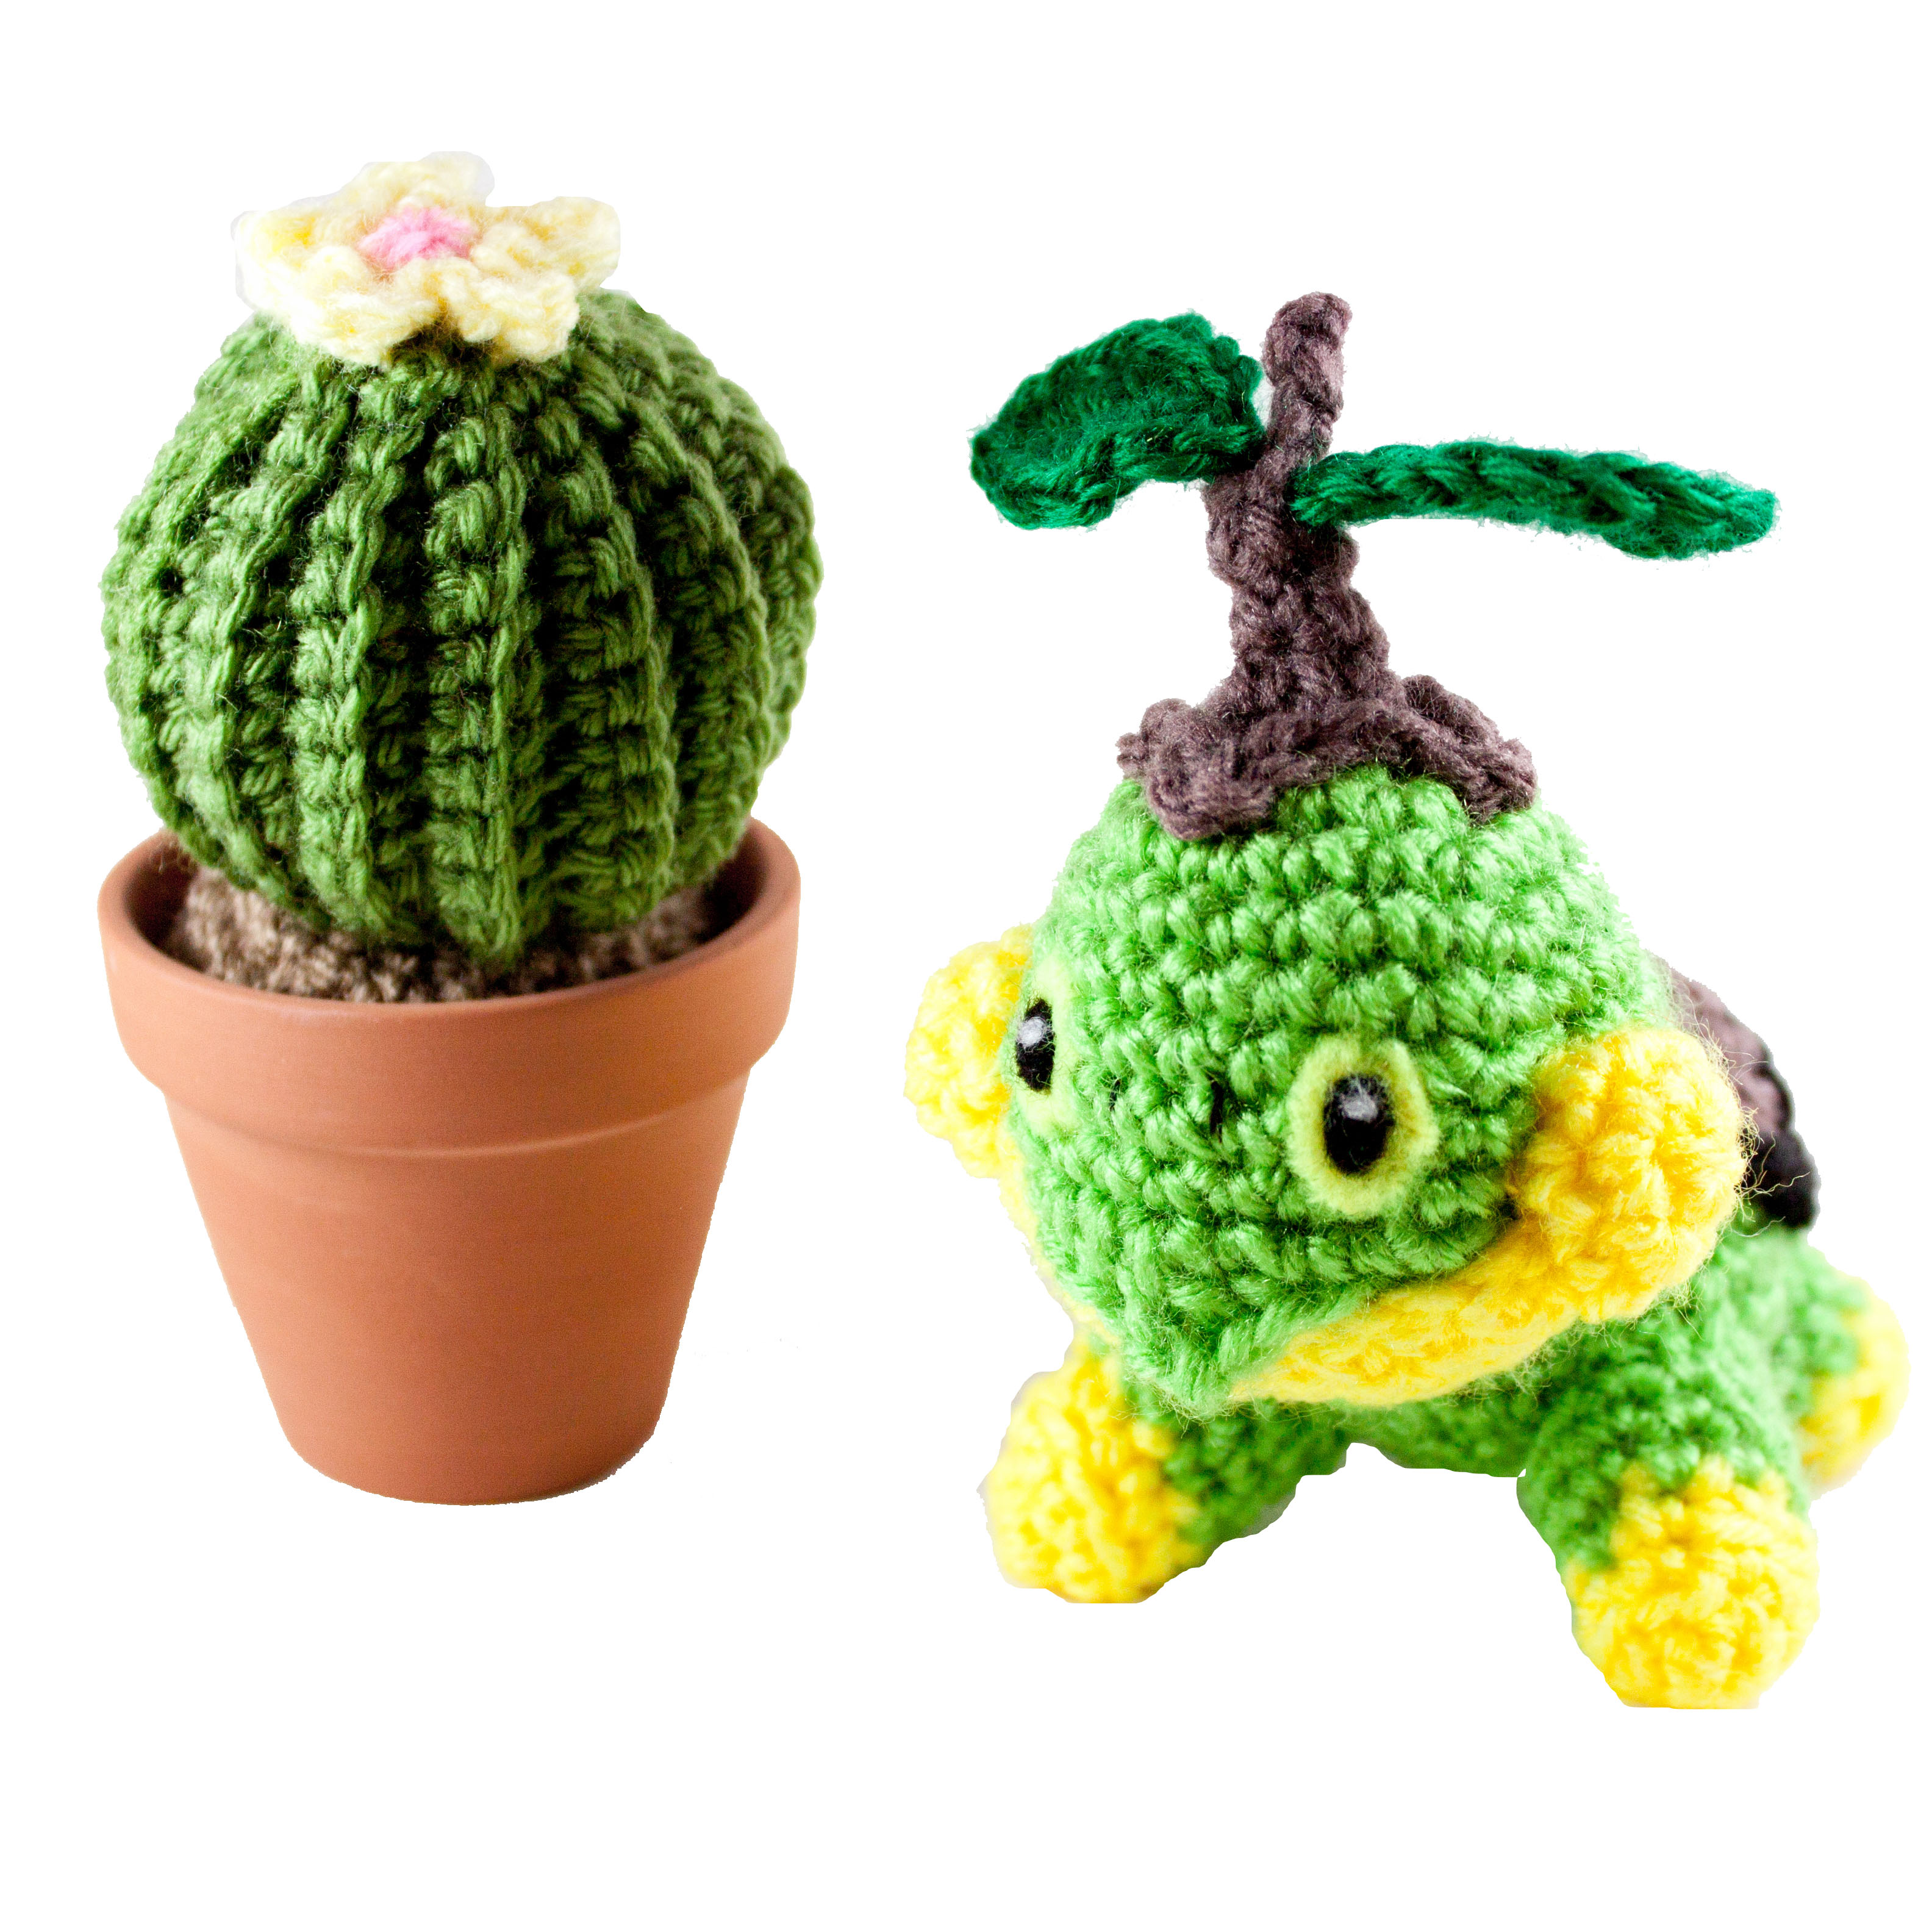
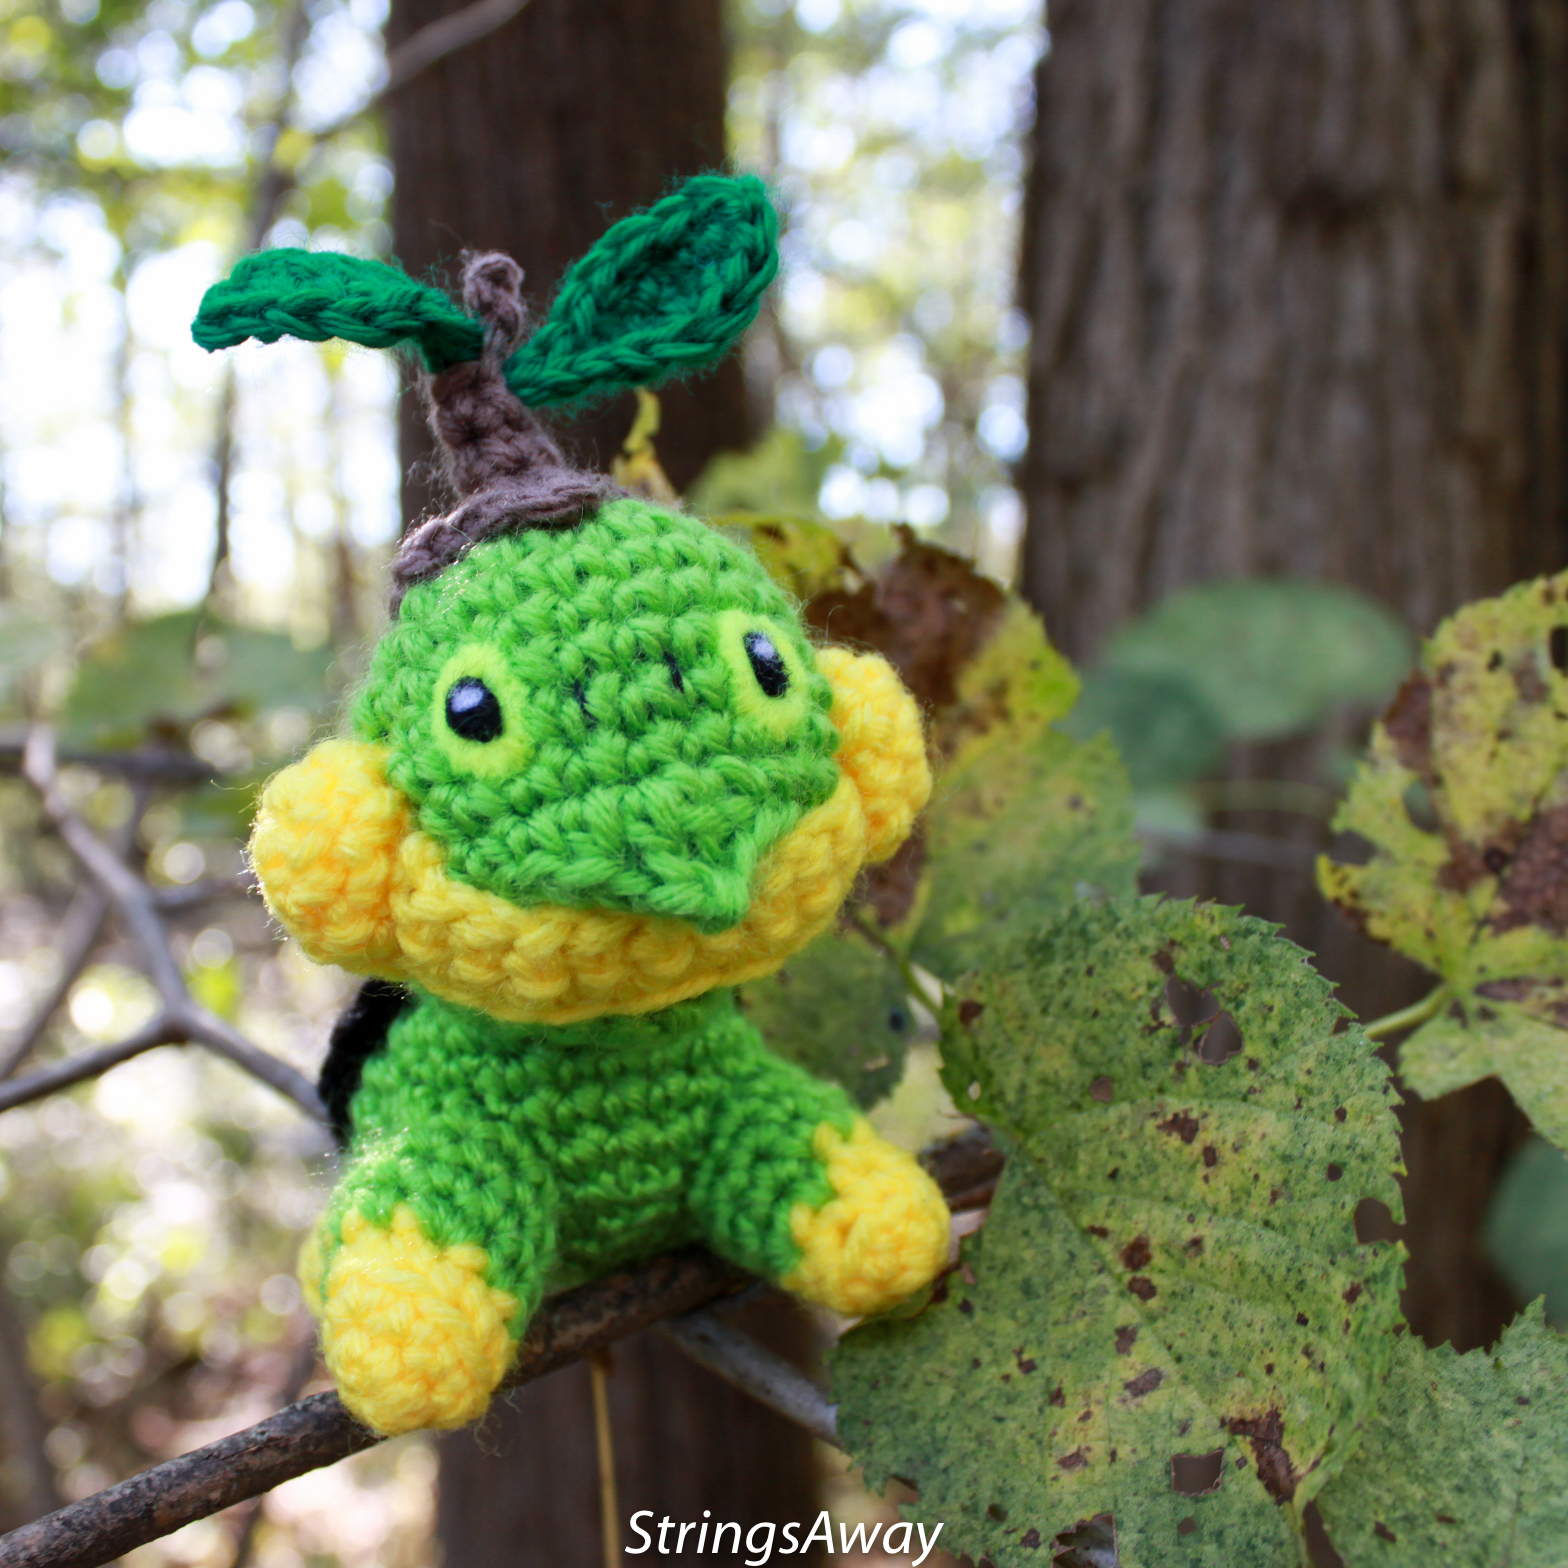 Turtwig enjoying the outdoors in the summer.
Thank you for trying this pattern – I hope you enjoy your Amigurumi Turtwig!
Click here to purchase a downloadable pdf version of this crochet pattern
This pattern by StringsAway is for personal use only. Please do not sell or redistribute the pattern as your own.
5 Responses
Alex
Hi, I just wanted to ask, how much of each colour yarn do I need for this pattern? Thanks!
Lisa
Hi! Thanks for visiting my blog! Unfortunately I don’t have an exact answer for you. I don’t know how much yarn I used – I had full skeins of each color so I just used those and had more than enough left over to make multiple Amigurumi. Sorry for the vague answer!
Gwen
Hey! Love this pattern! My only recommendation is showing photos through the process on different parts stitching around the head when you made the snout
Gwen
Difficult parts like*
Lisa
Thanks for the great suggestion!