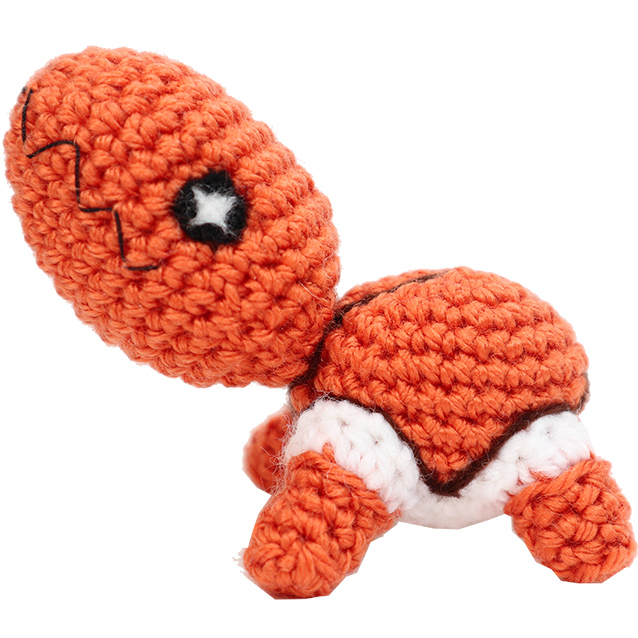
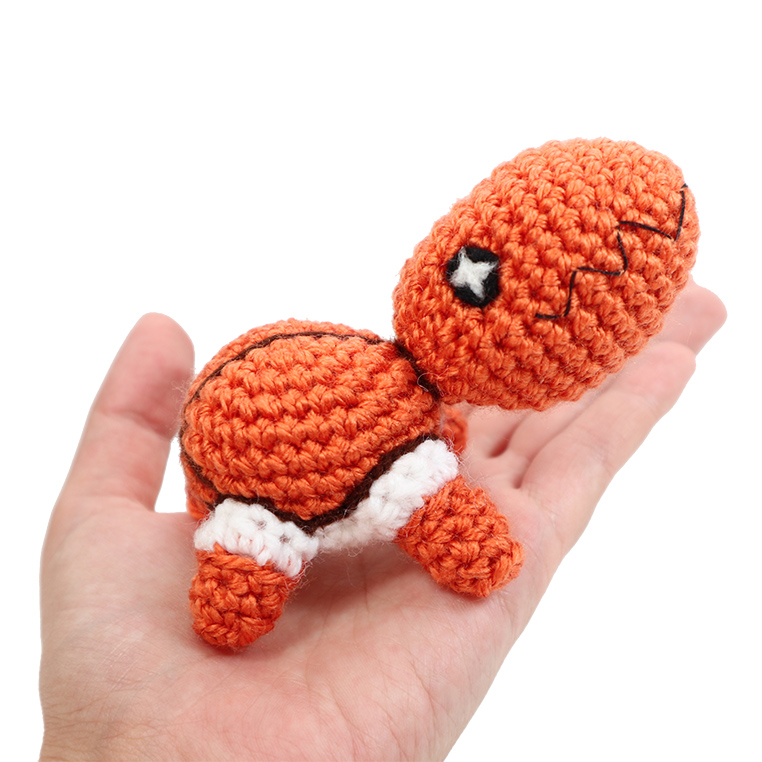
The next Pokemon Go Community Day will feature Trapinch- the ‘ant pit’ Pokemon! I admit I’ve never cared much for Trapinch before this feature- but oh my goodness, he is so cute in crochet form! This is a quick and easy one to make. I hope you enjoy your Trapinch army!
Prefer to work by paper? Download and print a pdf version of this pattern from my shop!
Materials
- Yarn: burnt orange, white (light weight ‘DK’ yarn was used)
- 3.5 mm crochet hook
- fiber-fill stuffing
- yarn strands, felt, (for eyes, shell designs), black embroidery thread and needle (for mouth)
- Scissors, yarn needle for assembly, felting needle if desired.
Abbreviations
R(#): Round number
MR: magic ring
Sc: single crochet
inc: increase (2 sc in same stitch)
dec: decrease (decrease 2 sc into one). I recommend the Invisible Decrease
hdc: half double crochet
hdc inc: increase using hdc stitches
sl st: slip stitch
f/o: fasten off
Check out my Learn to Crochet page for video tutorials on how to do the types of stitches listed above.
Head
Using burnt orange:
R1. 6 Sc in MR (6)
R2. Inc around (12)
R3. ‘Sc 3, Inc’ around (15)
R4. ‘Sc 4, Inc’ around (18)
R5. ‘Sc 5, Inc’ around (21)
R6. ‘Sc 6, Inc’ around (24)
R7-R11. Sc around (24) five times
R12. ‘Sc 6, Dec’ around (21)
R13. ‘Sc 5, Dec’ around (18)
R14. ‘Sc 1, Dec’ around (12)
R15. Dec around (6)
F/o – I did not close the loop. Leave a yarn tail for sewing to body.
Body
Begin with burnt orange:
R1. 6 Sc in MR (6)
R2. Inc around (12)
R3. ‘Sc 1, Inc’ around (18)
R4. ‘Sc 2, Inc’ around (24)
R5. ‘Sc 7, Inc’ around (27)
R6-R8. Sc around (27) three times
Switch color to white:
R9. ‘Sc 7, Dec’ around (24)
R10. ‘Sc 2, Dec’ around (18)
R11. ‘Sc 1, Dec’ around (12)
R12. Dec around (6)
F/o and close loop.
Legs
Front legs: make 2- begin with burnt orange:
R1. 6 Sc in MR (6)
R2. In back loops only: Sc around (6)
R3-R4. (In ‘both loops’/as normal) Sc around (6) two times
R5. Sc around (6)
Change to white. Working in the next 5 stitches:
Sc, Hdc Inc, Hdc Inc, Sc, Sl st.
F/o leave a tail for sewing to body.
Back legs: make 2 -repeat above but omit ‘R5.’ – For amigurumi’s with a big heads, I like to make my front legs longer to make them ’tilt back’ slightly in an attempt to balance the weight of the head.
Assembly of Crochet Trapinch
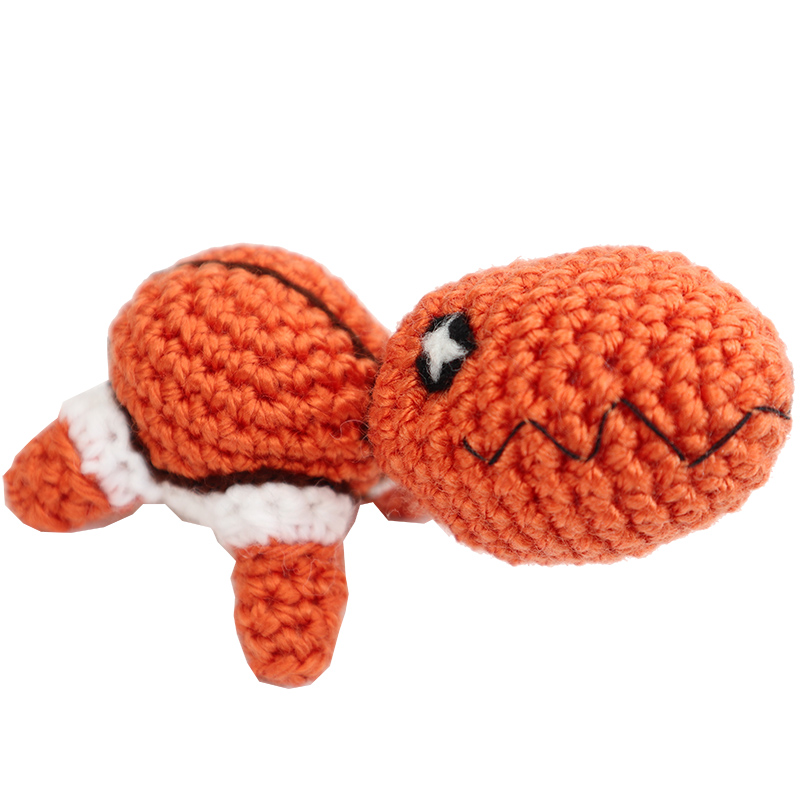
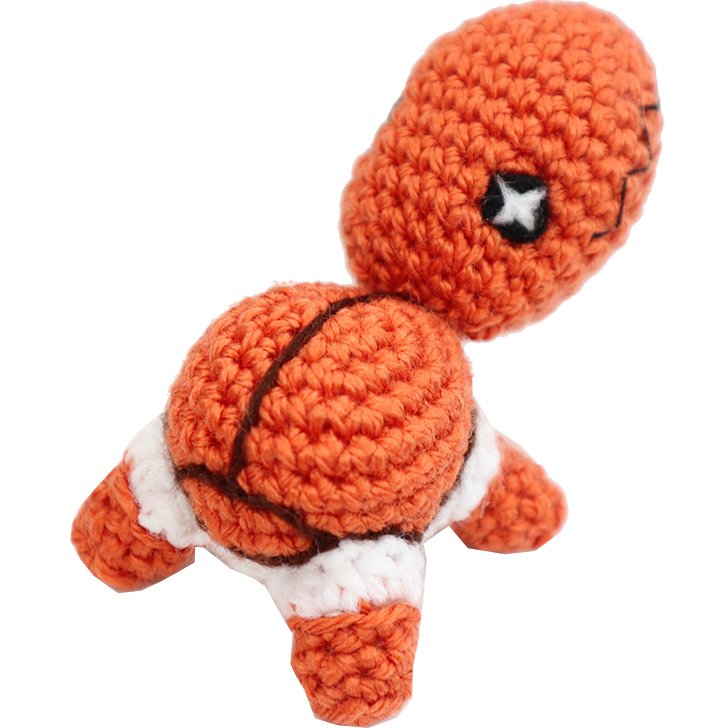
I highly recommend pinning all pieces in place before attaching to get the ‘balance’ right. Trapinch’s head is so huge it will likely fall over on it’s face if the limbs are not arranged properly. One tip: – The higher up Trapinch’s head is angled, the less likely it will tip forward. I also ‘splayed’ the limbs outwards on an angle (rather than vertically) to try and push the body up more.
Sew the head and legs to the body as shown.
The shell details and eyes were added by needle felting unravled yarn ends. The mouth was added by embroidery. That’s it!
I hope you enjoy your amigurumi Trapinch!
 Trapinch the red ant!
Thank you for trying this pattern – I hope you enjoy your Amigurumi Trapinch!
Click here to purchase a downloadable pdf version of this crochet pattern!
This pattern by StringsAway is for personal use only. Please do not sell or redistribute the pattern as your own.