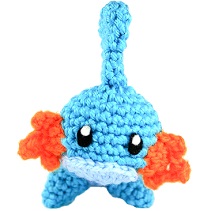
Have you ever wanted to crochet your own Mudkip? Word on the street is we can expect this upcoming community day in Pokemon go (July 2019) to feature this little guy! I haven’t heard any solid announcements from Niantic yet but I’ve decided to release my Mudkip pattern here for free in hopes that the rumors are true! Enjoy your little muddy buddy- Mudkip!
Prefer a pdf version to download and print? Buy one here!
Want to buy an already made Mudkip? Click here !
Materials
- Yarn: : Blue, Light blue, Orange (medium ply was used)
- 3.5 mm crochet hook – fiber-fill stuffing
- Felt: black, white (for the eyes), felting needle if desired
- Scissors, yarn needle for assembly
Abbreviations
R(#): Round number
MR: magic ring
Sc: single crochet
Inc: increase (2 sc in same stitch)
Hdc: half double crochet
Hdc inc: Hdc increase (2 hdc in same stitch)
Dec: decrease (decrease 2 sc into one)
I recommend using Invisible Decrease
Tch: turn chain (chain one and switch directions)
Ch: chain
Sl st: slip stitch
f/o: fasten off
Check out my Learn to Crochet page for video tutorials on how to do the types of stitches listed above.
Body
Using Blue:
R1. 6 sc in MR (6)
R2. Inc around (12)
R3. Sc 1, inc around (18)
R4. Sc 2, inc around (24)
R5. Sc 3, inc around (30)
R6-8. Sc around (30) three times
R9. Sc 3, dec around (24)
R10. Sc 2, dec around (18)
R11. Sc 1, dec around (12)
R12. Dec around (6) close ring and f/o
Head
Using Blue:
R1. 6 sc in MR (6)
R2. Inc around (12)
R3. Sc 1, inc around (18)
R4. Sc 2, inc around (24)
R5-6. Sc around (24) two times
R7. Sc 2, dec around (18)
R8. Sc 1, dec around (12)
R9. Dec around (6)
Close ring, and f/o.
Head Fin
Using Blue:
R1. 6 sc in MR (6)
R2. Inc around (12)
R3. Sc around (12)
R4. Sc 4, dec around (10)
R5. Sc 3, dec around (8)
R6-8. Sc around (8) three times
Do not stuff. F/o and press flat.
Feet
Front Feet– make 2 using blue:
R1. 5 sc in MR (5)
R2. Sc around (5)
R3. Inc, Sc 3, Inc (7)
R4. ‘Sc 1, Inc’ three times, Sc 1 (10)
R5. Sc around (10)
Do not close, f/o.
Back Feet – make 2 using blue:
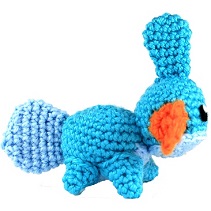
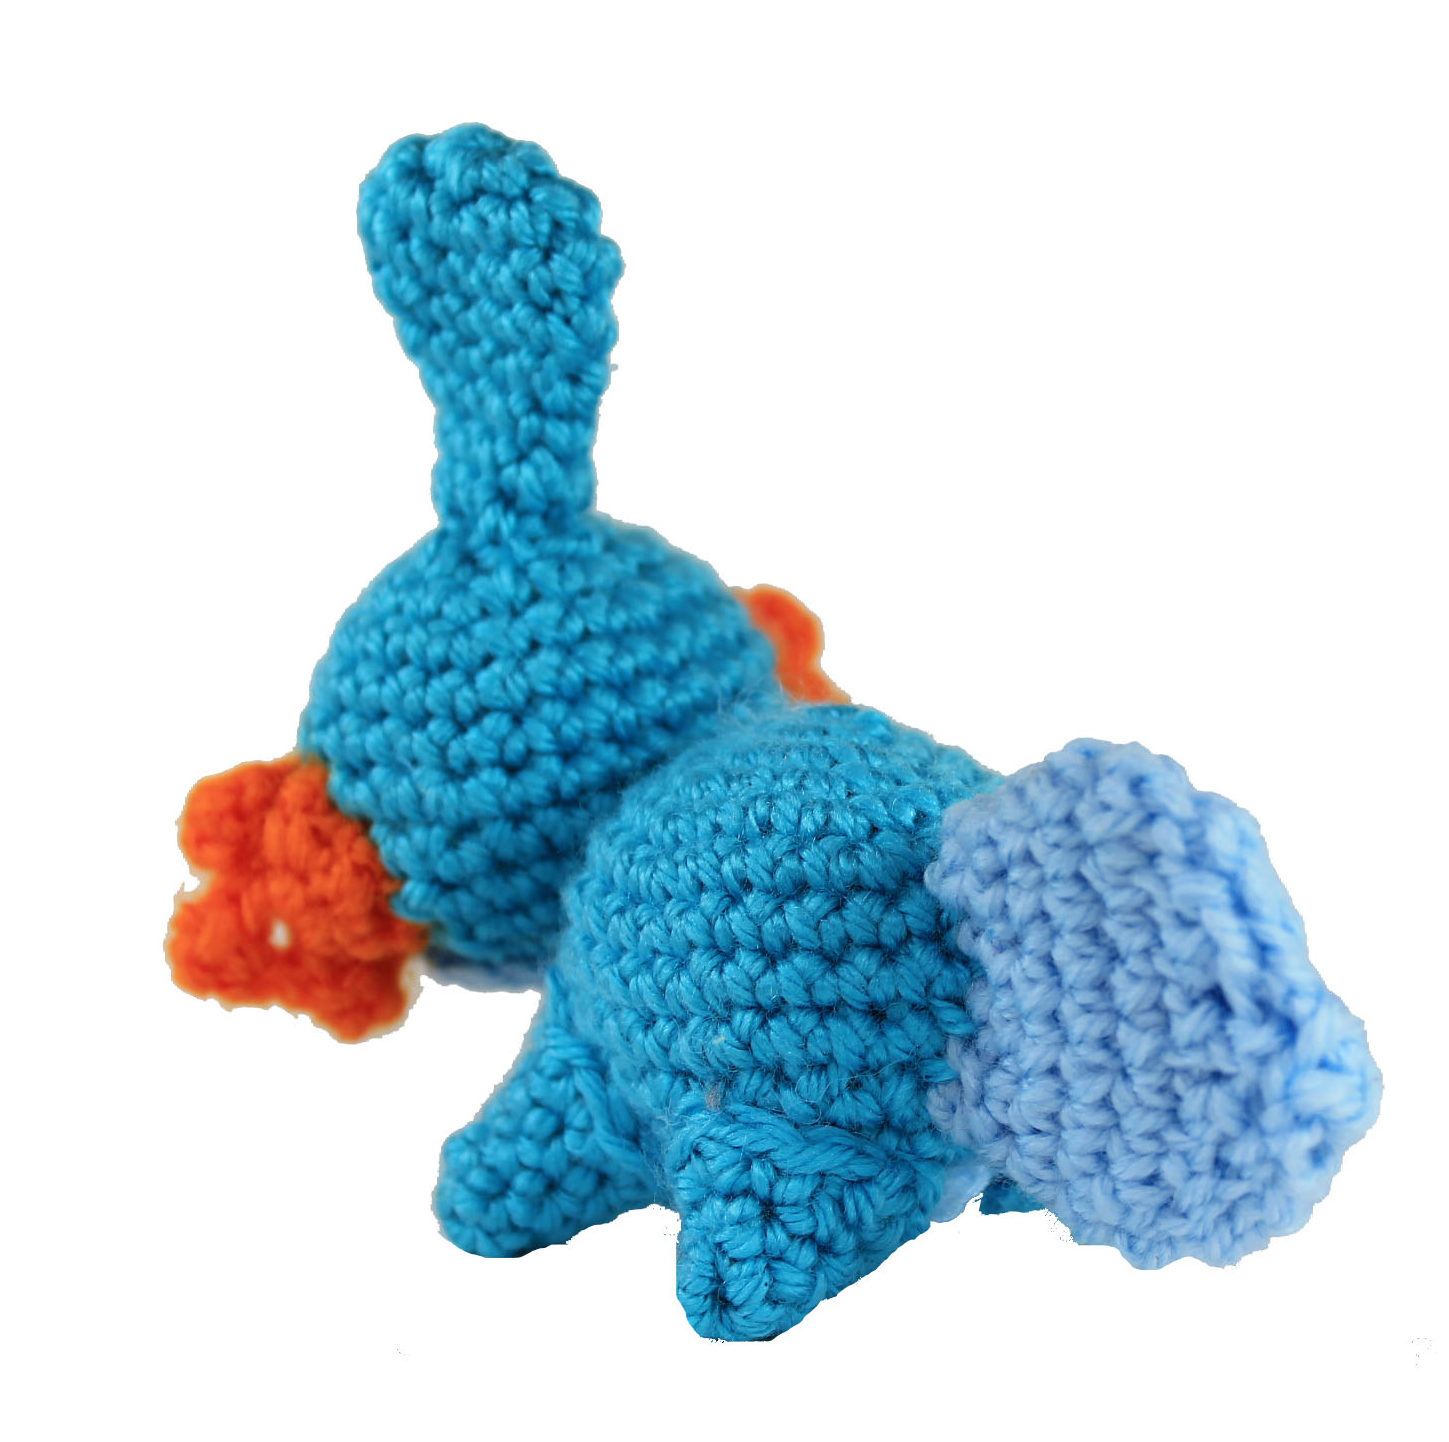
Repeat R1-R4 above and f/o. Having larger front feet helps Mudkip stand upright more easily and balance the weight of the head.
Tail
Using light blue:
R1. Chain 10, sl st into first ch to form a ring (10)
R2. Sc around (10)
R3. Sc 4, Inc around (12)
R4. Sc around (12)
R5. Sc 2, inc around (16)
R6. Sc around (16)
R7. Sc 2, dec around (12)
R8. Dec around (6)
Do not stuff. F/o and press flat, sew ends closed.

Tummy Stripe
Using light blue:
R1. Chain 5 (5), tch
R2-10. Repeat R1 (5) 9 times.F/o
*Assembly Note*Attach the tummy stripe to the body before attaching the feet.
Jaw
Using light blue:
R1. 8 Sc in MR (8)
R2. Inc around (16)
R3. Sc 1, inc around (24) f/o
Cheeks
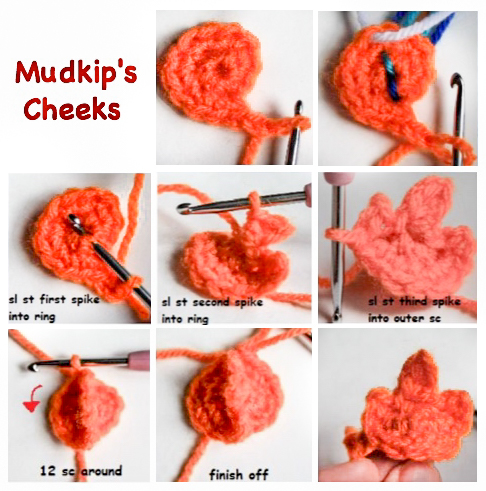
Make 2- using orange:
R1. 6 Sc in MR (6)
R2. Inc around (12)
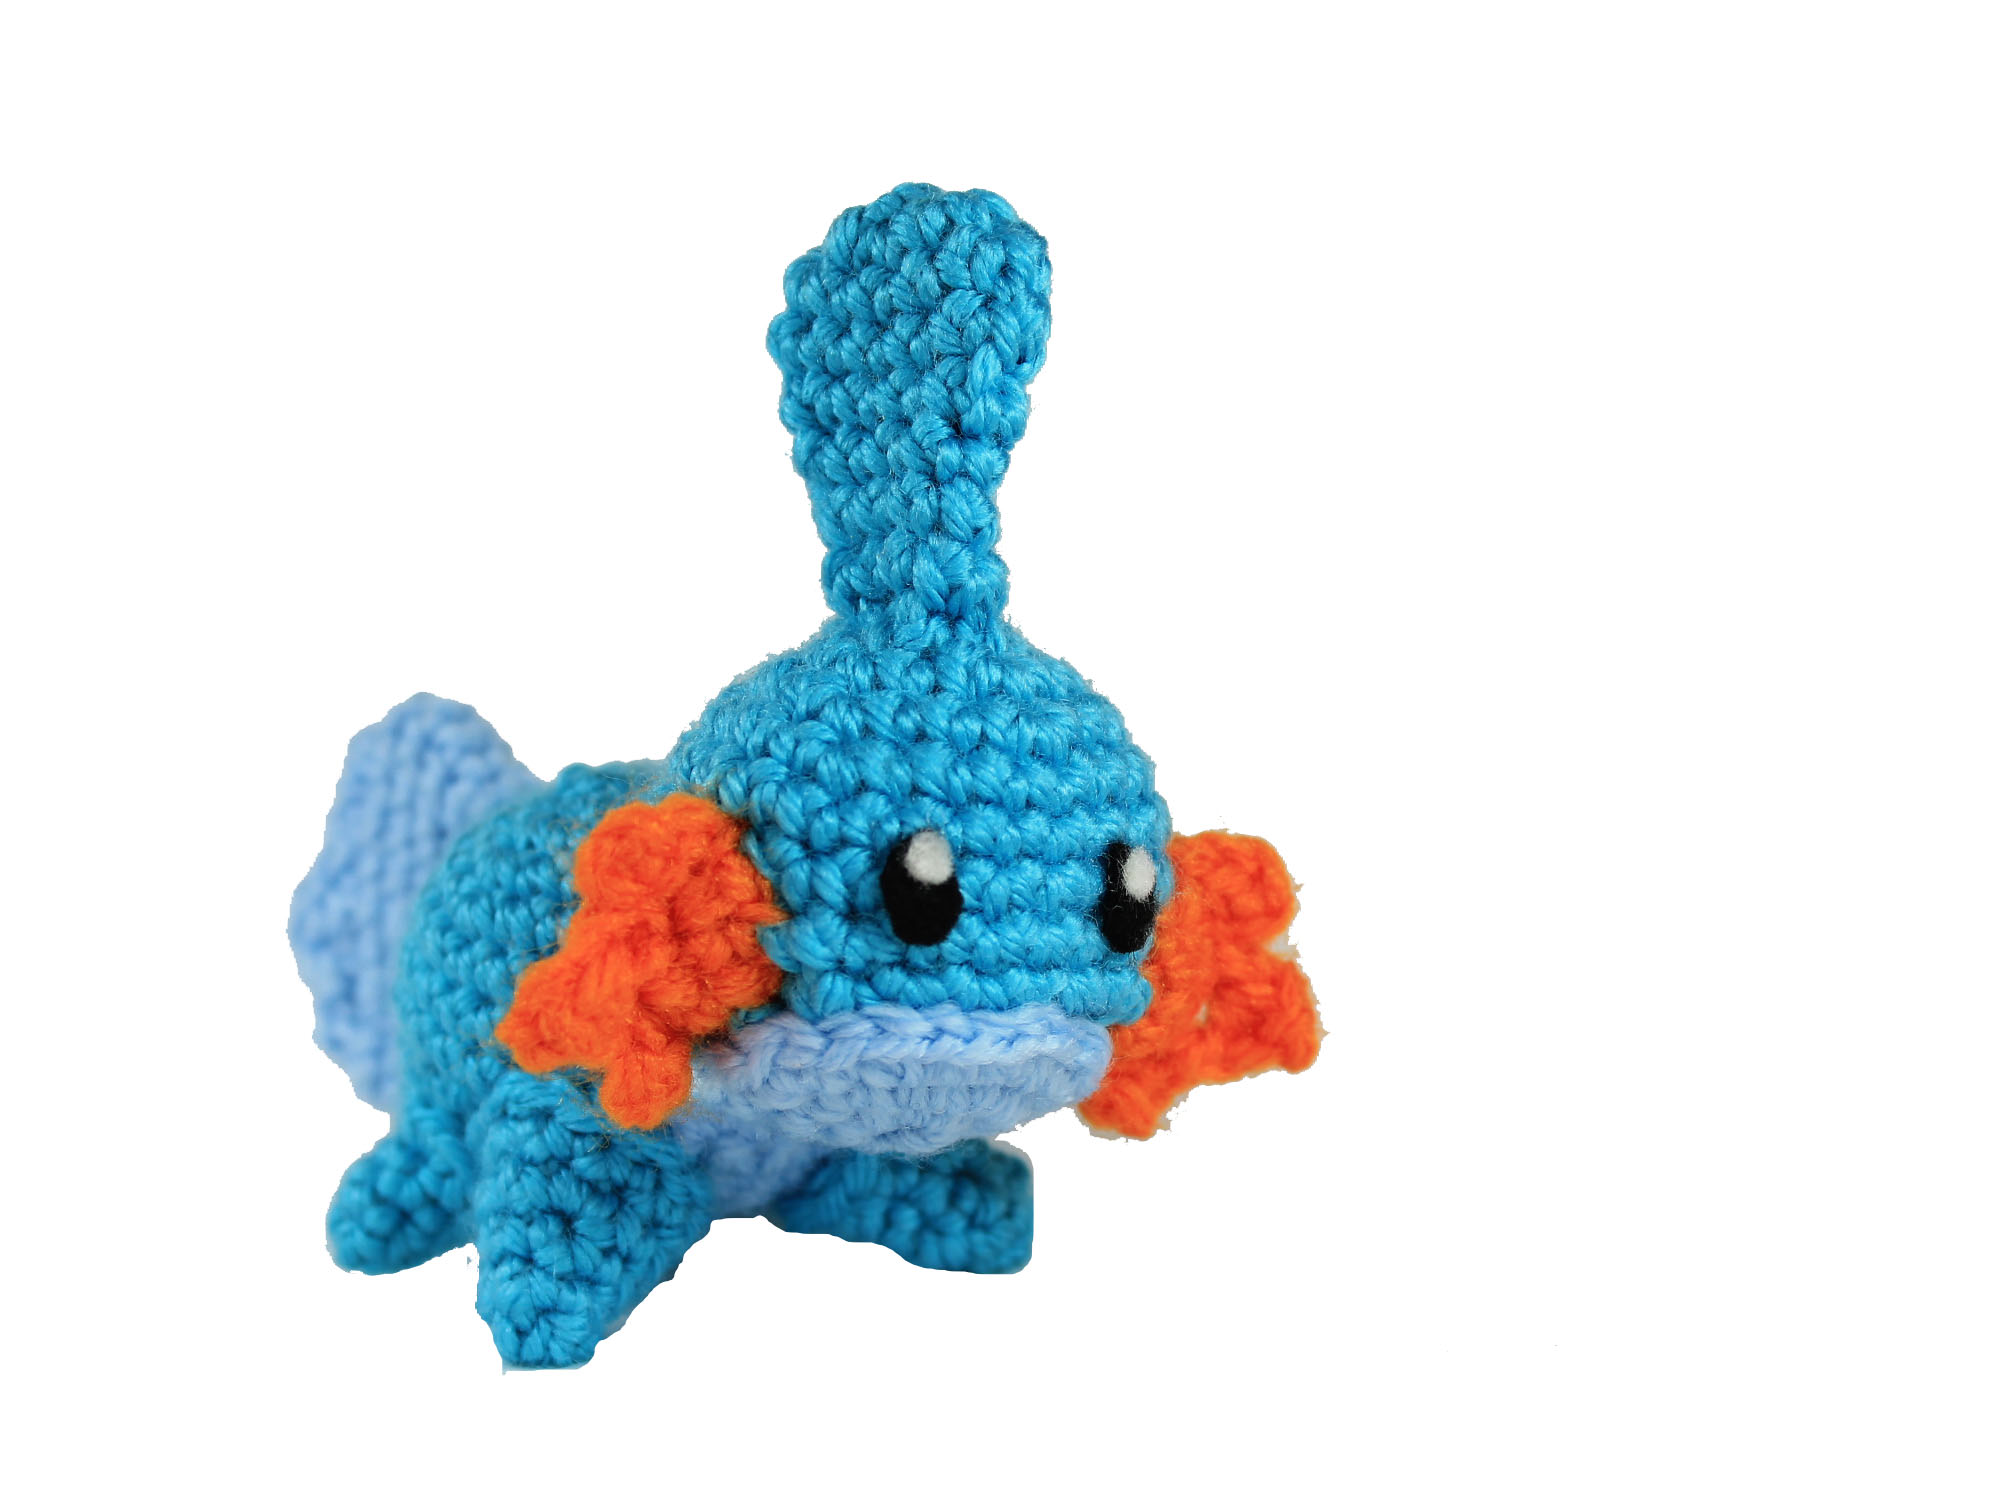
Now you will be making the cheek spikes. After each spike you will slip stitch into the center of the work. Refer to the picture for tips on where to insert your slip stitch.
Spike 1: Ch 2, sc into 2nd ch from hook, sl st into space adjacent magic ring (dark blue yarn marking in picture)
Spike 2: Ch 3, sc into 2nd ch from hook, hdc into 3rd ch from hook, Sc into other side of circle (light blue yarn position in picture)
Spike 3: Ch 2, sc into 2nd ch from hook, sl st into an outer sc of the work (white yarn position in picture)
R4. Continuing around the work from where your hook is: Sc around (12), f/o.
Assembly of Crochet Mudkip
First attach the tummy stripe to the bottom of the body. Attach the jaw to the bottom of the head and head fin to the top of the head. Attach the tail to the back of the body and head to the front of the body. Now, attach the feet such that the front two feet (larger) are able to push the head up (angled slightly back/away from the head in their placement on the body.) Finally create the eyes using felt pieces and or needle felting as desired.
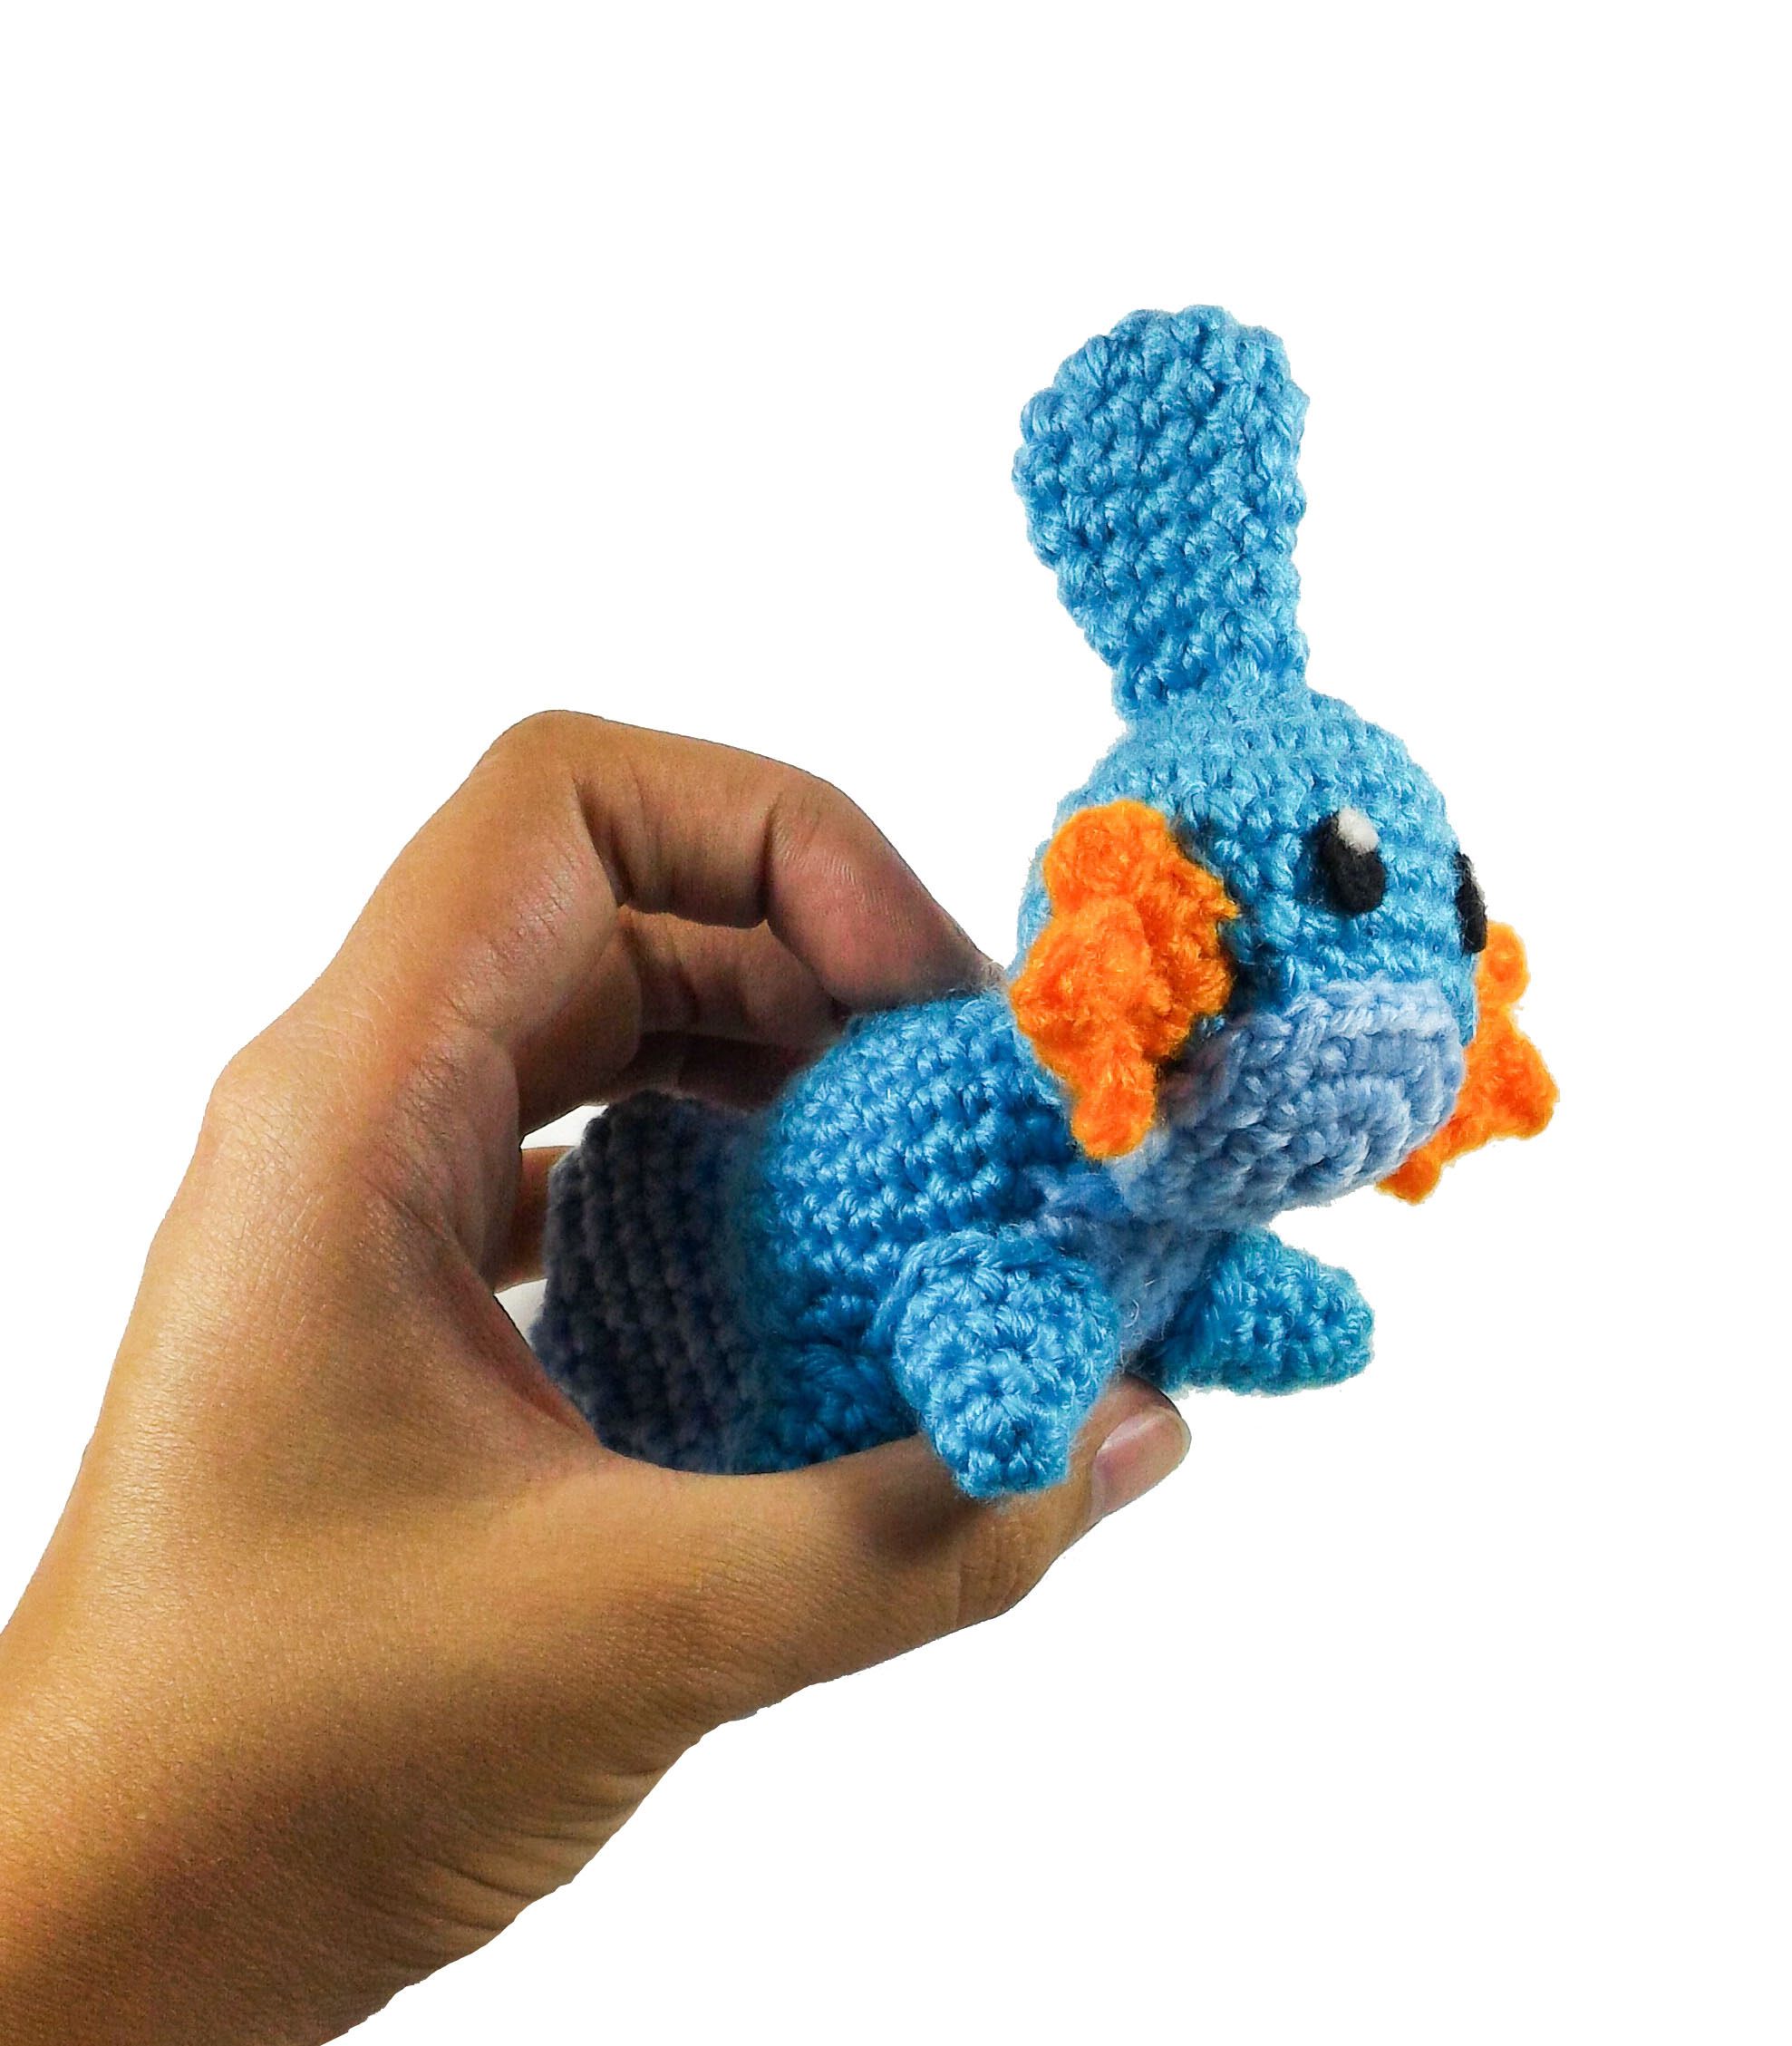
I hope you enjoy your Mudkip Amigurumi!
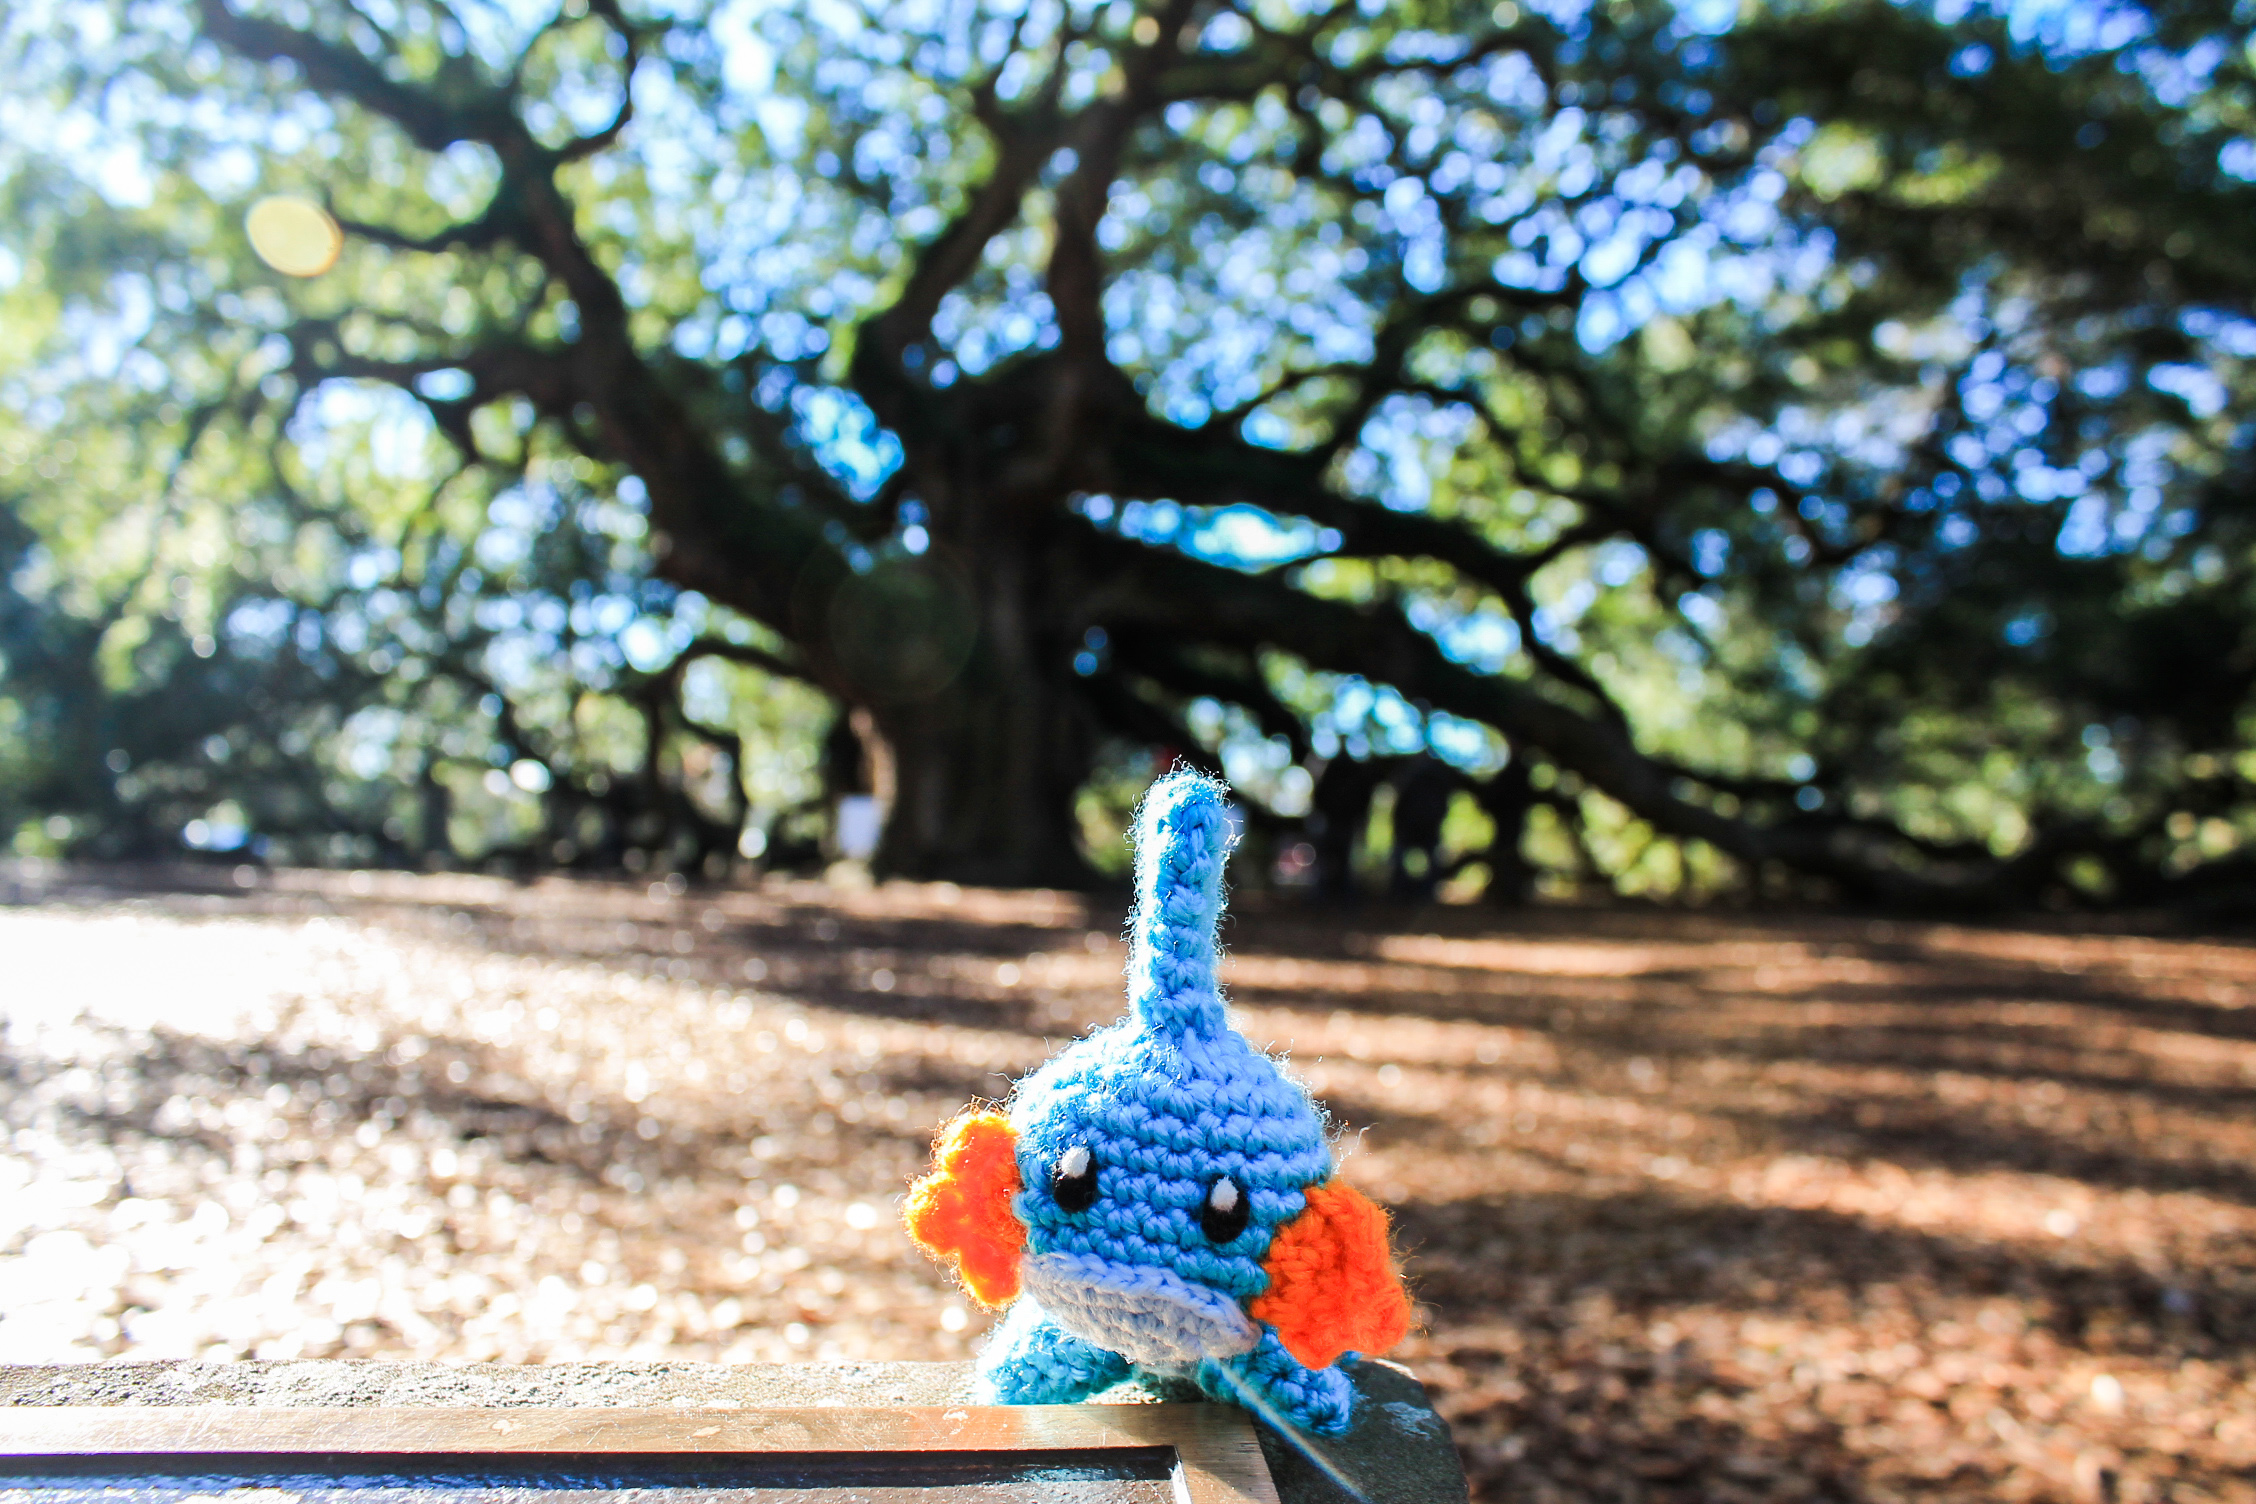 Mudkip visits the Angel Oak Tree in Charleston, South Carolina, one of the oldest living trees in the region.
Thank you for trying this pattern – I hope you enjoy your Amigurumi Mudkip!
Click here to purchase a downloadable pdf version of this crochet pattern
This pattern by StringsAway is for personal use only. Please do not sell or redistribute the pattern as your own.
One Response
Kaley
Can you add a tutorial video because the fins are kinda hard for me to do