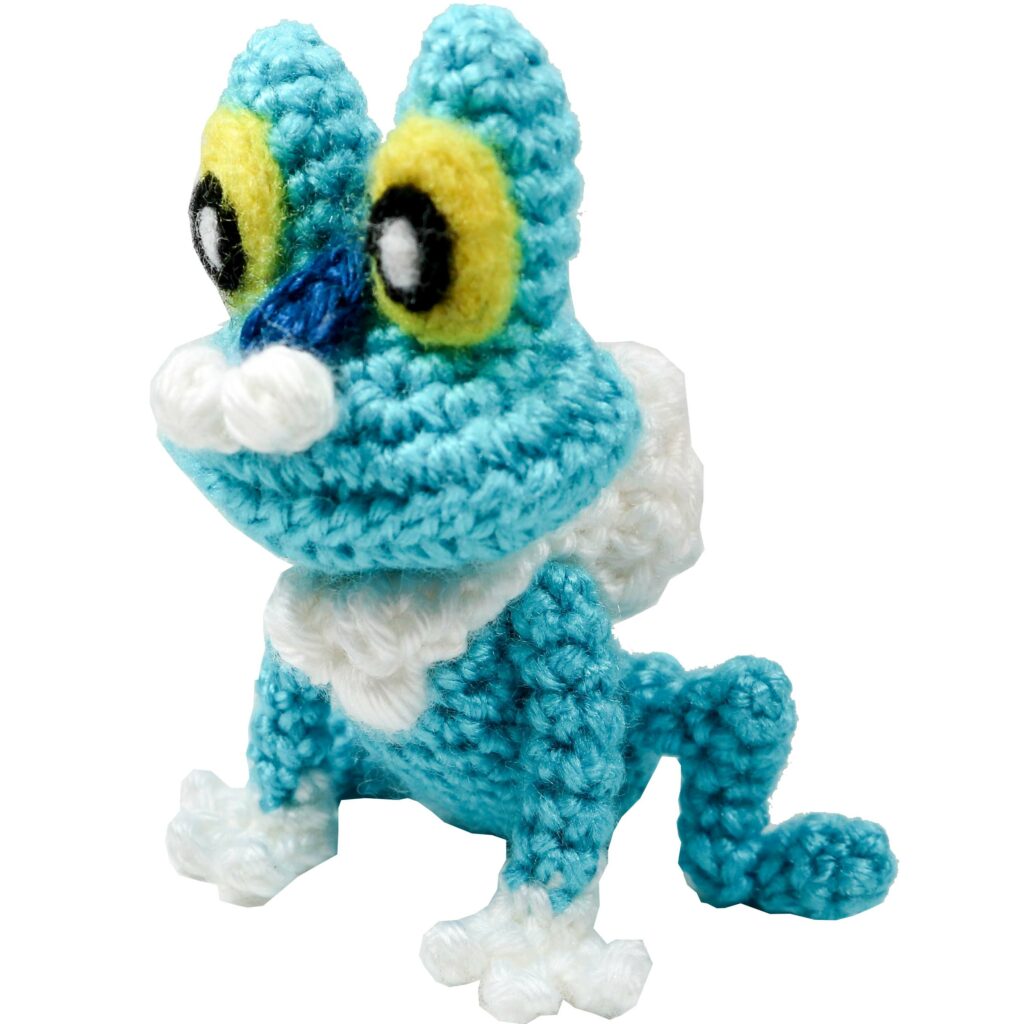
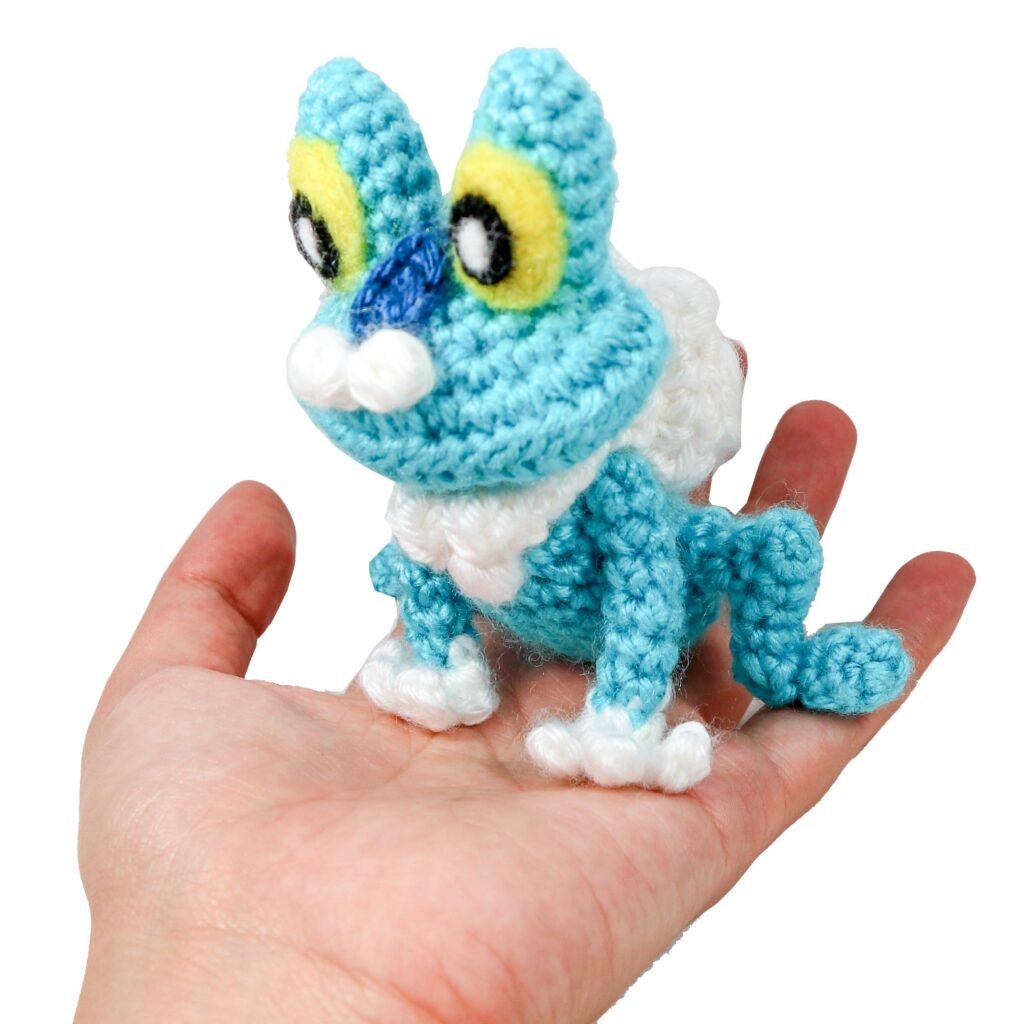
Froakie is the beloved water-type starter Pokemon from Kalos region (Pokemon X and Y). Like any frog, he enjoys swimming, jumping in the water, and blowing bubbles!
*Disclaimer* Parts of this pattern – specifically the bubbles neck piece- are unconventional and do not follow traditional crochet instructions/methods (incorrect round count, leaving stitches unworked, working large stitches (bobble stitches) out of tight base stitches (slip stitches), etc.) I basically “winged it” and wrote down what I did. I apologize/would have loved to make it easier to follow- but this is the best I could do to achieve the look I wanted. I did include a video of how I made the neck piece (shown below) – consider giving it a watch before attempting to see if you’re up for the challenge.
Due to the difficulties mentioned above, I strongly recommend being an experienced crocheter before attempting this pattern. As an alternative, there is also a video on the puff stitches used for Froakie’s nostrils – one could make several of these to substitute for the back of the neck piece as an alternative.
That being said, if you decide to give this pattern a try, you are a very patient person, and I hope you enjoy your final amigurumi Froakie!
Materials
- Yarn: Light Blue, Dark Blue, White
- 3.5 mm crochet hook – fiber-fill stuffing
- Felt: yellow, black, and white (for the eyes) and felting needle if desired
- Scissors, yarn needle for assembly
Abbreviations
R(#): Round number
MR: magic ring
Sc: single crochet
Inc: increase (2 sc in same stitch)
Dec: decrease (decrease 2 sc into one) *I recommend using Invisible Decrease* in the round
Bo: Bobble stitch
Puff: Puff stitch
Ch: chain
Sl st: slip stitch
f/o: fasten off
Check out my Learn to Crochet page for video tutorials on how to do the types of stitches listed above. (Except for puff and bobble stitches- videos below)
Instructions written in quotations are to be repeated as many times as indicated. For example, “Sc 1, Inc” x 2 is equivalent to : Sc 1, Inc, Sc 1, Inc.
“Sc 1, Inc” around means keep repeating Sc 1, Inc, Sc 1, Inc, Sc 1, Inc, etc. until the end of the round is reached.
Head
Using Light Blue:
The head is made by crocheting 2 flat oval pieces and sewing them together.
R1. Crochet an oval:
Ch 5. In 2nd Ch from hook:
Sc 3, Inc, then continue on to other side of the foundation chain:
Sc 3, Inc (10)
R2. “Sc 3, Inc x 2” twice around (14)
R3. “Sc 3, Incx4” twice around (22)
R4. Sc 4, Inc x 6, Sc 5, Inc x 6, Sc 1 (34) F/o
Repeat all of the above a second time, leaving a very long yarn tail for sewing. Then, place the two oval pieces on top of each other. Sew the outer edges together- I used whip stitch. Right before completely closing- insert stuffing in-between the pieces. Close the opening.
Eyes
Make 2- Using Light Blue:
R1. 4 Sc in MR (4)
R2. “Sc 1, Inc” twice around (6)
R3. “Sc 2, Inc” twice around (8)
R4-R6. Sc around (8) for three rounds
F/o, do not close opening. Leave a yarn tail to sew onto head.
Body
Using Light Blue:
R1. 6 Sc in MR (6)
R2. Inc around (12)
R3. “Sc 3, Inc” around (15)
R4-R11. Sc around (15) for eight rounds
R12. “Sc 3, Dec” around (12)
R13. Dec around (6)
F/o. and close opening.
Legs
Using Light Blue – Make 2:
R1. 6 Sc in MR (6)
R2. “Sc 2, Inc” twice around (8)
R3. Sc around (8) for two rounds
R4. “Sc 3, Inc” twice around (10)
R5-R6. Sc around (10) twice around
R7. “Sc 3, Dec” twice around (8)
R8. Dec around (4)
F/o, do not close opening
Feet
Using Light Blue – Make 2:
R1. 4 Sc in MR (4)
R2. “Sc 1, Inc” twice around (6)
R3. Sc around (6)
R5. “Sc 1, Dec” around (4)
F/o and close opening
Arms & Fingers
Make 2 – Begin using light blue:
R1. 4 Sc in MR (4)
R2-R7. Sc around (4) for four rounds
Change to white
R8. Sc around (4)
R9. Fingers:
Ch 3, working in 2nd ch from hook: sl st, sl st, then sl st into same stitch as base of the chain.
Ch 3, working in 2nd ch from hook: sl st, sl st, then sl st into the next stitch in the round
Ch 3, working in 2nd ch from hook: sl st, sl st, then sl st into same stitch as base of the chain
Sl st in final stitch of the round. F/o and hide end.
Head Stripe
Using Dark Blue:
Ch 11. In 2nd Ch from hook: Sc 10.
F/o. Leave a tail to sew onto head.
Nostrils (and 1 Neck Piece)
Make 3 – Using White:
Ch 2. In 2nd Ch from hook: Puff stitch. F/o.
For these puff stitches I did 7 incomplete Sc (7 loops on hook) before pulling through, I also add a sl st at the end to ‘seal’ the puff.
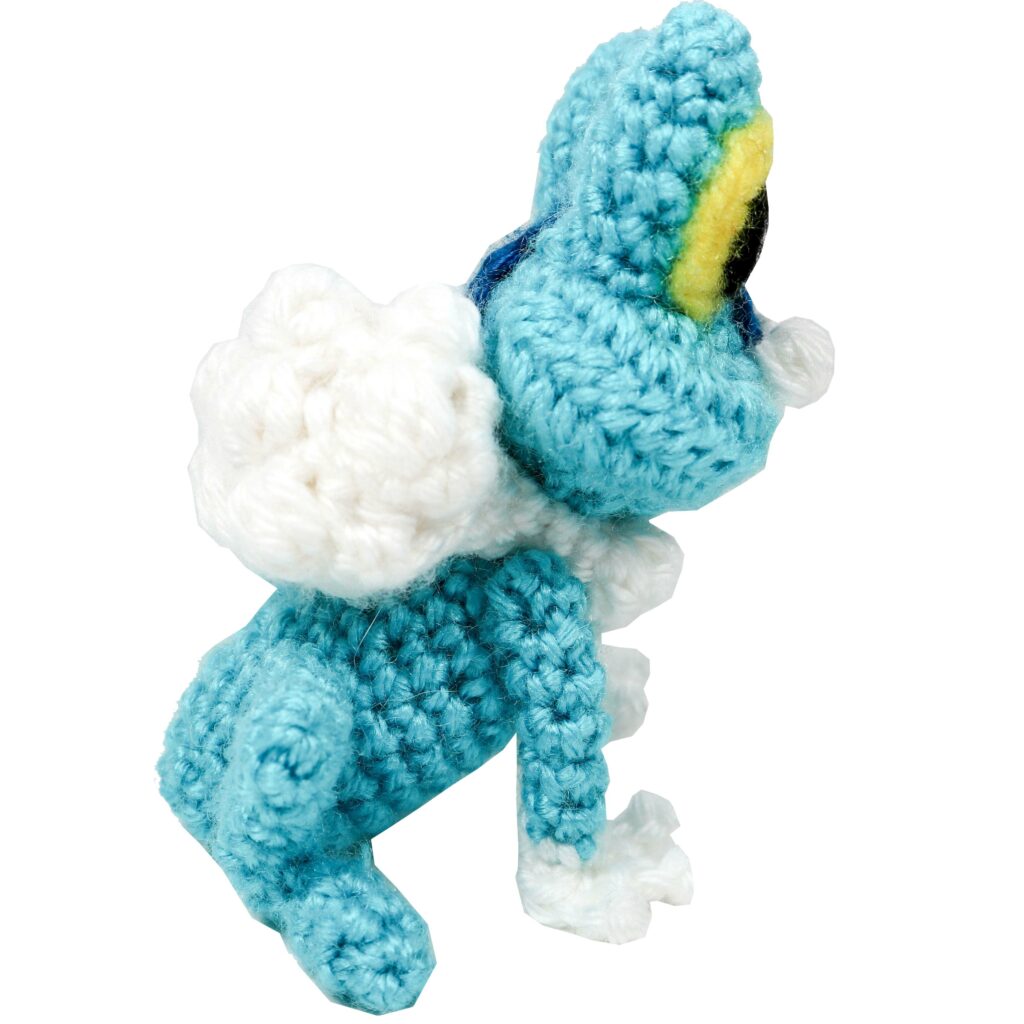
Neck Bubbles
***Bail-out plan: If the instructions described below are too confusing or time consuming to complete one could also make several individual puff pieces (as above, for nostrils) and sew these to the back instead as the neck bubbles.
As mentioned in the introduction, this section WILL likely involve some free-handing. The symbol”~” designates approximate amount of stitches. The round counts will not always match exactly with the previous round of stitches.
A note about the bobble stitches in the neck: For each Bobble, I had 6 loops on hook (Like 6 hdc coming out of the same base) before pulling through. There is an extra slip stitch over top of each bobble, and also a sl st in between each bobble stitch in the round. Unlike most crochet patterns with Bobble stitch, I included these slip stitches in my stitch count for every round. See video for clarification (written instructions below.)
Using white:
Row 1. Ch 6, tch (6)
Row 2. Sc across (6) tch,
Row 3. “[Bo, sl st] in first stitch, sl st into next stitch”, three times (9) tch
Row 4. Sc across (9) tch,
Row 5. “[Bo, sl st] in first stitch, sl st into next stitch,” four times (12) tch (leave the last stitch in Row 4 unworked.)
Row 6. Sc across (12) tch,
Row 7. Sc 1, ” [Bo, sl st], sl st ” four times, Dec (14) tch (leave the last stitch in Row 6 unworked.)
Row 8. “Sc 1, Dec” across x 4, Sc 2 (10) tch (leave the last stitch in Row 7 unworked)
Row 9. “Dec, [Bo, sl st]” across 3 times (9) then:
Round 1 (R1) Sc around the entire work. (~25)
R2. Dec on short edges, Sc on long edges.
I did: Dec 3, Sc 5, Dec 4, Sc 6 (~18)
R3. “Sc, Dec” around until 10 stitches remain (~10)
R4-R6. Sc around (10) for three rounds
R7. [Bo, sl st], sl st, sc, [Bo, Sl st], Sc 4.
F/o and close with magic circle. Leave a tail to sew to body and head.
Assembly of Crochet Froakie
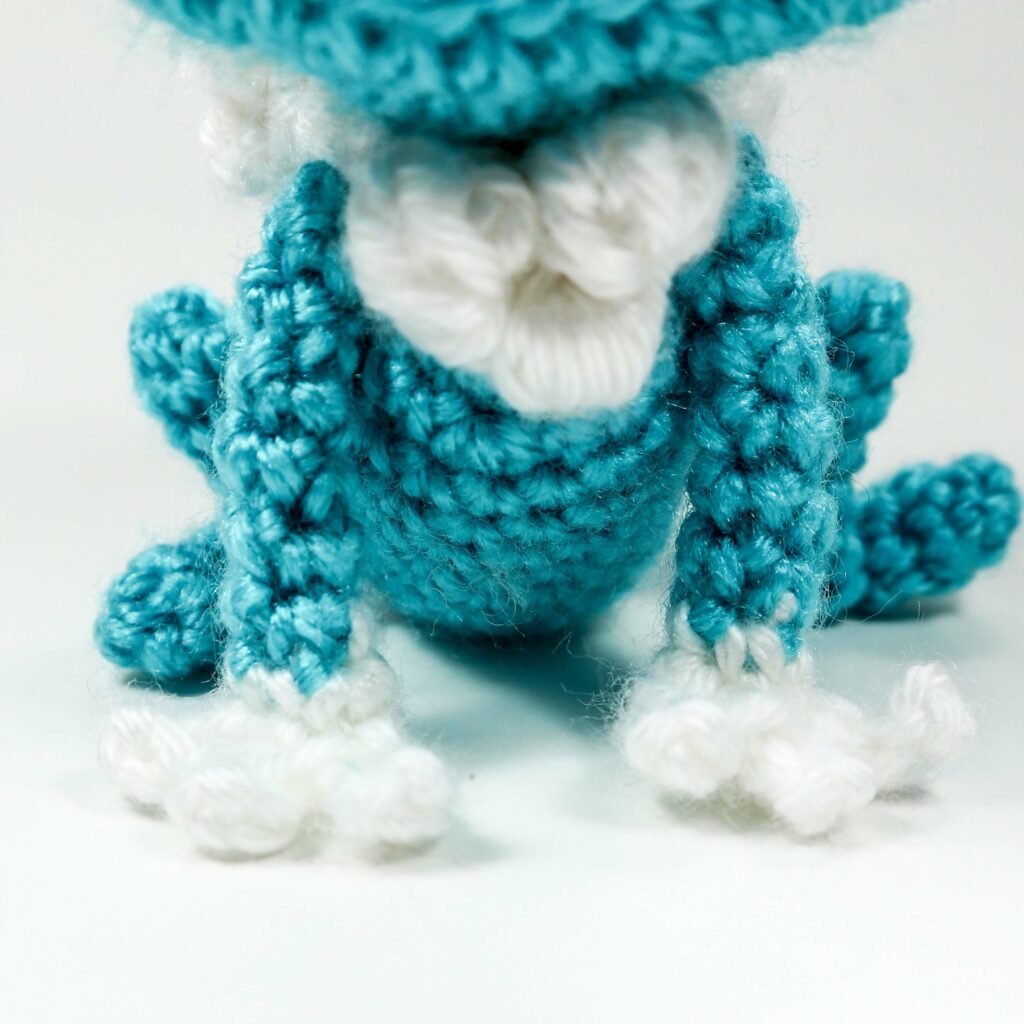
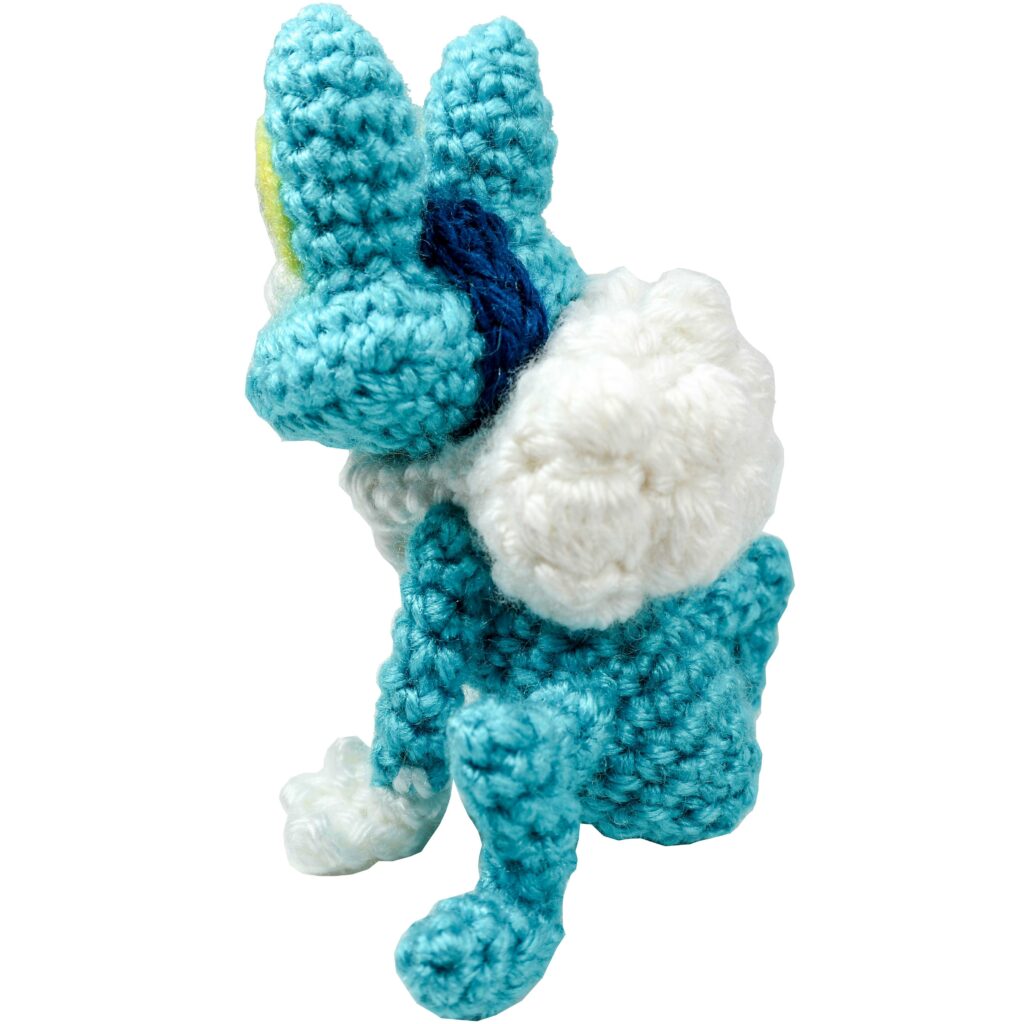
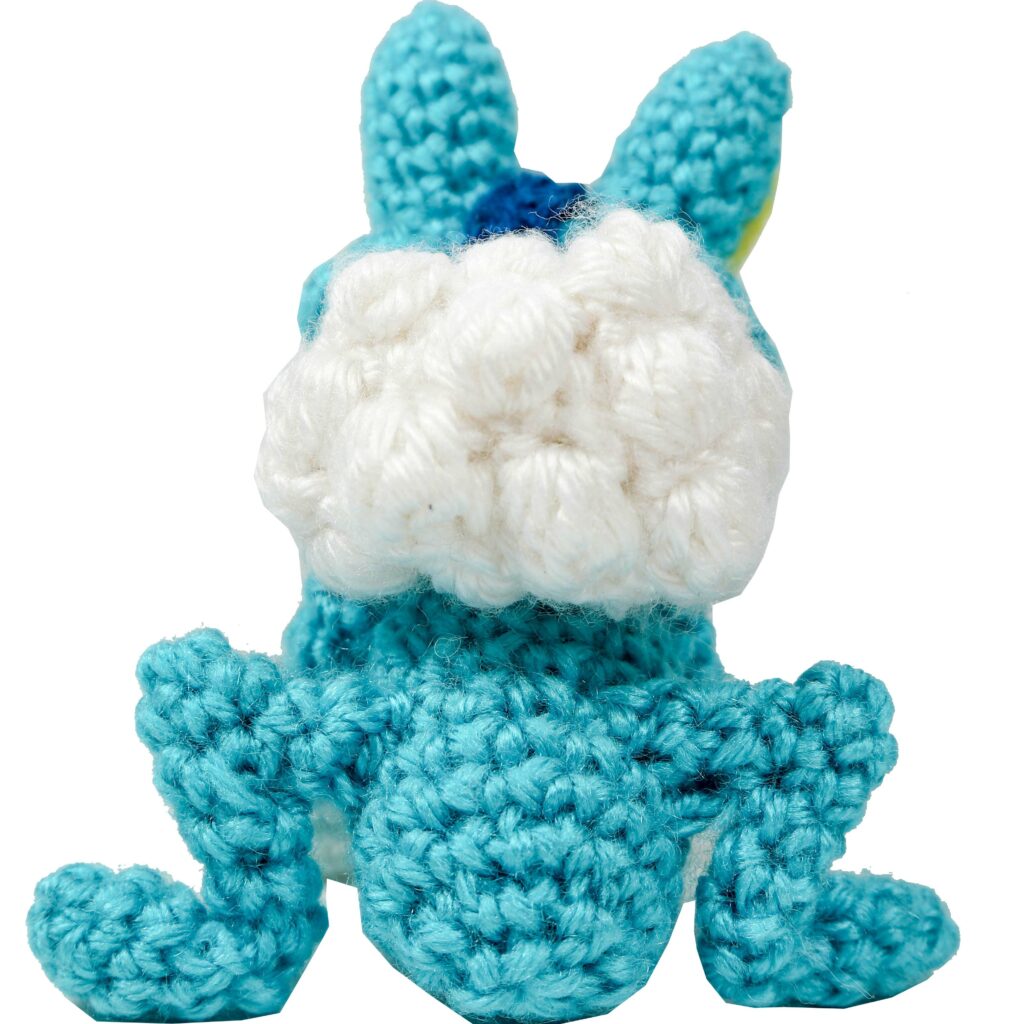
Assemble as shown in pictures- be sure to pin limbs in place before sewing in place.
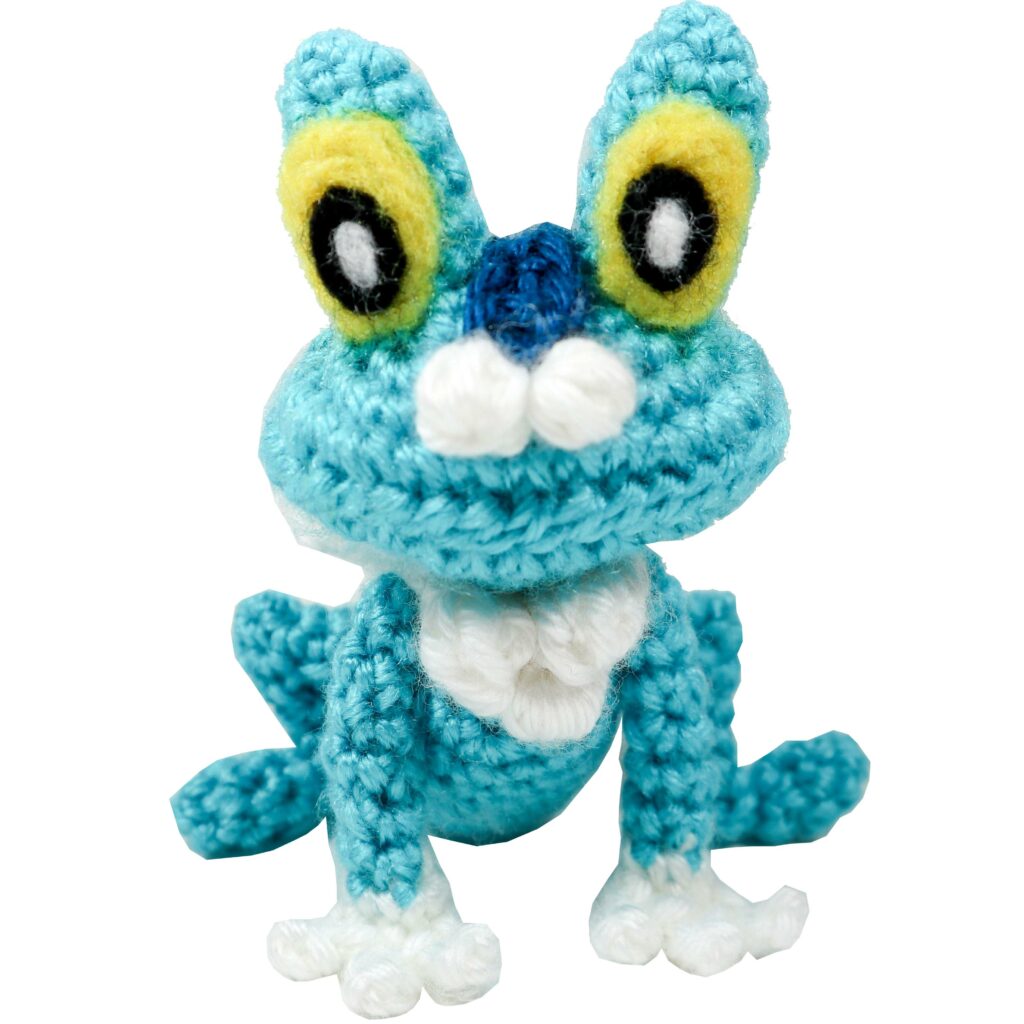
Head: Sew the two eyes in the top of the oval head. In between the eyes, align the blue head stripe. Finally, cover the front end of the stripe with the 2 nostrils.
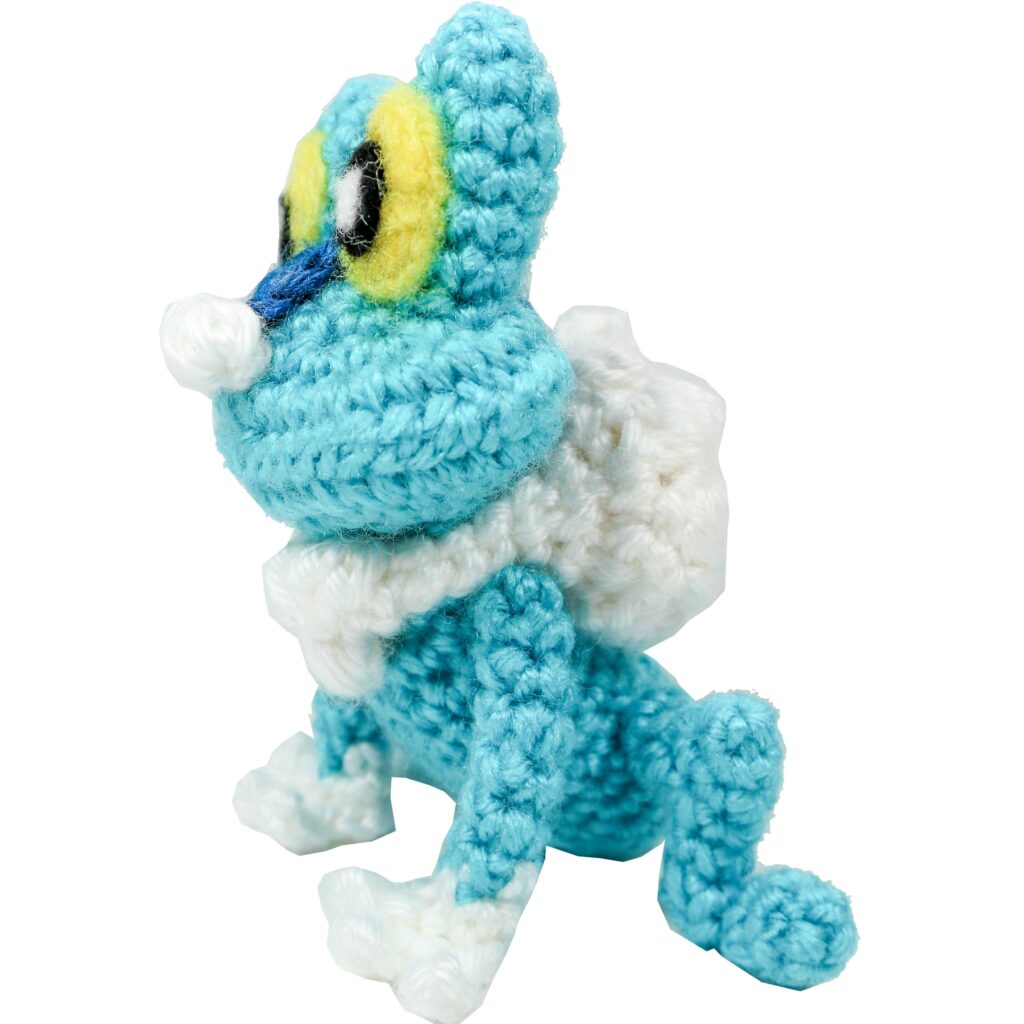
Body: Sew each foot onto the bottom of the leg. Then sew each leg to the side of the body- splayed or spread apart like a frog. Sew the top of the arms to the front of the body. Finally sew the neck bubbles on top of the body- with the sack of bubbles draped across the back and 2 small bubbles in the front. Once the neck frill is in place, sew the head on top of the neck frill, and the final puff of the neck frill in front and below the center of the neck piece.
Facial details (eyes) were added by needle felting loose yarn ends . Alternatively, felt pieces can be cut out and glued on. These were worked directly onto the ‘eye’ pieces on the head.
Thank you for trying this pattern – I hope you enjoy your Amigurumi Froakie!
A downloadable version of this pattern is coming soon to my shop!
This pattern by StringsAway is for personal use only. Please do not sell or redistribute the pattern as your own.