Ring-a-ling, hear them ring, soon it will be: Chingling.
Chingling is literally a Jingle Bell. It is a baby pokemon, the precursor to Chimecho. Mine doesn’t ring, but I thought it would be cool if someone added a jingle bell inside before closing -then you’d have an actual ringing Chingling! Make one and tag me so I can see! (And hear!) I hope you enjoy this free pattern.
Prefer to work by paper? Purchase a printable pdf version of this pattern here!
Materials
- Yarn: Yellow, Red, and white,
- 3.5 mm crochet hook – fiber-fill stuffing
- Felt: black (for the eyes and mouth) and felting needle if desired
- Scissors, yarn needle for assembly
Abbreviations
R(#): Round number
MR: magic ring
Sc: single crochet
Inc: increase (2 sc in same stitch)
Hdc: half double crochet
Dc: double crochet
Dec: decrease (decrease 2 sc into one)
I recommend using Invisible Decrease
Ch: chain
Sl st: slip stitch
f/o: fasten off
Check out my Learn to Crochet page for video tutorials on how to do the types of stitches listed above.
Head/Body
Using yellow:
R1. 6 Sc in MR (6)
R2. Inc around (12)
R3. ‘Sc 1, inc’ around (18)
R4. ‘Sc 2, inc’ around (24)
R5. ‘Sc 3, inc’ around (30)
R6-11. Sc around (30) six times
R12. ‘Sc 3, dec’ around (24)
R13. ‘Sc 2, dec’ around (18)
R14. ‘Sc 1, dec’ around (12)
R15. Dec around (6)
F/o and close loop.
Bell Cap
Using yellow:
R1. 6 Sc in MR (6)
R2-3. Sc around (6) two times
F/o, do not close loop, leave a tail to sew onto head.

Feet
Make 2- using yellow:
R1. 6 in MR (6)
R2. ‘Sc 2, inc’ around (8)
R3. Sc around (8)
R4. ‘Sc 2, dec’ around (6)
F/o and close loop, leaving a tail for sewing to the body.
Arms
Make 2- using yellow:
R1. 4 in MR (4)
R2. ‘Sc 1, inc’ around (6)
R3-4. Sc around (6) two times
F/o leaving a tail for sewing to the body.
Scarf Ends
Make 6 (4 red, 2 white.):
R1. 4 in MR (4)
R2. Sc ar (4)
F/o, do not close loop. On at least one end (per side) leave a tail to sew the ends to the scarf.
Scarf
Make 2, begin with red:
R1. 6 Sc in MR (6)
R2. ‘Sc 2, inc’ around (8)
R3-4. Sc around (8) two times
Switch to white:
R5. Sc around (8)
R6. Dec, Sc 6 (7)
R7. Dec, Sc 5 (6)
Switch to red:
R8. Sc around (6)
R9. Dec, sc 4 (5)
R10. Sc around (5)
F/o, do not close loop, leave a long tail for sewing to the jingle bell cap.
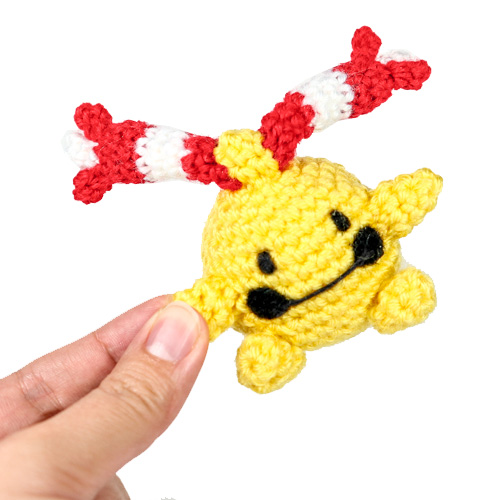
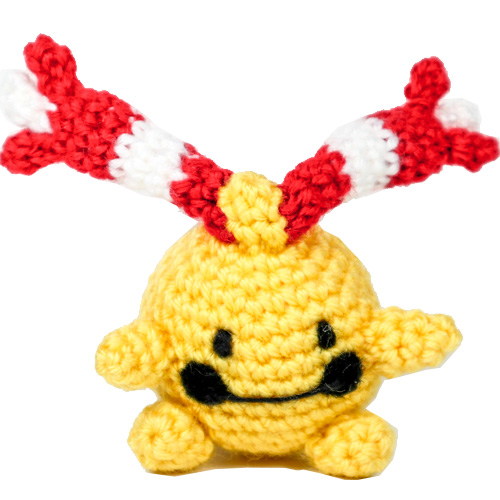
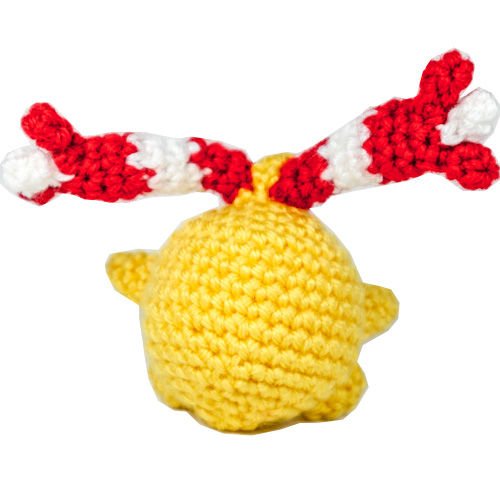
Assembly of Crochet Chingling
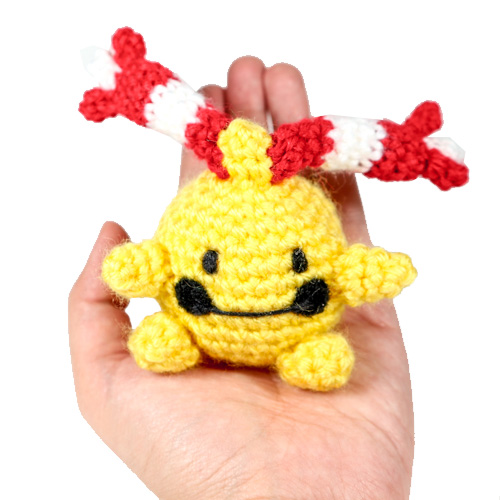
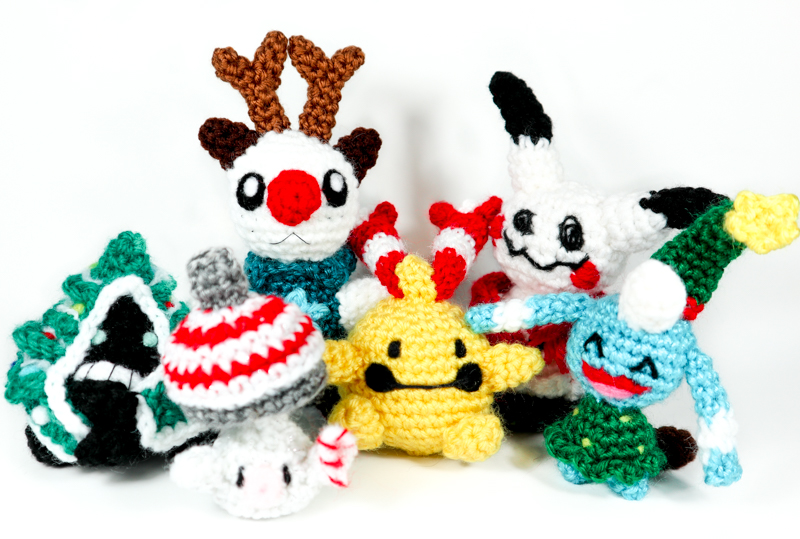
Assemble as shown in pictures- be sure to pin limbs in place before sewing to properly adjust position. Chingling has a hard time sitting on it’s own balanced upright because it is a ball.
Scarf: attach the scarf ends to R1 of the scarf. The scarf ends are red on either side, with the white piece in the middle. Sew the open end of the scarf to the sides of the bell cap.
Head/Body- sew the Bell cap onto the top of the head. Attach the arms to either side of the body, approximately midway down, leaving a space to add the face. Attach the feet to either sides of the body below the arms/at the bottom of the body.
Facial details were added by needle felting loose yarn ends .
Thank you for trying this pattern – I hope you enjoy your Amigurumi Chingling!
Click here to purchase a downloadable version of this Chingling crochet pattern!
This pattern by StringsAway is for personal use only. Please do not sell or redistribute the pattern as your own.