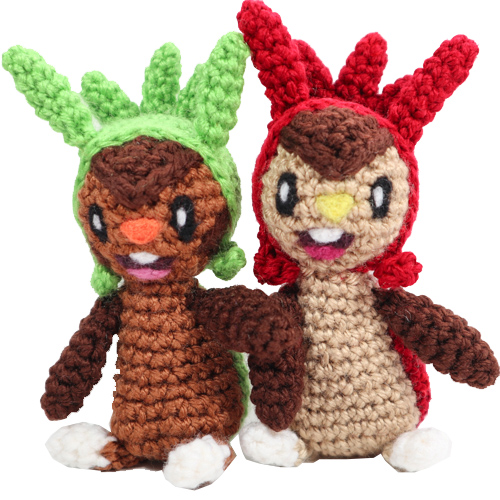
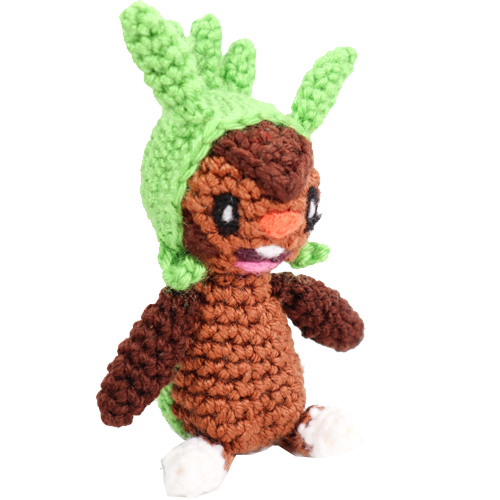
Chespin is the grass-type starter from Pokemon X and Y. Chespin, the ‘spiny-nut Pokemon’ is based off a combination of a hedgehog and chestnut shoot. It’s name is a combination of chest-nut and ‘pin’; and the spikes on its head can even cut through stone!
Amigurumi Chespin’s spikes may not be quite as efficient as cutting through stone, but it is super cute! Crochet your own Chespin today with this free pattern!
Materials
- Yarn: Dark brown, Lighter brown, Light green, orange, white (light weight yarn was used)
- Felt: Black, white, orange, pink, dark purple (for all facial features)
- 3.5 mm crochet hook
- fiber-fill stuffing
- Scissors, yarn needle for assembly
Abbreviations
R(#): Round number
MR: magic ring
Sc: single crochet
dc: double crochet
inc: increase (2 sc in same stitch)
dec: decrease (decrease 2 sc into one) I recommend using Invisible Decrease
tch: turn chain
sl st: slip stitch
ch: chain – f/o: fasten off
Check out my Learn to Crochet page for video tutorials on how to do the types of stitches listed above.
Head
Using light brown:
R1. 6 Sc in MR (6)
R2. Inc around (12)
R3. ‘Sc 1, inc’ around (18)
R4. ‘Sc 2, inc, around (24)
R5-R7 Sc around (24) 3 times
R8. ‘Sc 2, dec’ around (18)
R9. ’Sc 1, dec’ around (12) (Don’t forget to add stuffing!)
R10. Dec around (6) and f/o
Body
Using light brown:
R1. 6 sc in MR (6)
R2. Inc around (12)
R3. ‘Sc 1, inc’ around (18)
R4. ‘Sc 2, inc’ around (24)
R5. Sc 4, inc, Sc 4, inc, inc, Sc 4, inc, inc, Sc 4, inc, Sc 2 (30)
R6. Sc around (30)
R7. Sc 4, dec, Sc 4, dec, dec, Sc 4, dec, dec, Sc 4, dec, Sc 2 (24)
R8-R9. Sc around (24) two times
R10. ‘Sc 2, dec’ around (18)
R11. Sc around (18)
R12. ‘Sc 4, dec’ around (15)
R13. Sc around (15)
R14. ‘Sc 3, dec’ around (12)
R15. Sc around (12)
F/o, stuff well, do not close opening.
Green Hood for Head
Using light green:
R1. 6 Sc in MR (6)
R2. Inc around (12)
R3. ’Sc 1, inc’ around (18)
R4. ‘Sc 2, inc’ around (24)
R5. ‘Sc 3, inc’ around (30)
R6-R8. Sc around (30) 3 times
R9. ‘Sc 3, dec’ (24)
R10. Sc around (24)
F/o and leave a long thread for sewing.
Head Spikes
Front head spikes- make 2, using light green:
R1. 4 sc in MR (4)
R2. Sc around (4)
R3. Inc, Sc 3 (5)
R4-R6. Sc around (5) three times
R7. Dec, Sc 3 (4)
F/o, leave a long tail for attaching to hood.
Back head spikes – make 3, using light green:
Repeat above instructions except skip R6 above and immediately proceed to R7 (only sc around two times instead of 3 to make shorter spikes.)
F/o and leave a tail for attaching to hood.
Arms
Using dark brown:
R1. 4 sc in MR (4)
R2. Inc, Sc 1, Inc, Sc 1 (6)
R3. Sc around (6)
R4. Inc, Sc 3, inc, Sc 1 (8)
R5. Sc around (8)
R6. Dec, Sc 3, Dec, Sc 1 (6)
Stuff inside of arm lightly.
R7. Sc around (6)
R8. ‘Dec, Sc’ around (4)
F/o, close loop and leave a tail for sewing onto the body.
Feet
Make 2 – Begin with white:
R1. 4 Sc in MR (4)
R2. Inc, Sc 3 (5)
R3. Sc around (5)
switch to light brown yarn:
R4. Sc around (5)
R5. Dec, Sc 3 (4)
F/o and leave long tail for attaching to body.
Tail
Begin with orange:
R1. 4 Sc in MR (4)
R2. Inc, Sc 3 (5)
R3. Sc around (5)
Switch to light green:
R4. Inc, Sc 4 (6)
R5-R6. Sc around (6) two times
R7. ‘Sc 2, inc’ around (8)
R8-R9. Sc around (8) two times
F/o, stuff, and leave a long tail for sewing to body.
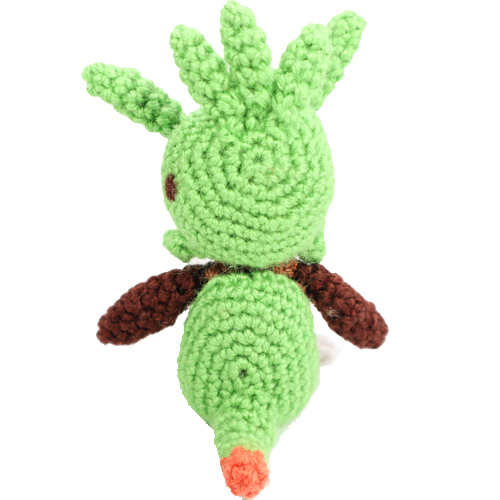
Back
Using light green:
Crochet an oval:
R1: Ch 4
Sc in 2nd ch from hook and in each of the next 2 chains (3sc)
Inc in last chain (3sc in last chain)
Continue along the other side of the foundation chain: Sc 1, Inc. End of R1 (8 sc total)
R2: inc, sc, inc, inc, inc, sc, inc, inc (14)
R3: inc, sc 2, ‘inc, sc’ 3 times, sc, ‘inc, sc ’ 2 times (20)
R4: inc, sc 5, ‘inc, sc’ 3 times, sc 4, ‘inc, sc’ 2 times (26)
R5: inc, sc 7, ‘inc sc 2’ 3 times, sc3, ‘inc, sc 2’ 2 times (32)
R6: Sc around (32)
R7. ‘Sc 6, dec’ around (28)
F/o and leave a very long tail for sewing onto the back of the body.
Side Burns
Make 2. Using light green:
Ch 5. Working back, beginning in 2nd ch from hook: Sl St, Sc, Sc, Sl St.
F/o and leave a tail for attaching to the hood.
Forehead Triangle
Using Dark brown:
Row 1: Chain 6. Turn work
Row 2: Skip 2 (begin in 3rd ch from hook): Sc 4, tch
Row 3: Skip 2 (begin in 3rd ch from hook): Sc 3, tch
Row 4: Skip 2 (begin in 3rd ch from hook): Sc 2, tch
Row 5. Skip 2 (work in 3rd ch from hook): Sc. Tch.
Sl st a border around the entire triangle – at each corner do two sl st .
Assembly of Crochet Chespin
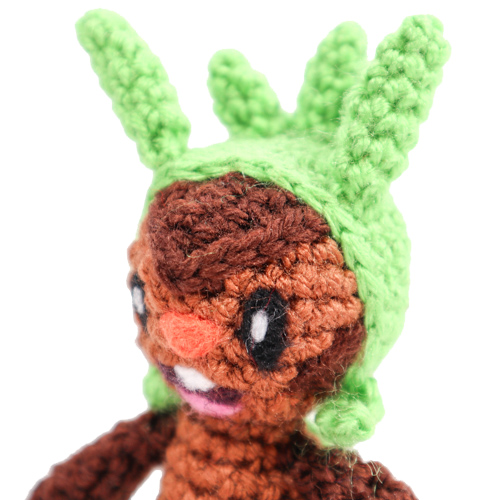
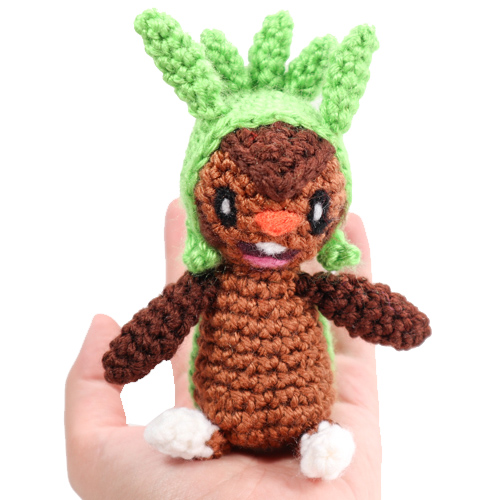
Head: Using pins, place the green hood and the forehead triangle on the head. The back of the forehead triangle is tucked under the hood. Sew the triangle and hood on. Then onto the hood: Attach the two front spikes to the front of the hood on either side of the triangle. Attach the 3 small spikes to the back of the hood in a cluster. Finally attach the ‘sideburns’ to either side near the bottom of the hood.
Body: The front of the body should have two ‘legs’ that protrude. Sew the green back onto the back of the body first. Then, place the tail (on the back), two feet under the ‘legs’ shaped onto the body. Finally attach the head over the top of the body and the arms to either side.
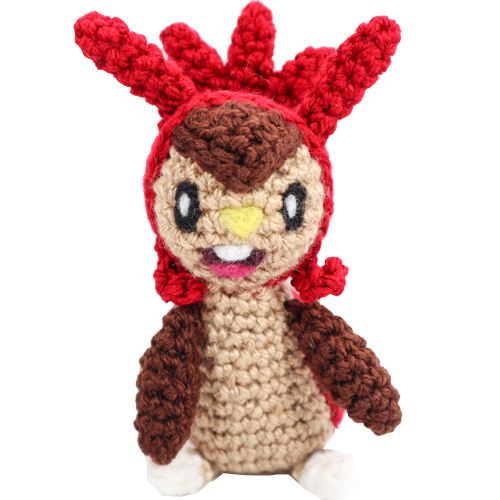
Add the facial features and details as shown in pictures – I used needle felting of loose yarn ends to create the eyes, nose, and mouth.
I hope you enjoy your amigurumi Chespin!
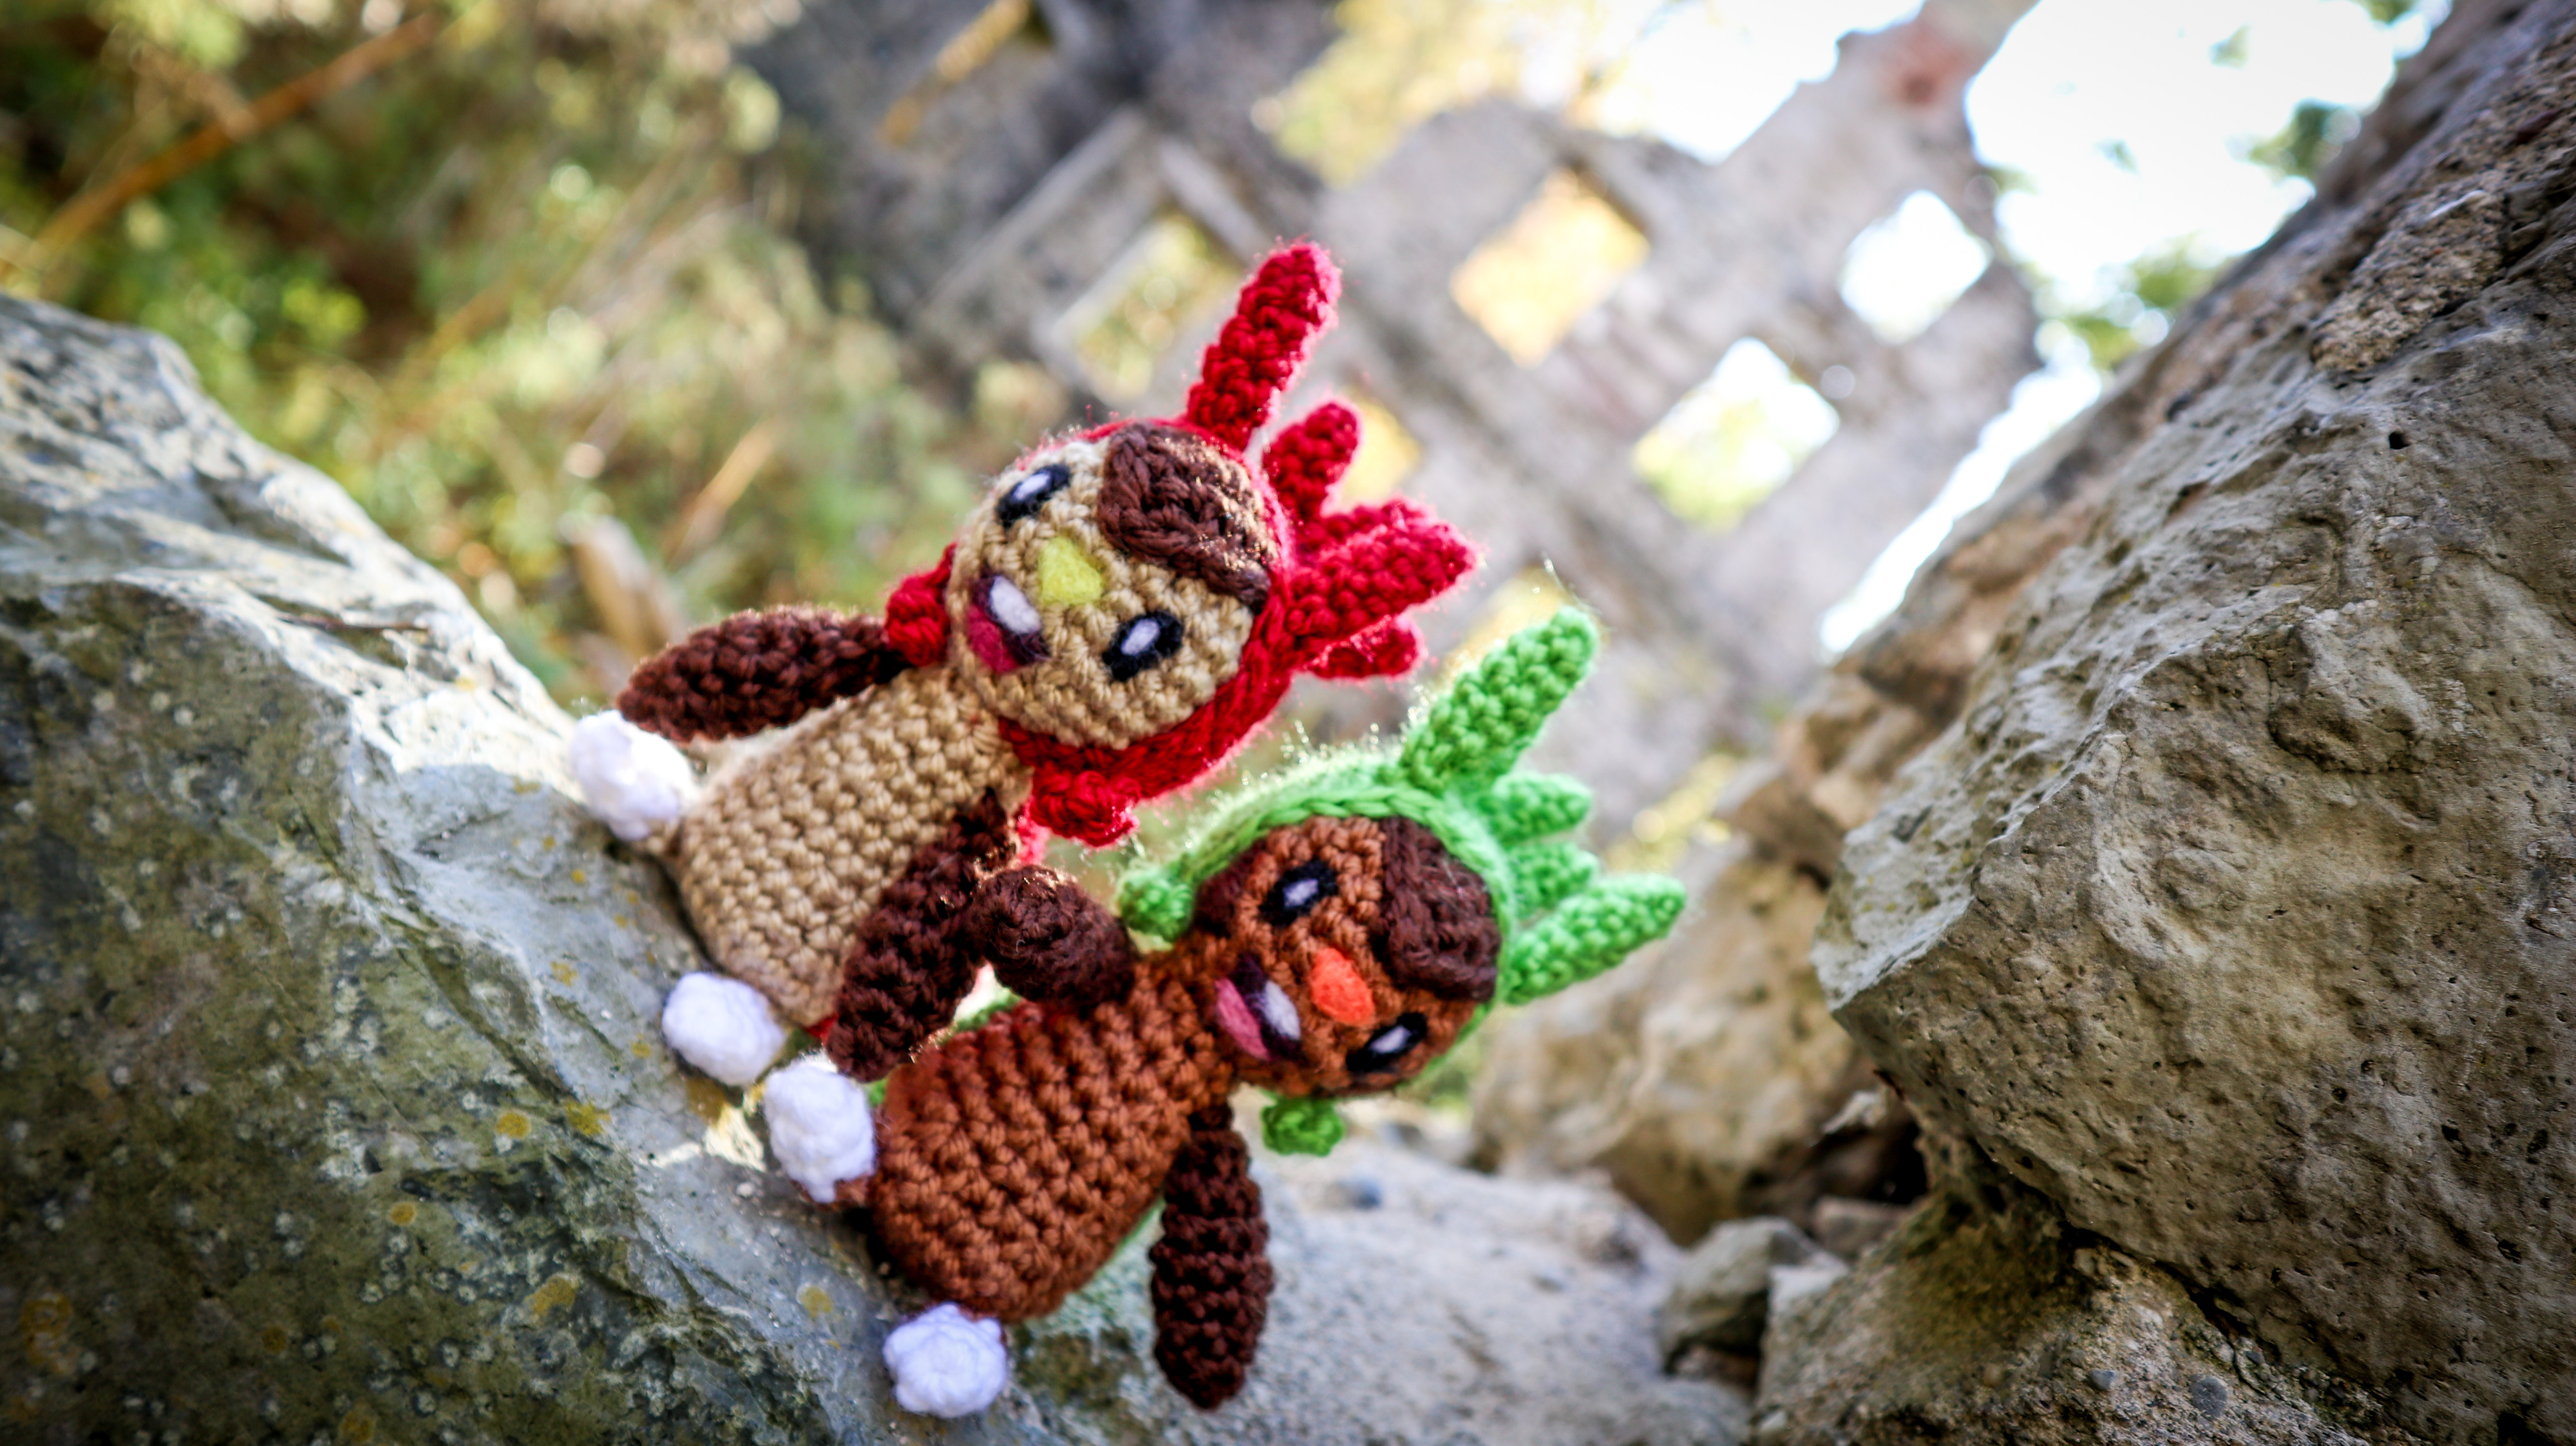 Chespin couple visits the German’s Woolen Mill Ruins in Glen Morris, Ontario (Canada)
Thank you for trying this pattern – I hope you enjoy your Amigurumi Chespin!
This pattern by StringsAway is for personal use only. Please do not sell or redistribute the pattern as your own.
