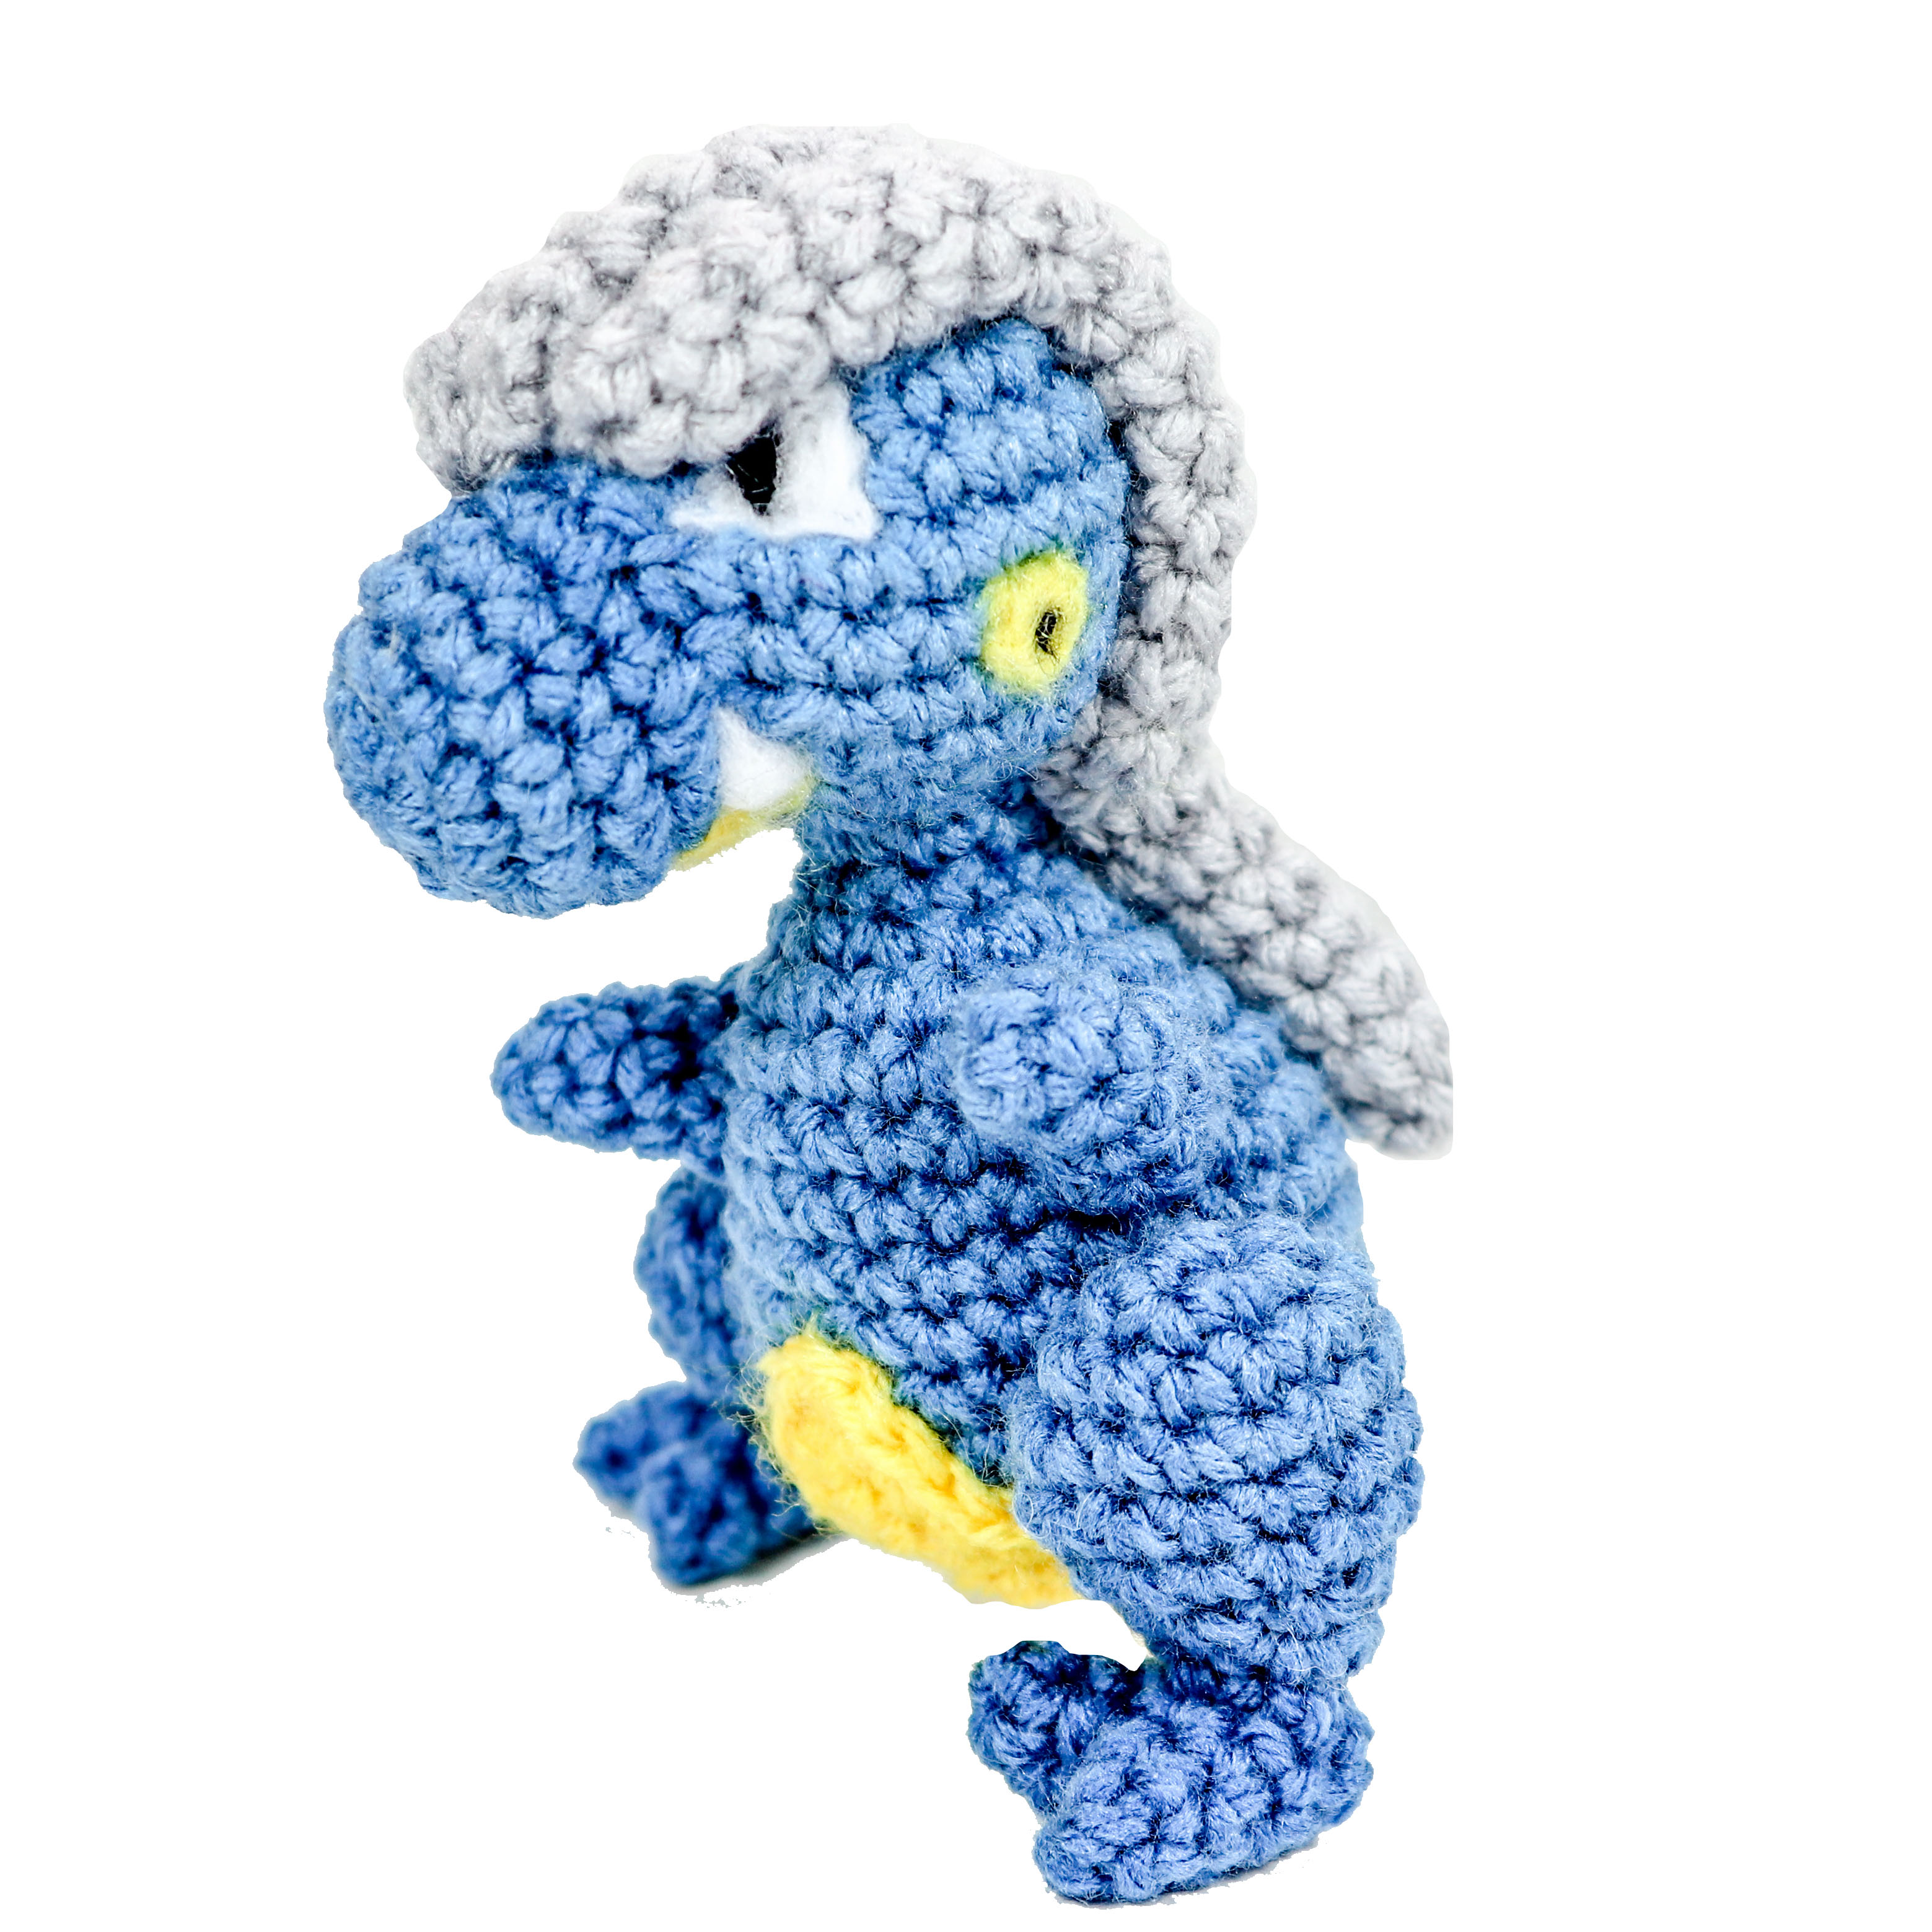
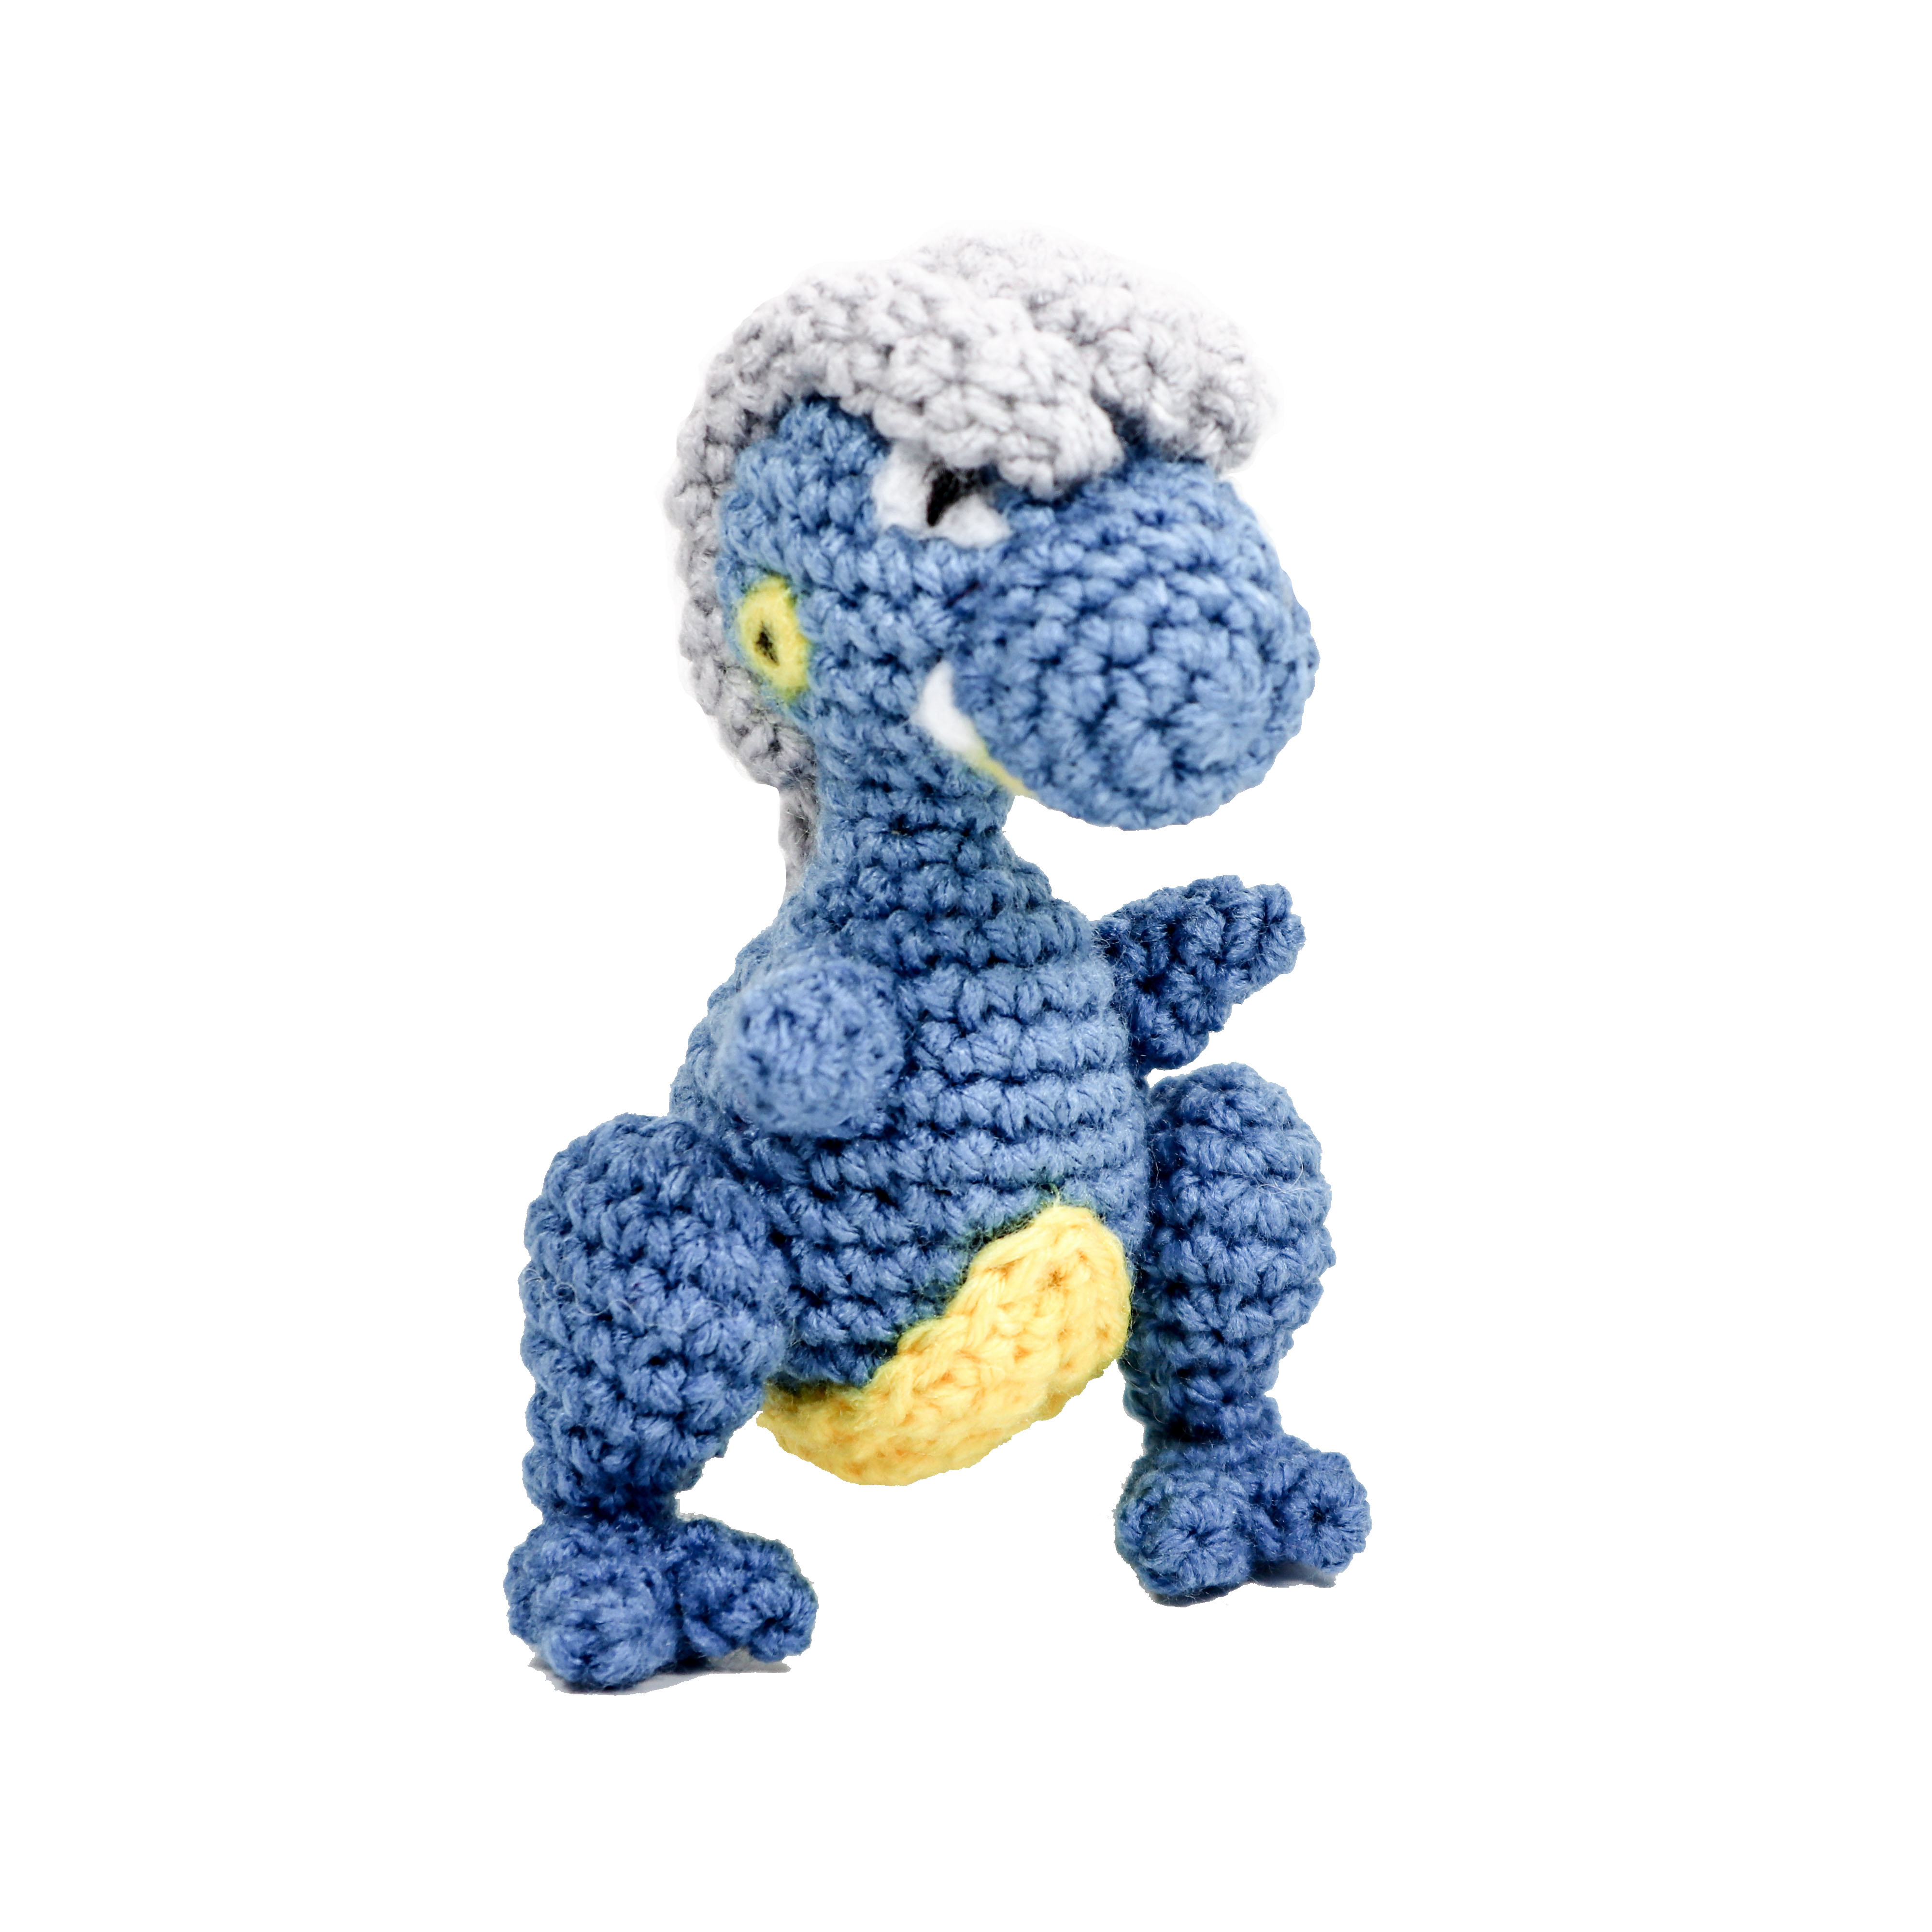
Bagon the little dragon dinosaur is what you might describe as a little bit hard-headed. Although he may be stubborn he’s sturdy and reliable, too! Crochet this little Bagon to add to your team of Pokemon Plushies.
Looking for a paper version? You can purchase a downloadable version of this pattern here .
Materials
- Yarn: Blue, yellow, light grey (medium)
- 3.5 mm crochet hook – fiber-fill stuffing
- Needle felting Yarn or Felt: black, white, yellow (for eyes, jaw/teeth, and ears) felting needle
- Scissors, yarn needle for assembly
Abbreviations
R(#): Round number
MR: magic ring
Sc: single crochet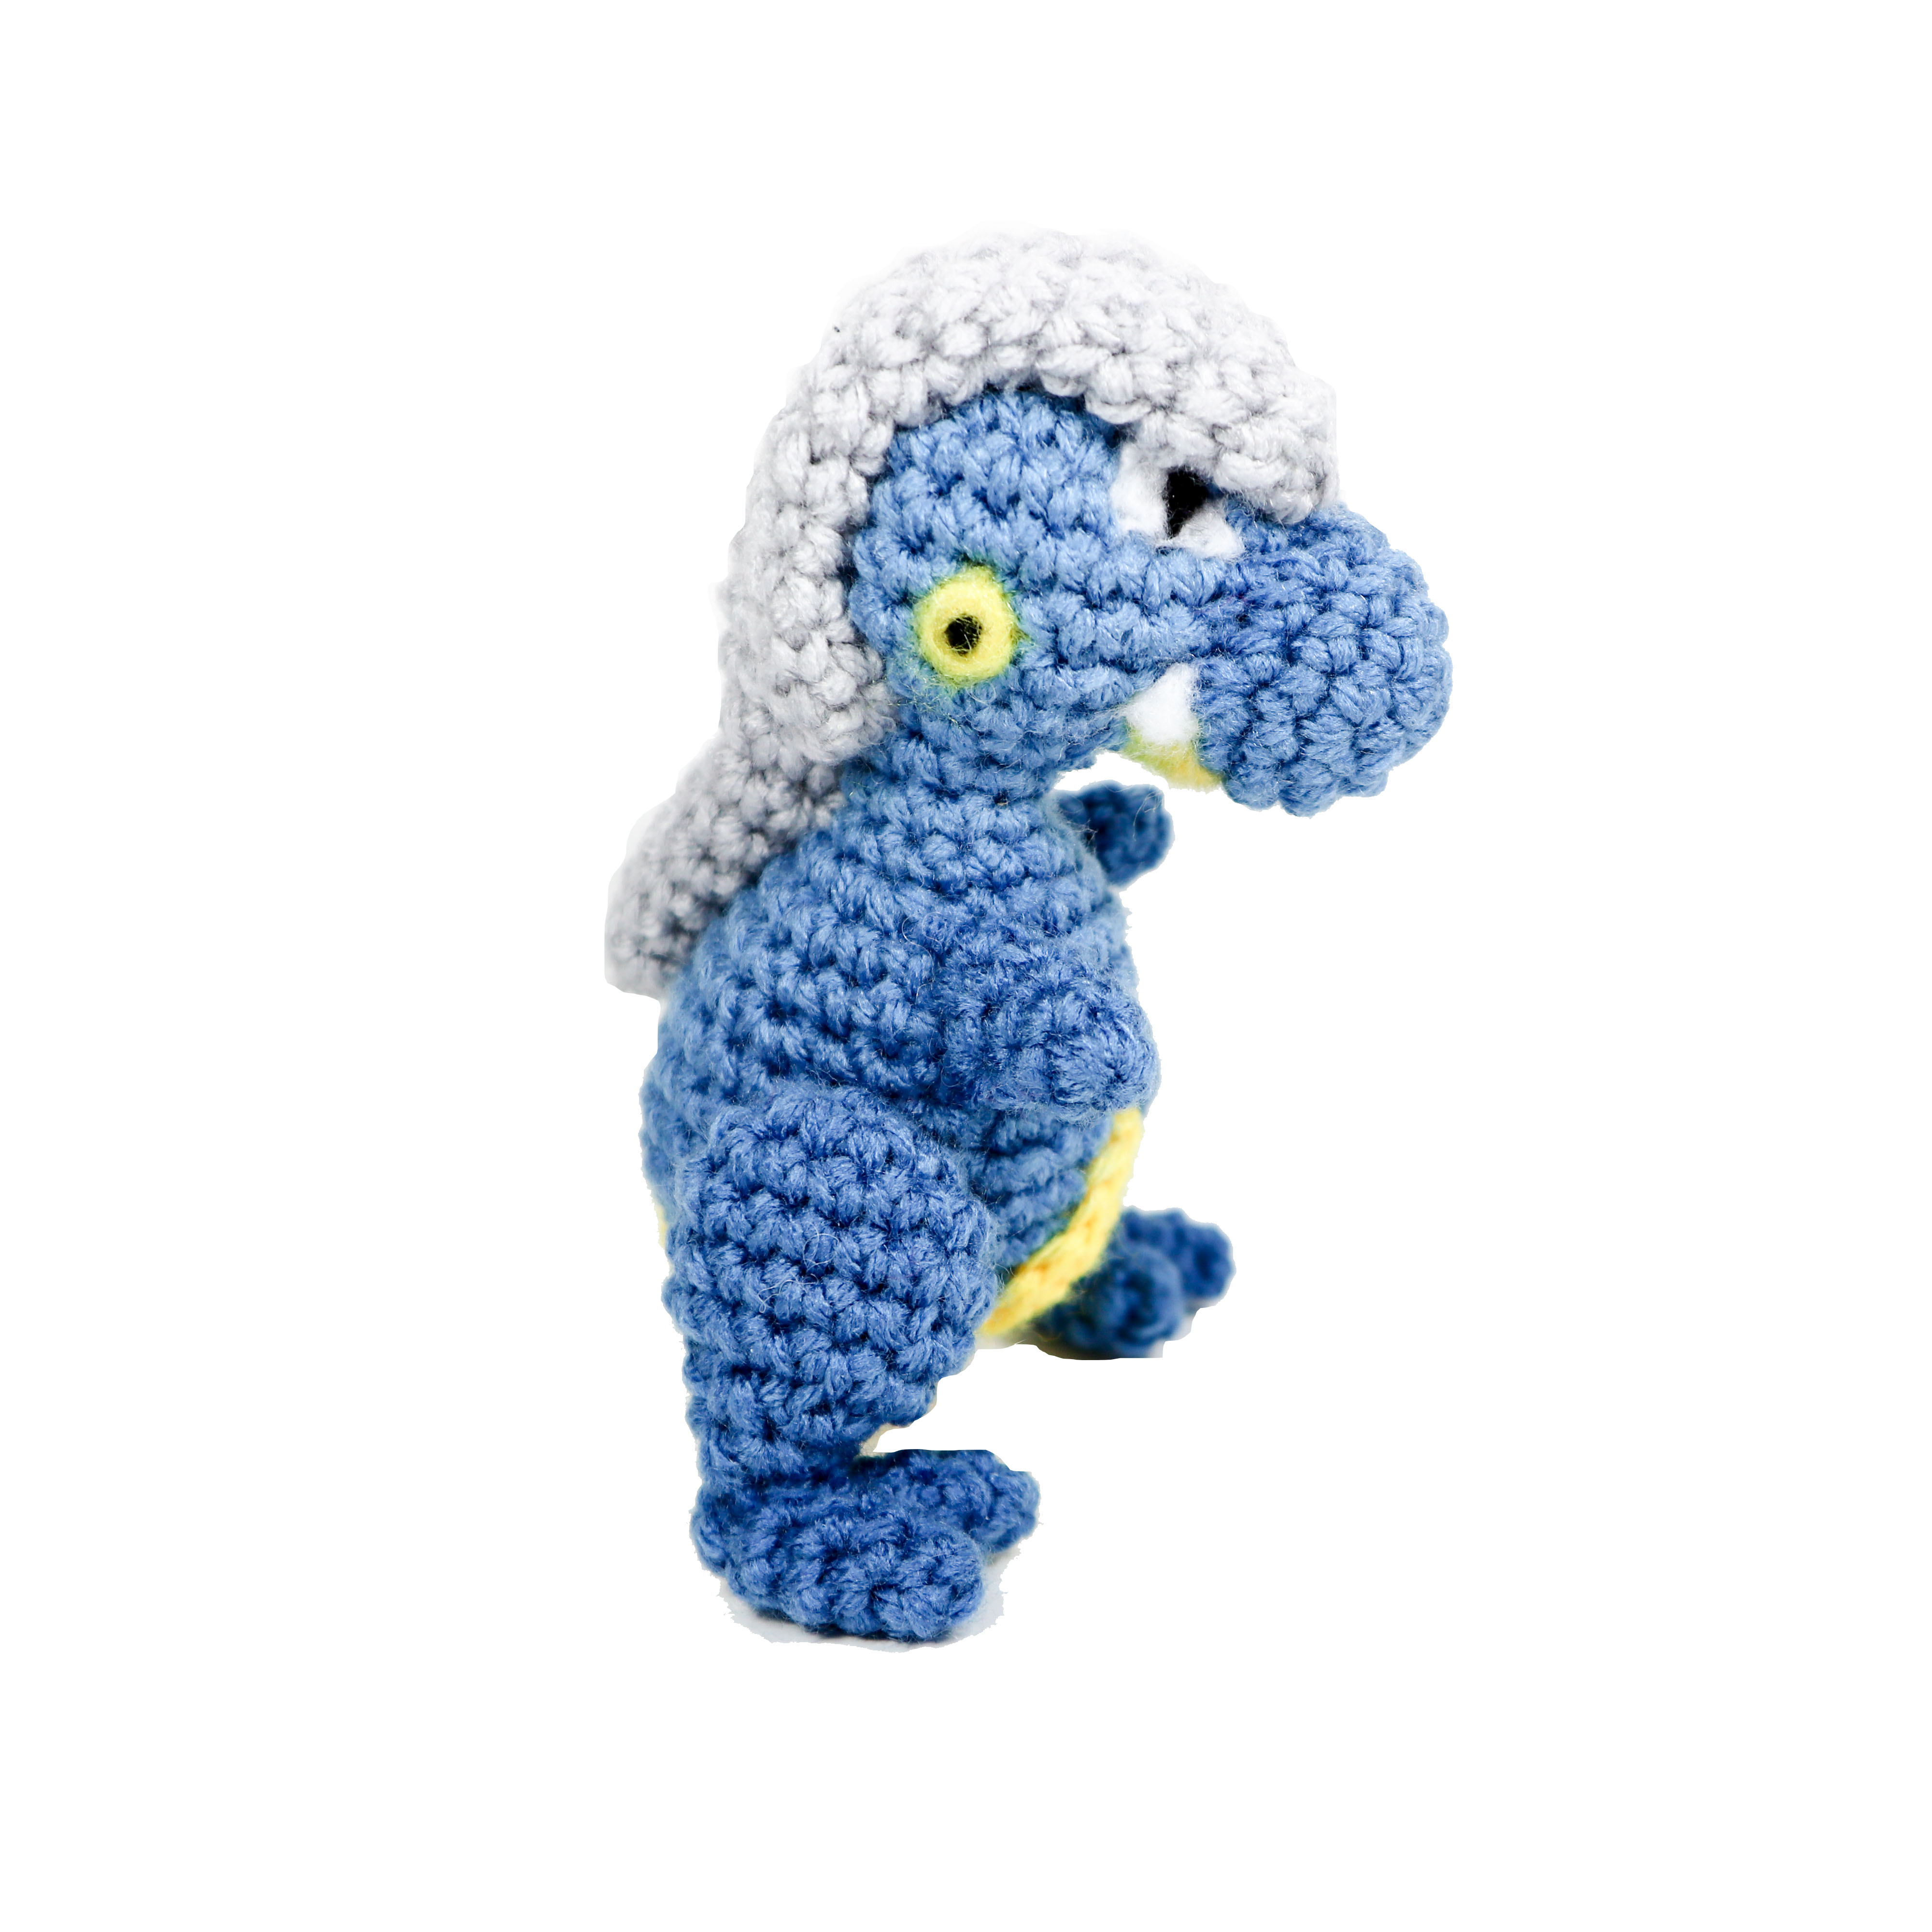
Inc: increase (2 sc in same stitch)
Dec: decrease (decrease 2 sc into one)
I recommend using Invisible Decrease
Sl st: slip stitch
Hdc: half double crochet
Dc: double crochet
Tr: treble crochet
ch: chain
f/o: fasten off
Additional Skills: Needle Felting
Check out my Learn to Crochet page for video tutorials on how to do the types of stitches listed above.
Head and Body
Using blue:
R1. 6 sc in MR (6)
R2. Inc around (12)
R3. Sc 1, inc around (18)
R4. Sc 2, inc around (24)
R5-R8. Sc around (24) four times
R9. Sc 2, dec around (18)
R10. Sc 1, dec around (12)
R11. Dec 4, Sc 4 (8)
R12. Sc around (8)
R13. Inc, Sc 3 around (10)
R14. Sc 1, inc 8, Sc 1 (18)
R15. Sc 5, inc around (21)
R16. Sc 7, inc, Sc 3, inc, Sc 3, inc, Sc 5 (24)
R17. Sc 8, inc, Sc 4, inc, Sc 4, inc, Sc 5 (27)
R18-R20. Sc around (27) three times
R21. Sc 7, dec around (24)
R22. Sc 2, dec around (18)
R23. Sc 1, dec around (12)
R24. Dec around (6) close hole, f/o.
Snout
Using blue:
R1. 6 sc in MR (6)
R2. Inc around (12)
R3. Sc 3, inc around (15)
R4-R5. Sc around (15) two times.
F/o leaving a long tail for sewing.
Arms
Make 2- Using blue:
R1. . 4 sc in MR (4)
R2. Inc, Sc 3 (5)
R3. Sc around (5)
R4. Inc, Sc 4 (6)
R5. Inc, Sc 5 (7) leave hole open, f/o leaving a long tail for sewing.
Legs
Make 2- Using blue:
R1. 6 sc in MR (6)
R2. Inc around (12)
R3. Sc 3, inc around (15)
R4. Sc around (15)
R5. Sc 3, dec around (12)
R7. Dec around (6)
R8. Sc around (6)
Leave hole open and f/o leaving a long tail for sewing.
Feet and Toes
Using Blue- begin with toes:
R1. 4 sc in MR (4)
R2. Sc around (4)
F/o the first toe. Repeat again to make a 2nd toe. This time, do not f/o but begin crocheting immediately onto the open end of the first toe to begin making the foot. Sc into all 4 sc’s on each toe:
R3. Sc 4 on Toe #1, 4 on Toe #2 (8)
R4. Sc around (8)
R6. Sc 2, dec around (6)
F/o and close hole.
Repeat this process again to make the second foot.
Middle “Hair”/Helmet Piece
Using light grey:
R1. 4 sc in MR (4)
R2. Inc, Sc 3 (5)
R3. Inc, Sc 4 (6)
R4-R22. Sc around (6) nineteen times. Close ring and f/o.

Side Hair/Helmet
Make 2 – Using light grey:
R1. 4 sc in MR (4)
R2. Inc, Sc 3 (5)
R3-R14. Sc around (5) 12 times. Close hole and f/o leaving a long tail for sewing onto head.
Yellow Belly
Using yellow:
R1. 6 sc in MR (6)
R2. Inc around (12)
R3. Sc 1, inc around (18)
Triangle part: Chain 5,
Begin working ‘back’ (in 2nd chain from hook):
Sc, Hdc, Dc, Tr,
On the circular base skip over 3 sc from where the chain began and join to base with a sl st on the 4th sc.
Continuing on to the rest of R4:
R4. Sc 2, inc around until you’re back at the base of the triangle.
R5. Continue to Sc up along the right side of the triangle, at the top most hole add an inc (ie- sc 3 into the top-most point of the triangle) and begin descending working sc along the left side of the triangle. Add a sl st to join onto the circular base and f/o leaving a long tail for sewing onto the body.
Assembly of Crochet Bagon
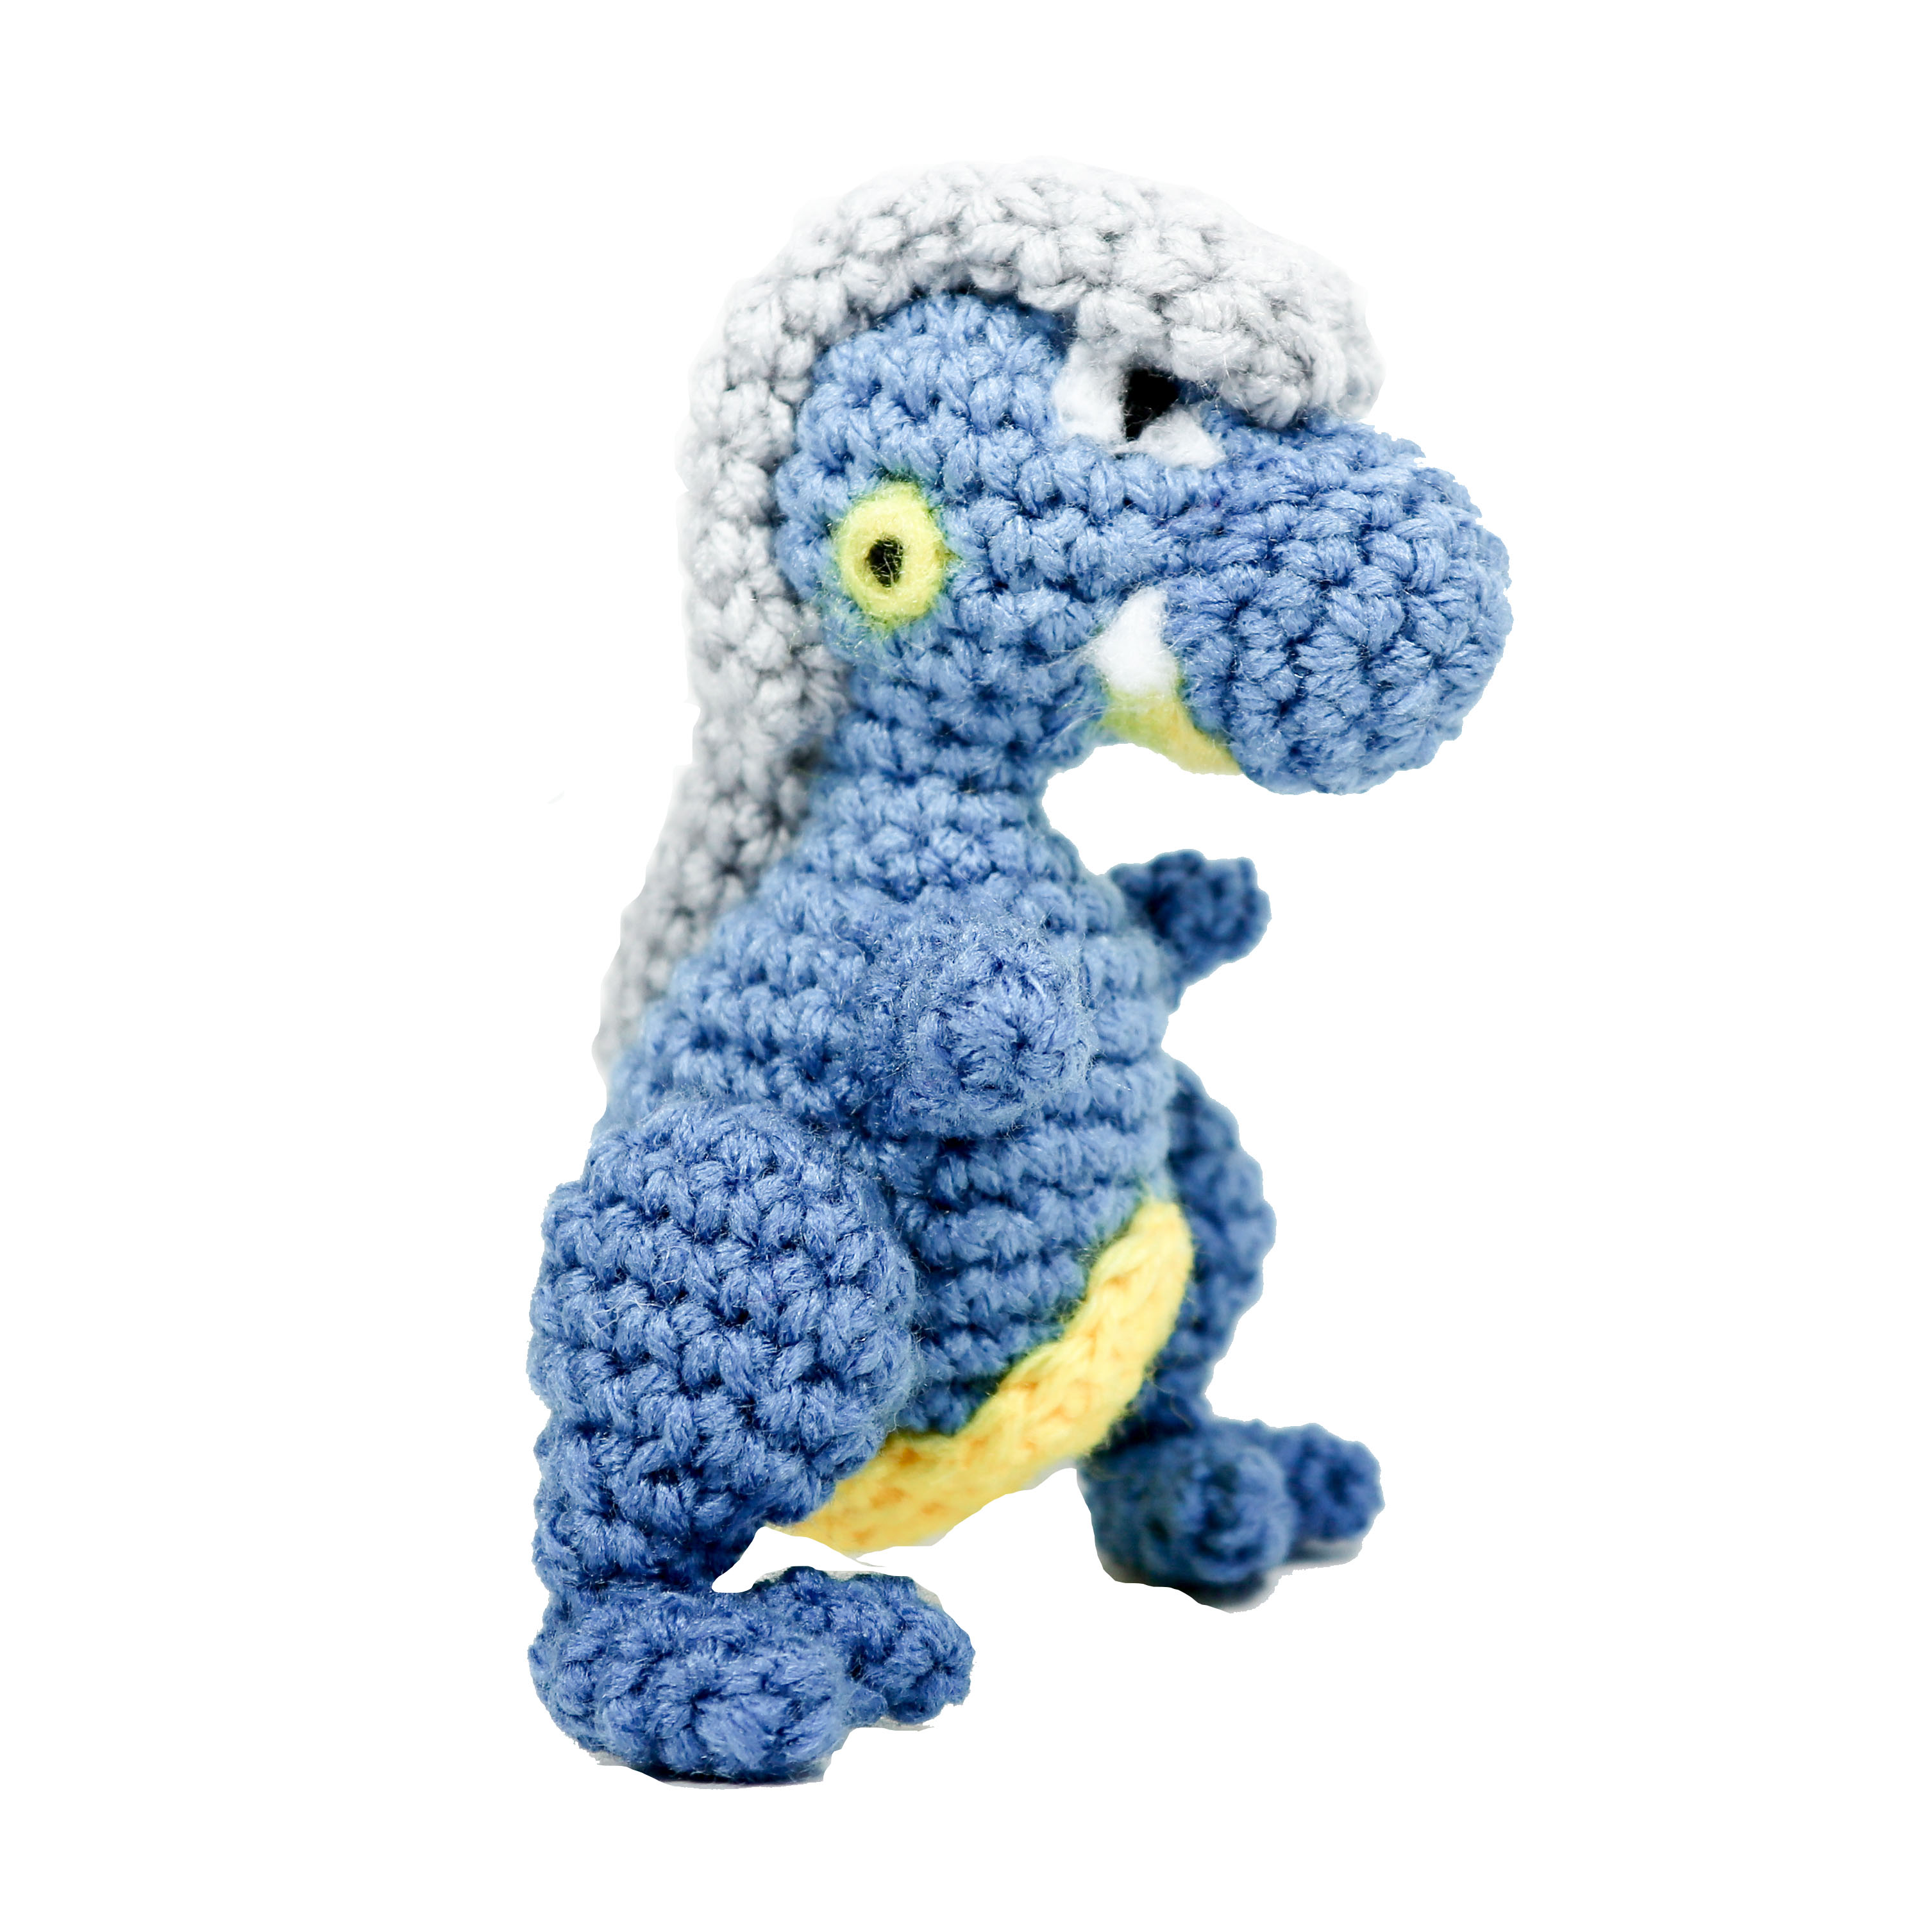
The back of Bagon’s body is more rounded. Attach snout to front of head. For “hair” (helmet?) Attach two side pieces fist –originating from top of snout and ending at back of head. Attach center ‘hair’ piece.
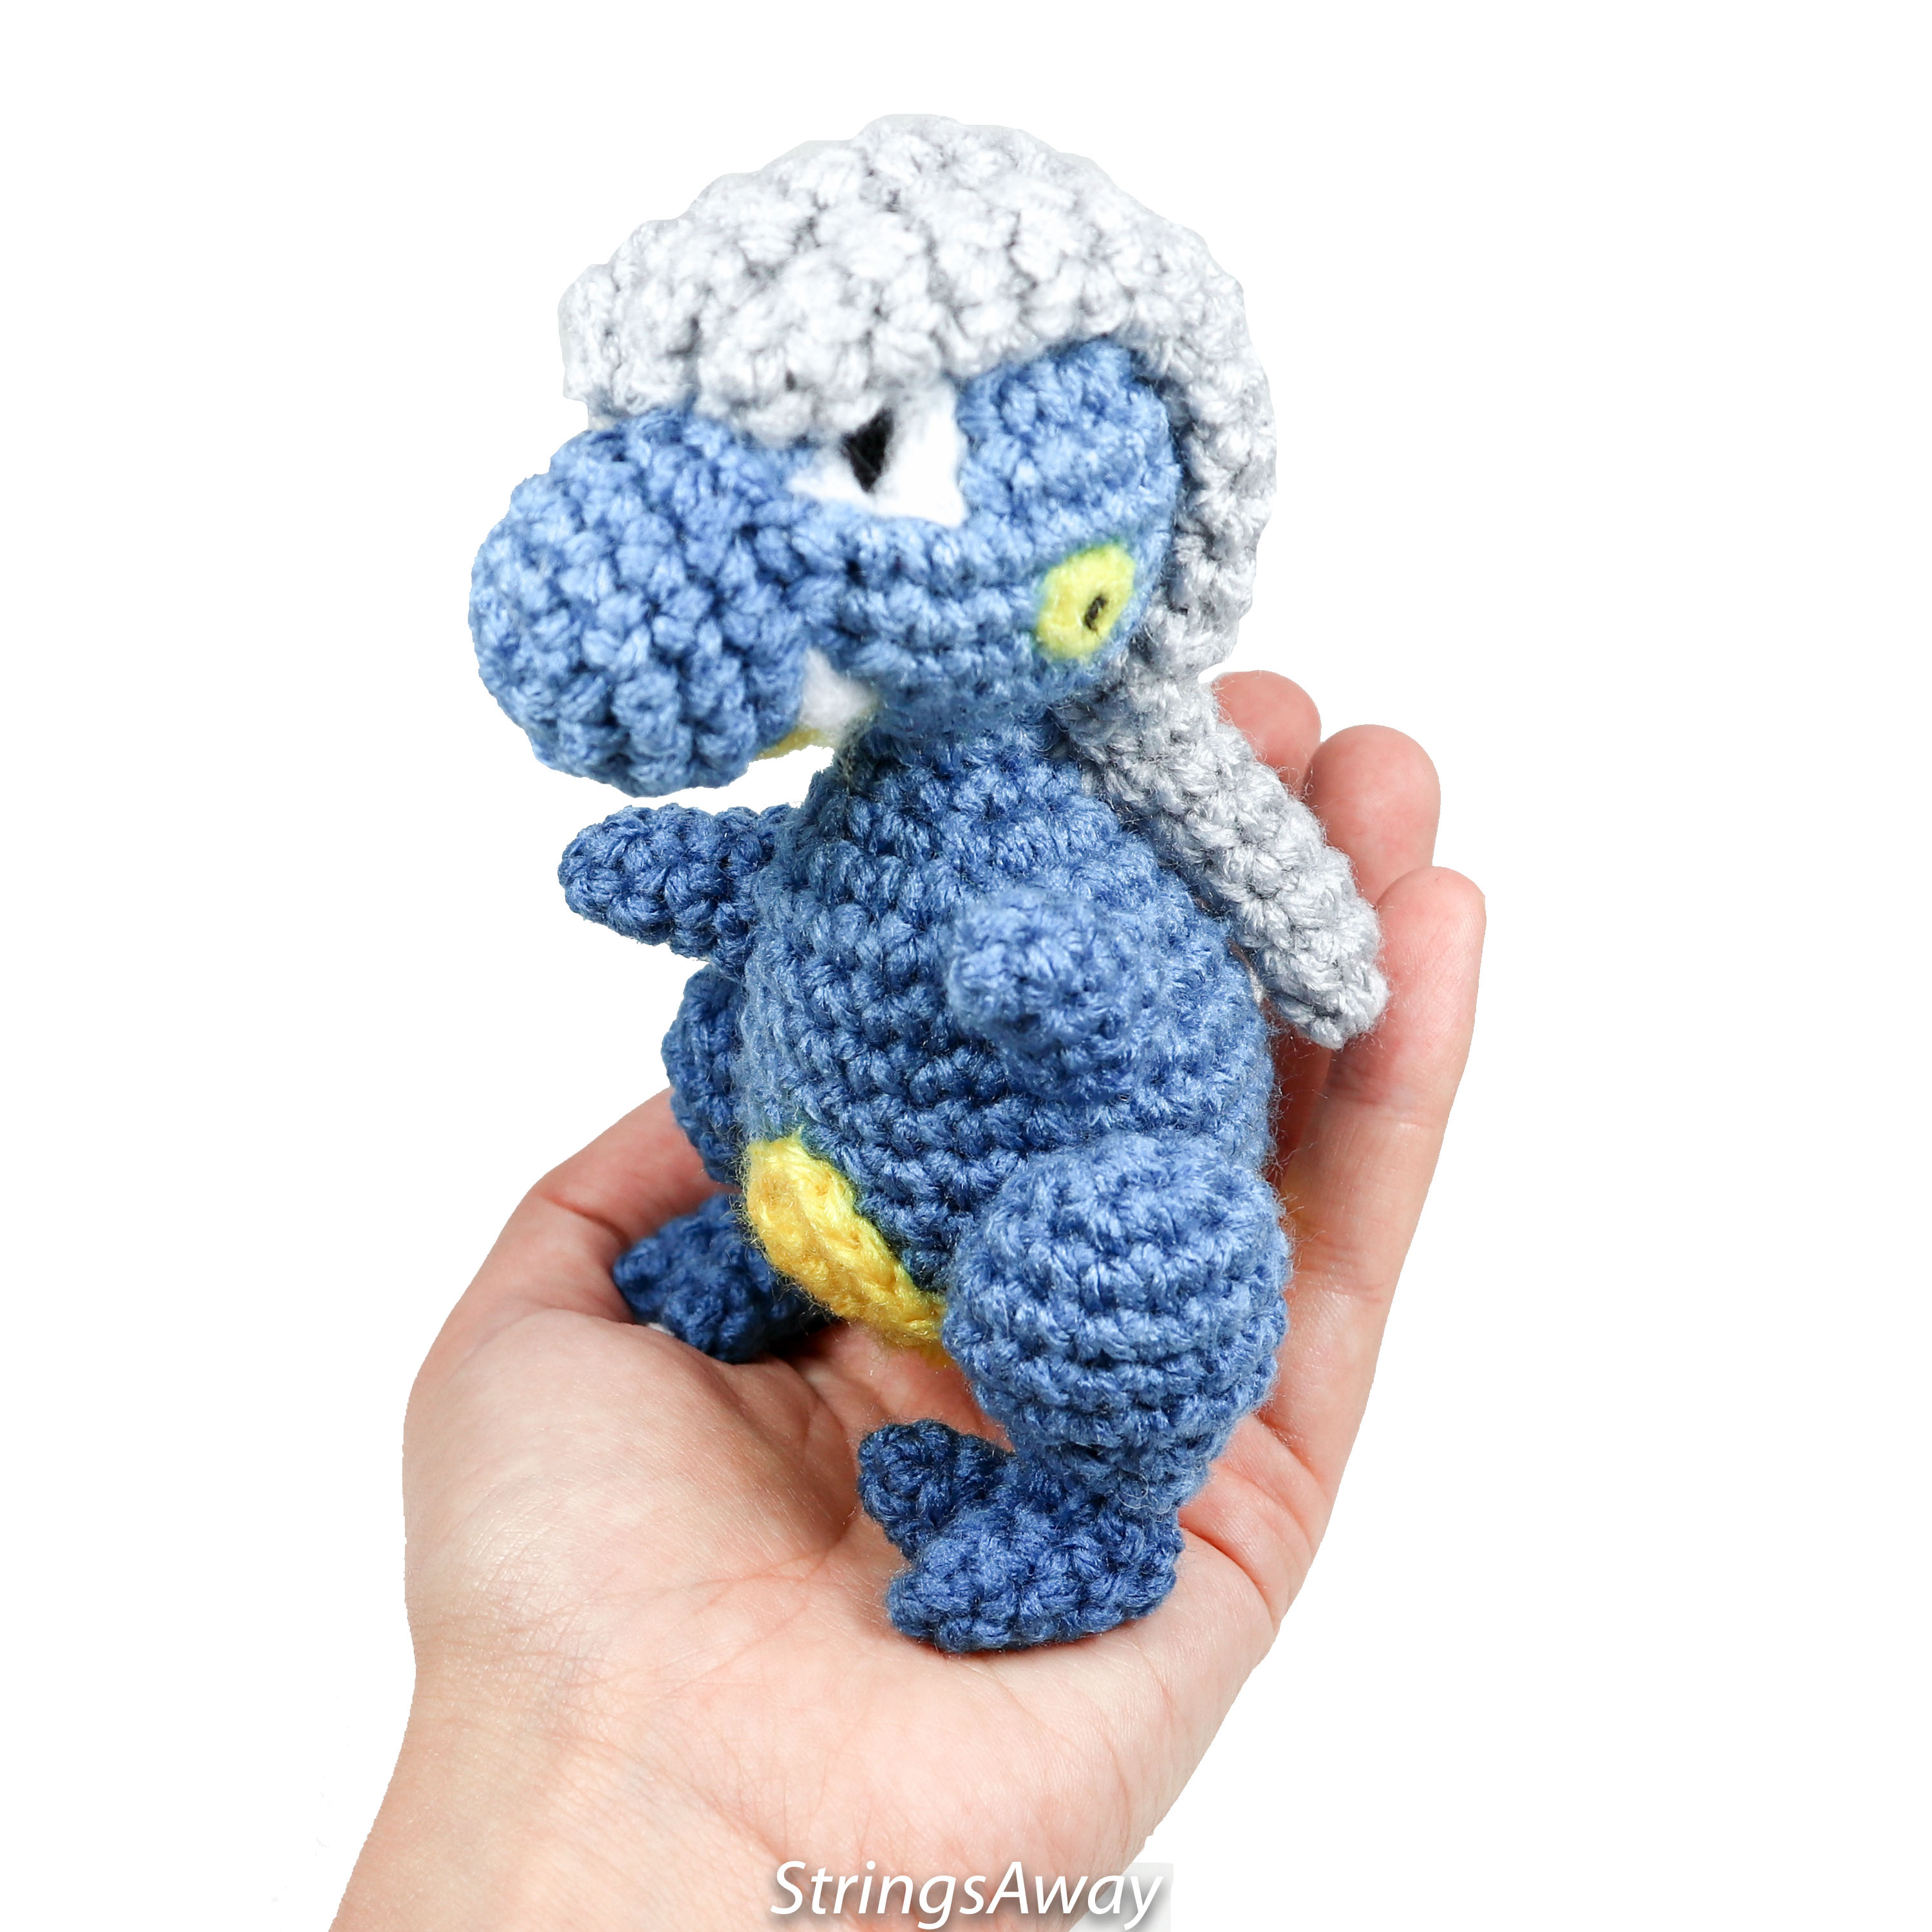
Attach the yellow belly to the bottom centre of the body. Attach the feet to the legs and then the legs to the body. Note- Bagon will NOT easily stand up on its own if legs are placed as shown in pictures- if you don’t want him to do always have balance or lean on something to stand upright you could attach his legs in a ‘sitting’ position. Attach arms above legs.
Finally- the last details (eyes, jaw, teeth and ears (?)) were added by needle felting onto the appropriate places. Alternatively one could cut out felt pieces and glue on accordingly.
I hope you enjoy your Amigurumi Bagon!
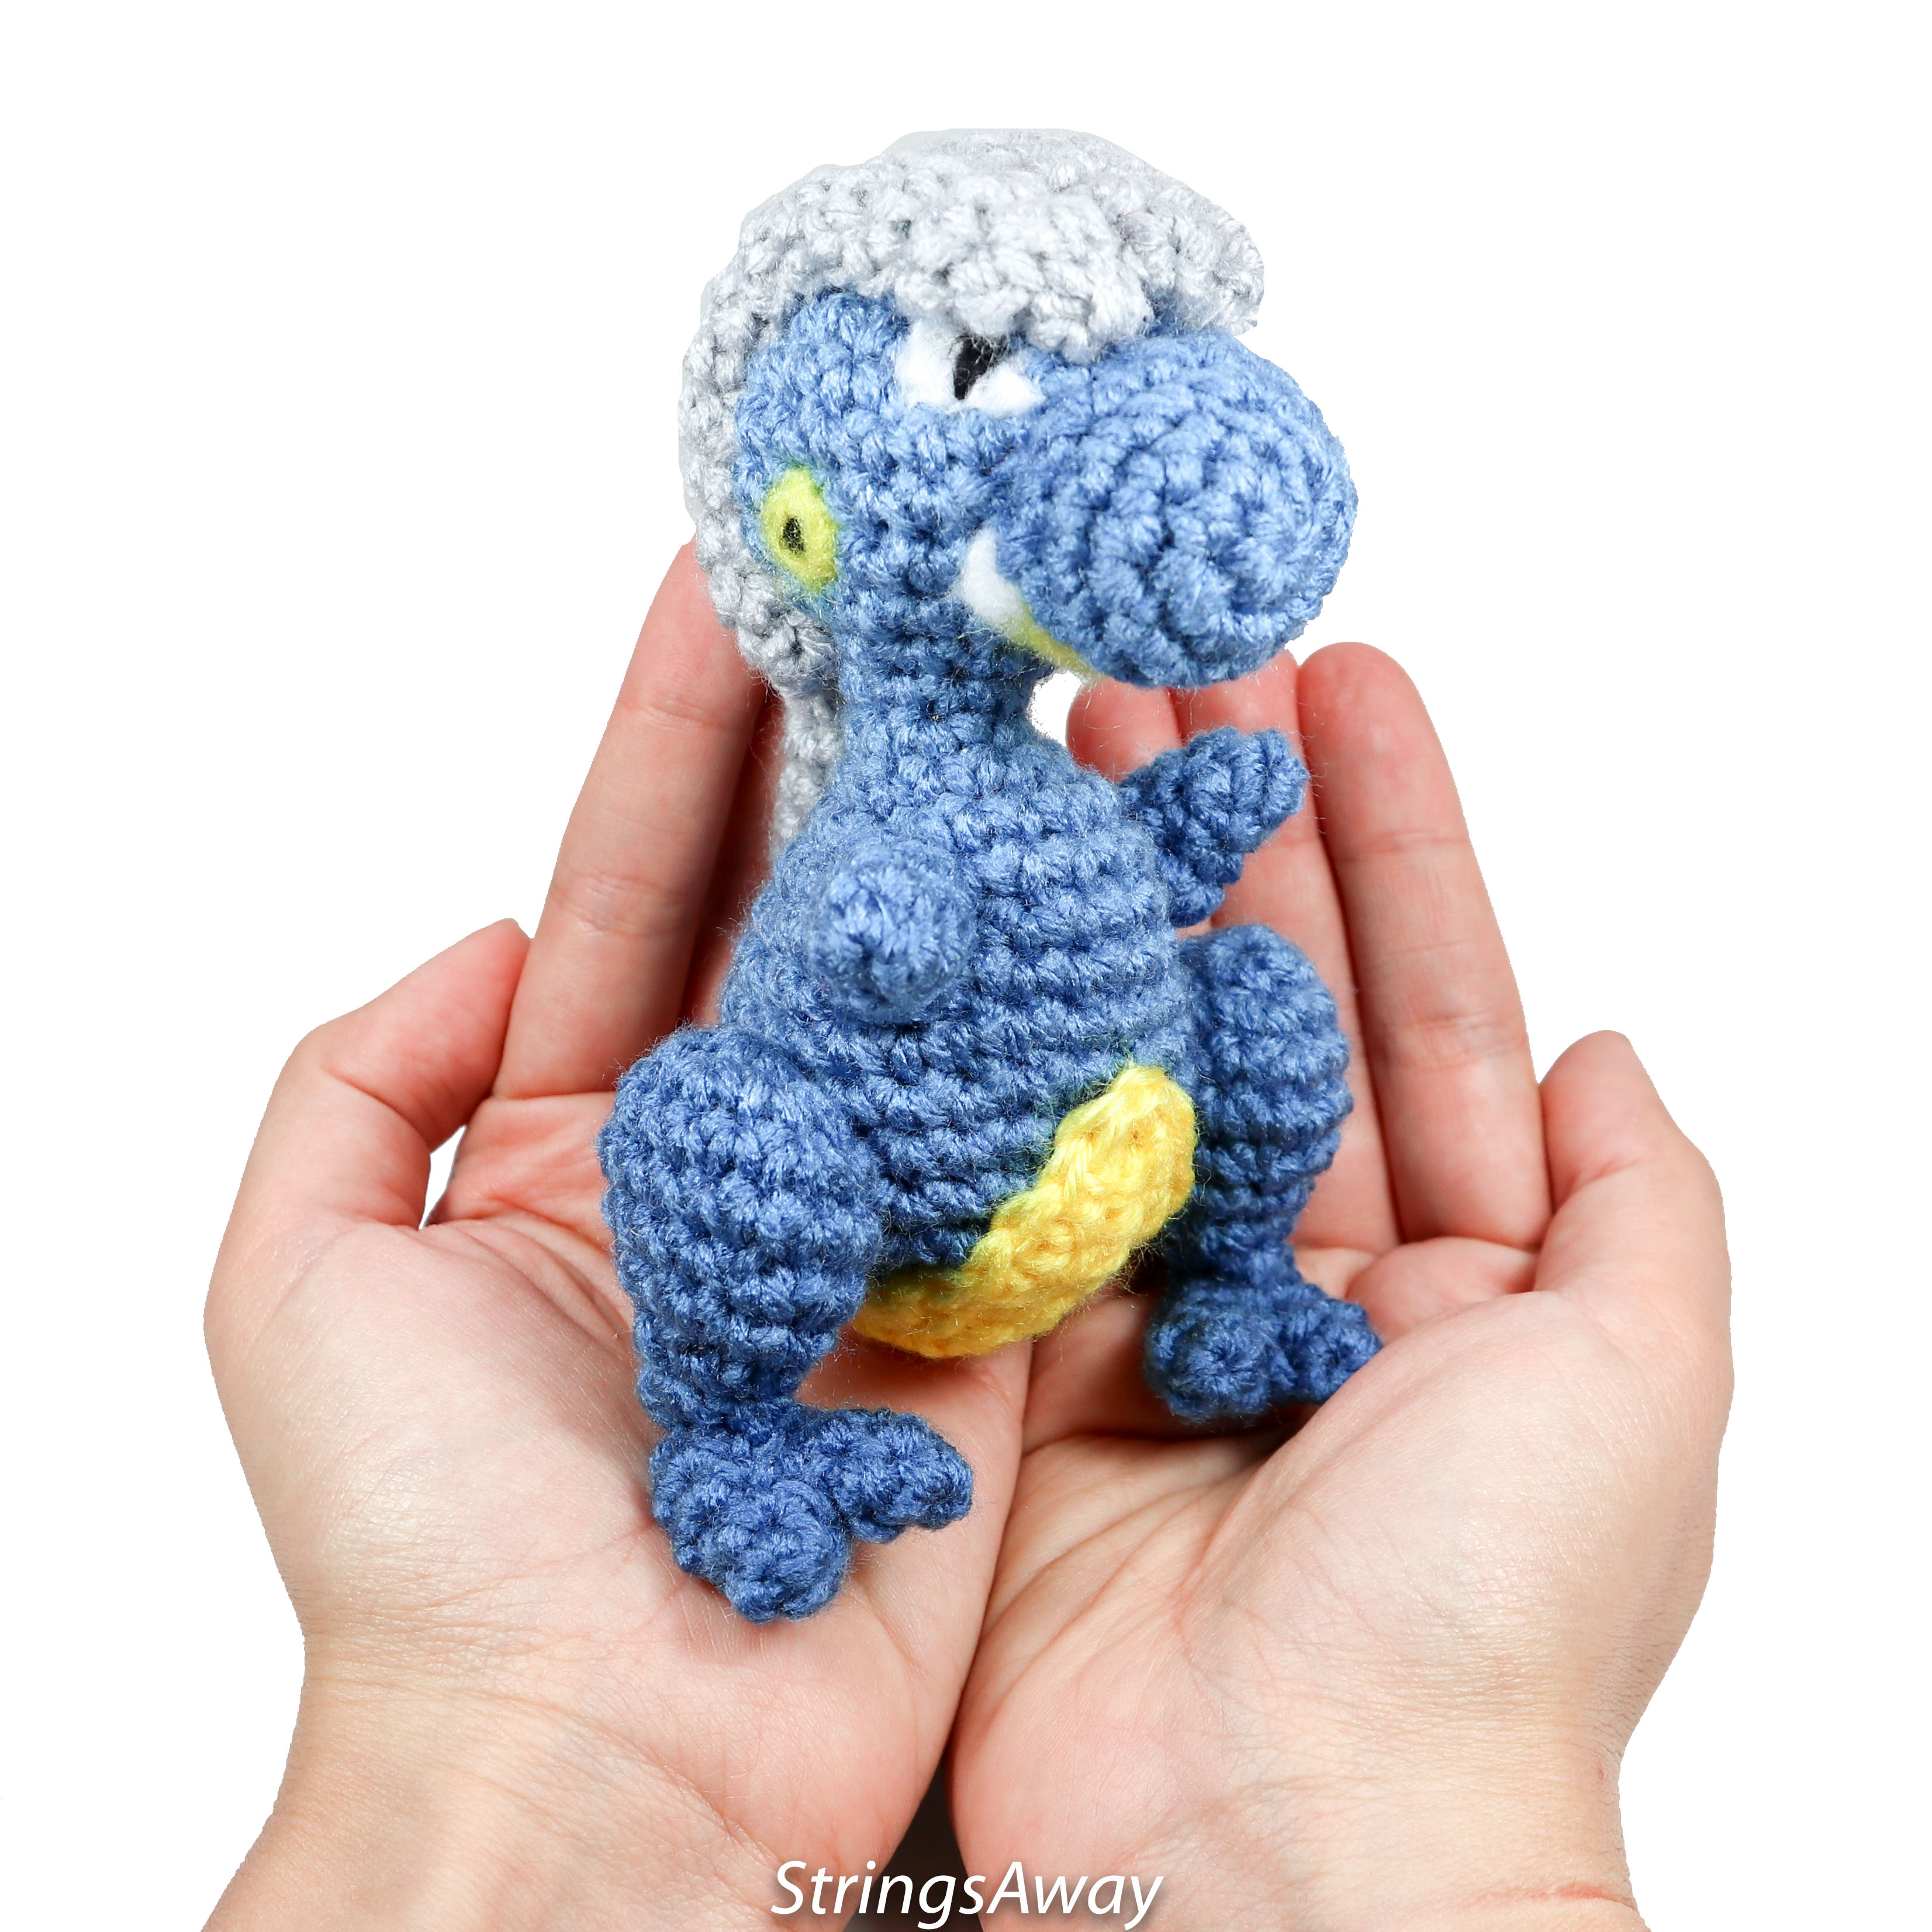
Thank you for trying this pattern – I hope you enjoy your Amigrumi Bagon!
Click here to purchase a downloadable version of this pattern
This pattern by StringsAway is for personal use only. Please do not sell or redistribute the pattern as your own.