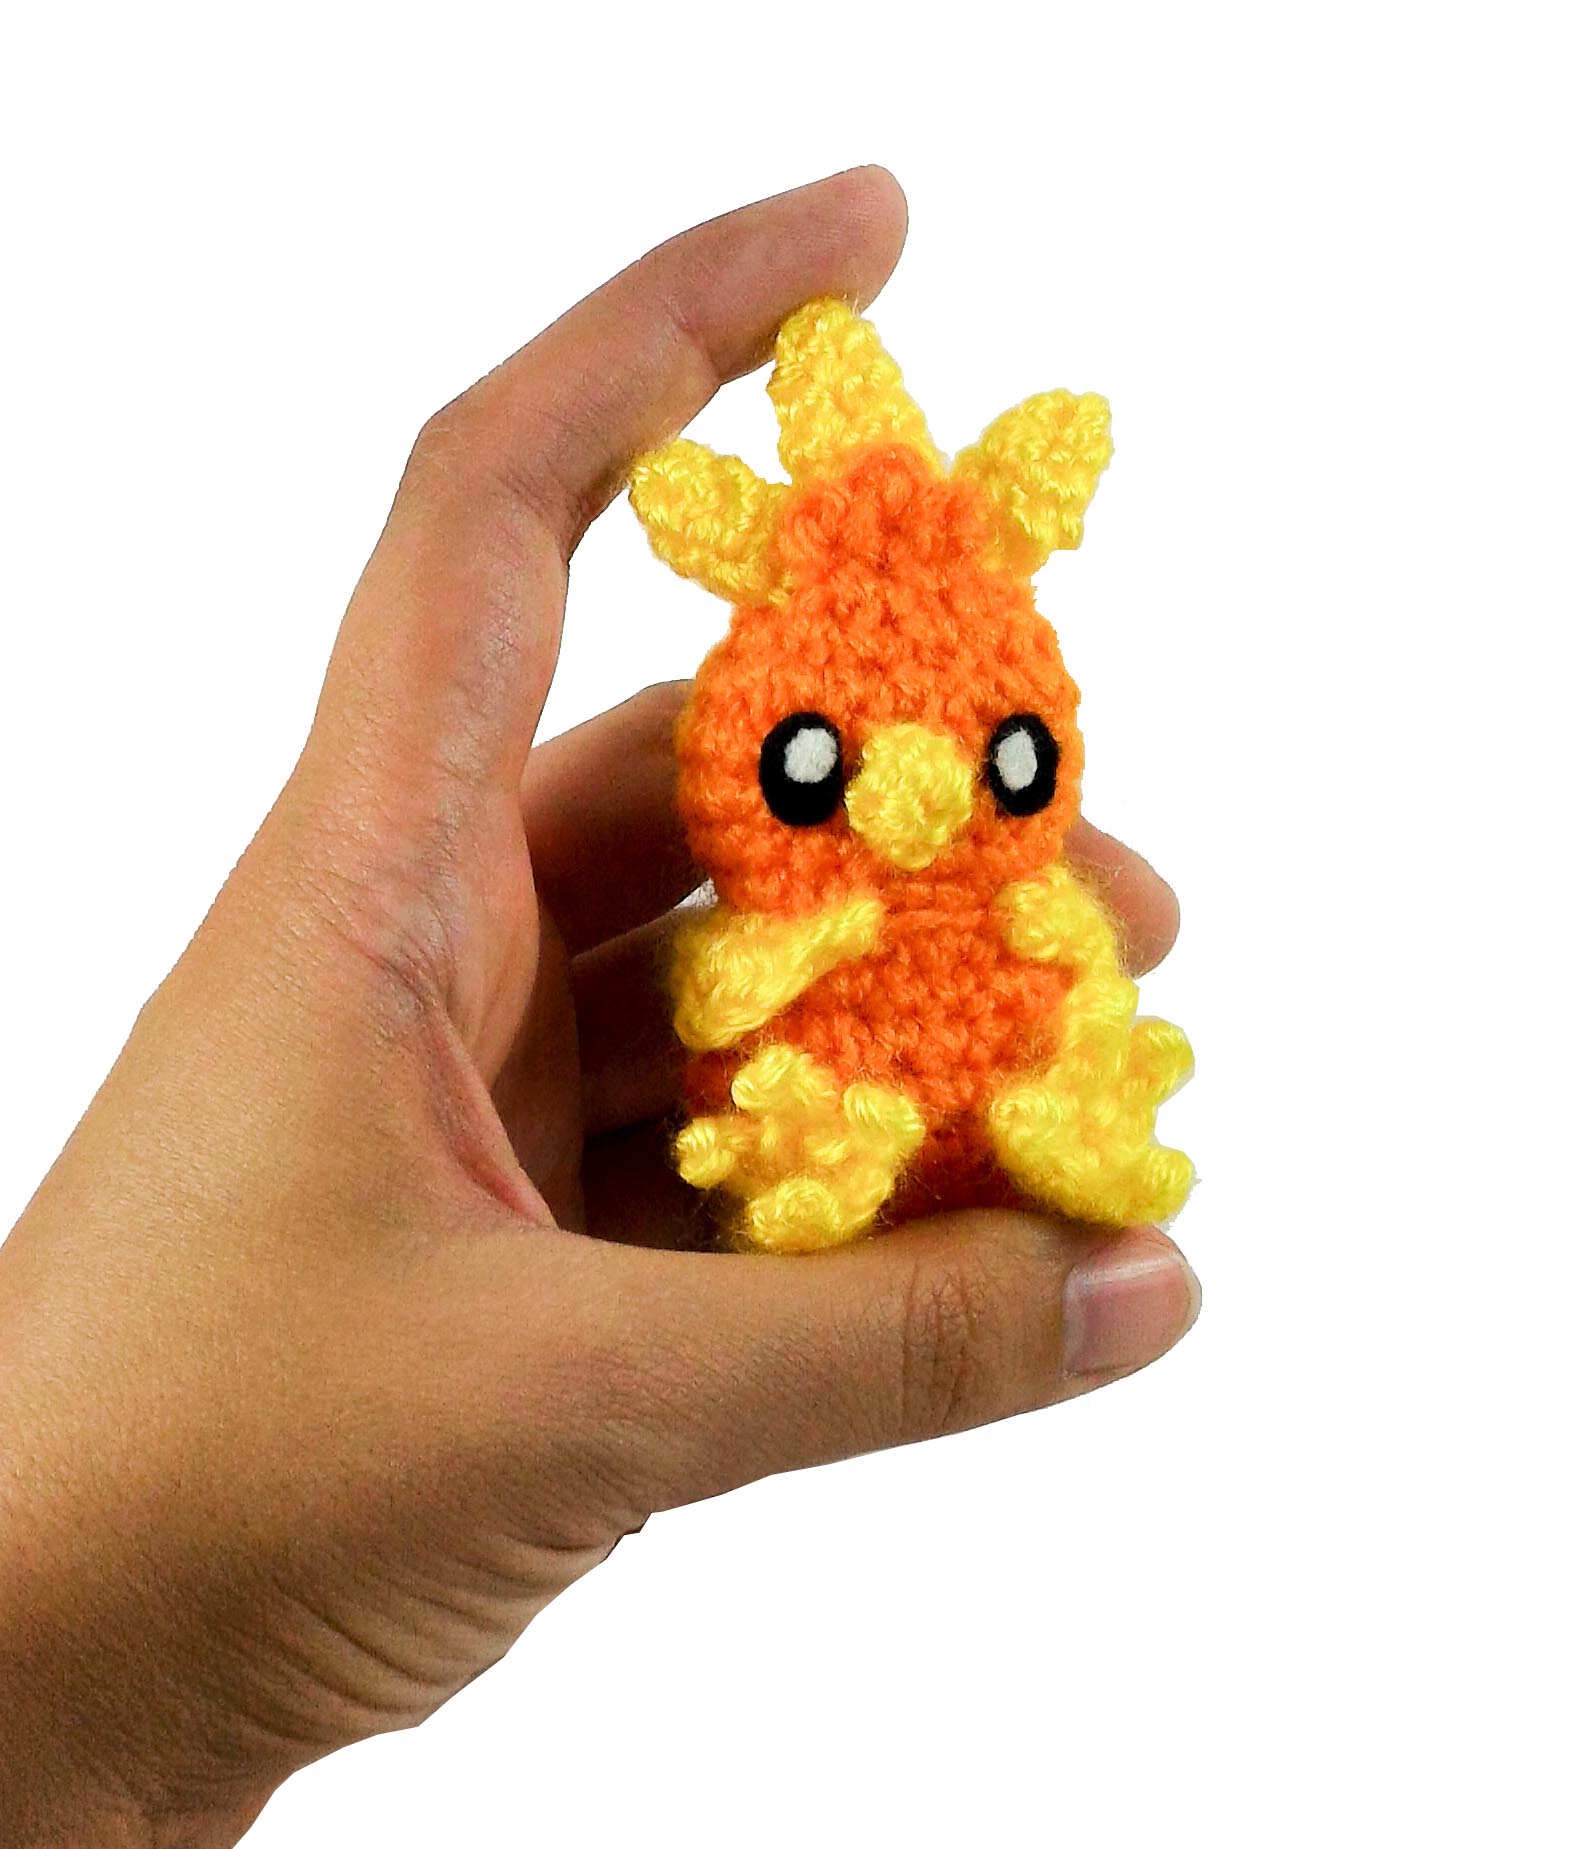
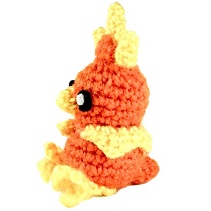
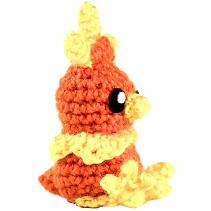
Here is Torchic, the little fire chicken. This little peep is the size of a peanut! Even though he’s small he can still grow to be mighty. Tiny Torchic is only 2 inches tall and 1 inch wide when completed. Why not make a whole hand-full!? This pattern is great for beginners.
Prefer a pdf version to download and print? Buy one here!
Want to buy an already made amigurumi Torchic plush toy? Click here !
Materials
- Orange and yellow yarn (lightweight was used)
- 3.5 mm crochet hook
- fiber-fill stuffing
- Black and white felt and fabric glue and or felting needle if desired
- Scissors, yarn needle for assembly
Abbreviations
R(#): Round number
MR: magic ring
Sc: single crochet
dc: double crochet
inc: increase (2 sc in same stitch)
dec: decrease (decrease 2 sc into one)
I recommend using Invisible Decrease
tch: turn chain
sl st: slip stitch
ch: chain – f/o: fasten off
Check out my Learn to Crochet page for video tutorials on how to do the types of stitches listed above.
Head and Body
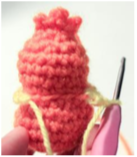
The body is made first. Using orange:
R1. 6 sc in MR (6)
R2. Inc around (12)
R3. ‘Sc 1, inc’ around (18)
R4. ‘Sc 2, inc’ around (24)
R5-6. Sc around (24) 2 times
R7. ‘Sc 2, dec’ around (18)
R8. ‘Sc 1, dec’ around (12)
Continue on to head:
R9 . In Inner loops only (leave outer loops free to provide attachment for neck frills): ‘Sc 1, inc’ around (18)
R10-12. Sc around (18) three times
R13.’Sc 1, dec’ around (12)
R14. Dec around (6)
Continue in the 3 sc of the next round to make the orange Feathers at top of head:
In 1st sc: [sl st, ch2, sl st]
In 2nd sc: [sl st, ch3 sl st]
In 3rd sc: [sl st, ch2, sl st]
f/o: Leave a long enough tail here to help with attaching the yellow head-feathers later on.
Neck Frills
Using yellow:
In outer loops of body (formed by R6 in Body)
Leave two spaces empty at the very front of Torchic’s face.
Working around those outer loops: ‘inc, sc 3, inc, inc, sc 3, inc’ (14), tch (turn work)
Now you will ‘go back’ working along the yellow stitches.
In 1st stitch: [ Sl st, sc ] In 2nd stitch: [ hdc, ch1, dc ] In 3rd stitch: [ hdc, sc ]
Repeat the above instructions around all of the yellow stitches, at end of fourth repetition Do not ‘sl st, sc’ but instead just sl st and then sl st in last remaining stitch, f/o and weave in ends.
Head Feathers
Using yellow, make 3:
R1. 4 sc in MR( 4)
R2. Sc around (4)
R3. Inc, sc 3 (5)
R4. Inc, sc 4 (6) f/o
Beak
Using yellow:
R1. 4 sc in MR( 4)
R2. Sc 4, inc (5)
F/o leaving a tail to sew beak to head.
Tail
Using orange:
R1. 4 Sc in MR (4)
R2. Inc, sc1 twice (6)
R3. Sc around (6)
F/o leaving a tail to sew to body
Feet
Using yellow:
Row1: Ch 5
Row 2: In second chain from hook (black arrow): sl st, sc, sc, dc then continue to claws.
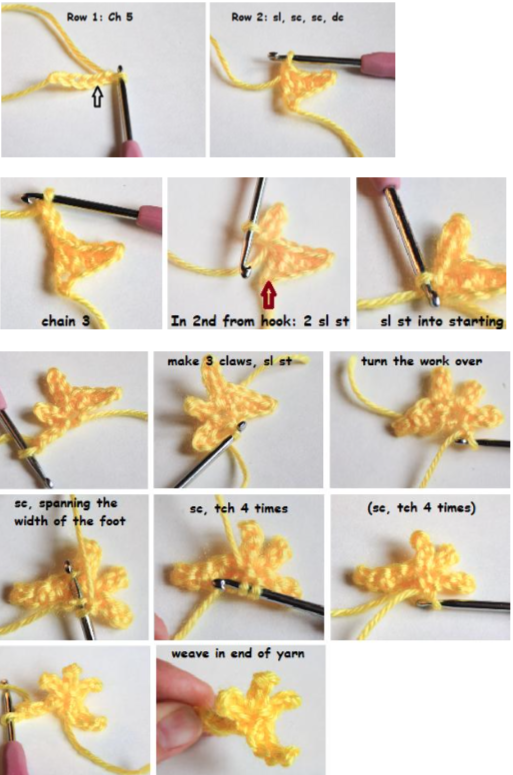
Claw 1: ch 3
In second ch from hook sl st , sl st,
sl st into same base as Row 2 dc (red arrow, the starting chain of the entire foot)
Repeat 2 more times to make 3 claws.
Continue on to make the ‘leg’
sl st, turn the work over.
sc (spanning from one end of foot to the other) you are now working behind the foot.
Row 1: sc, tch, Row 2: sc, tch, Row 3: sc, tch, Row 4: sc, tch, f/o
Assembly of Crochet Torchic
Head: Attach the three yellow feathers to the top of the head. Attach the beak directly above the two unworked outer loops of the body.
Body: Attach the feet below the body pointing outward and the tail at the back of the body such that Torchic sits balanced.
Details: Create eyes using felt pieces and fabric glue or needle felting as desired.
I hope you enjoy your amigurumi Torchic!
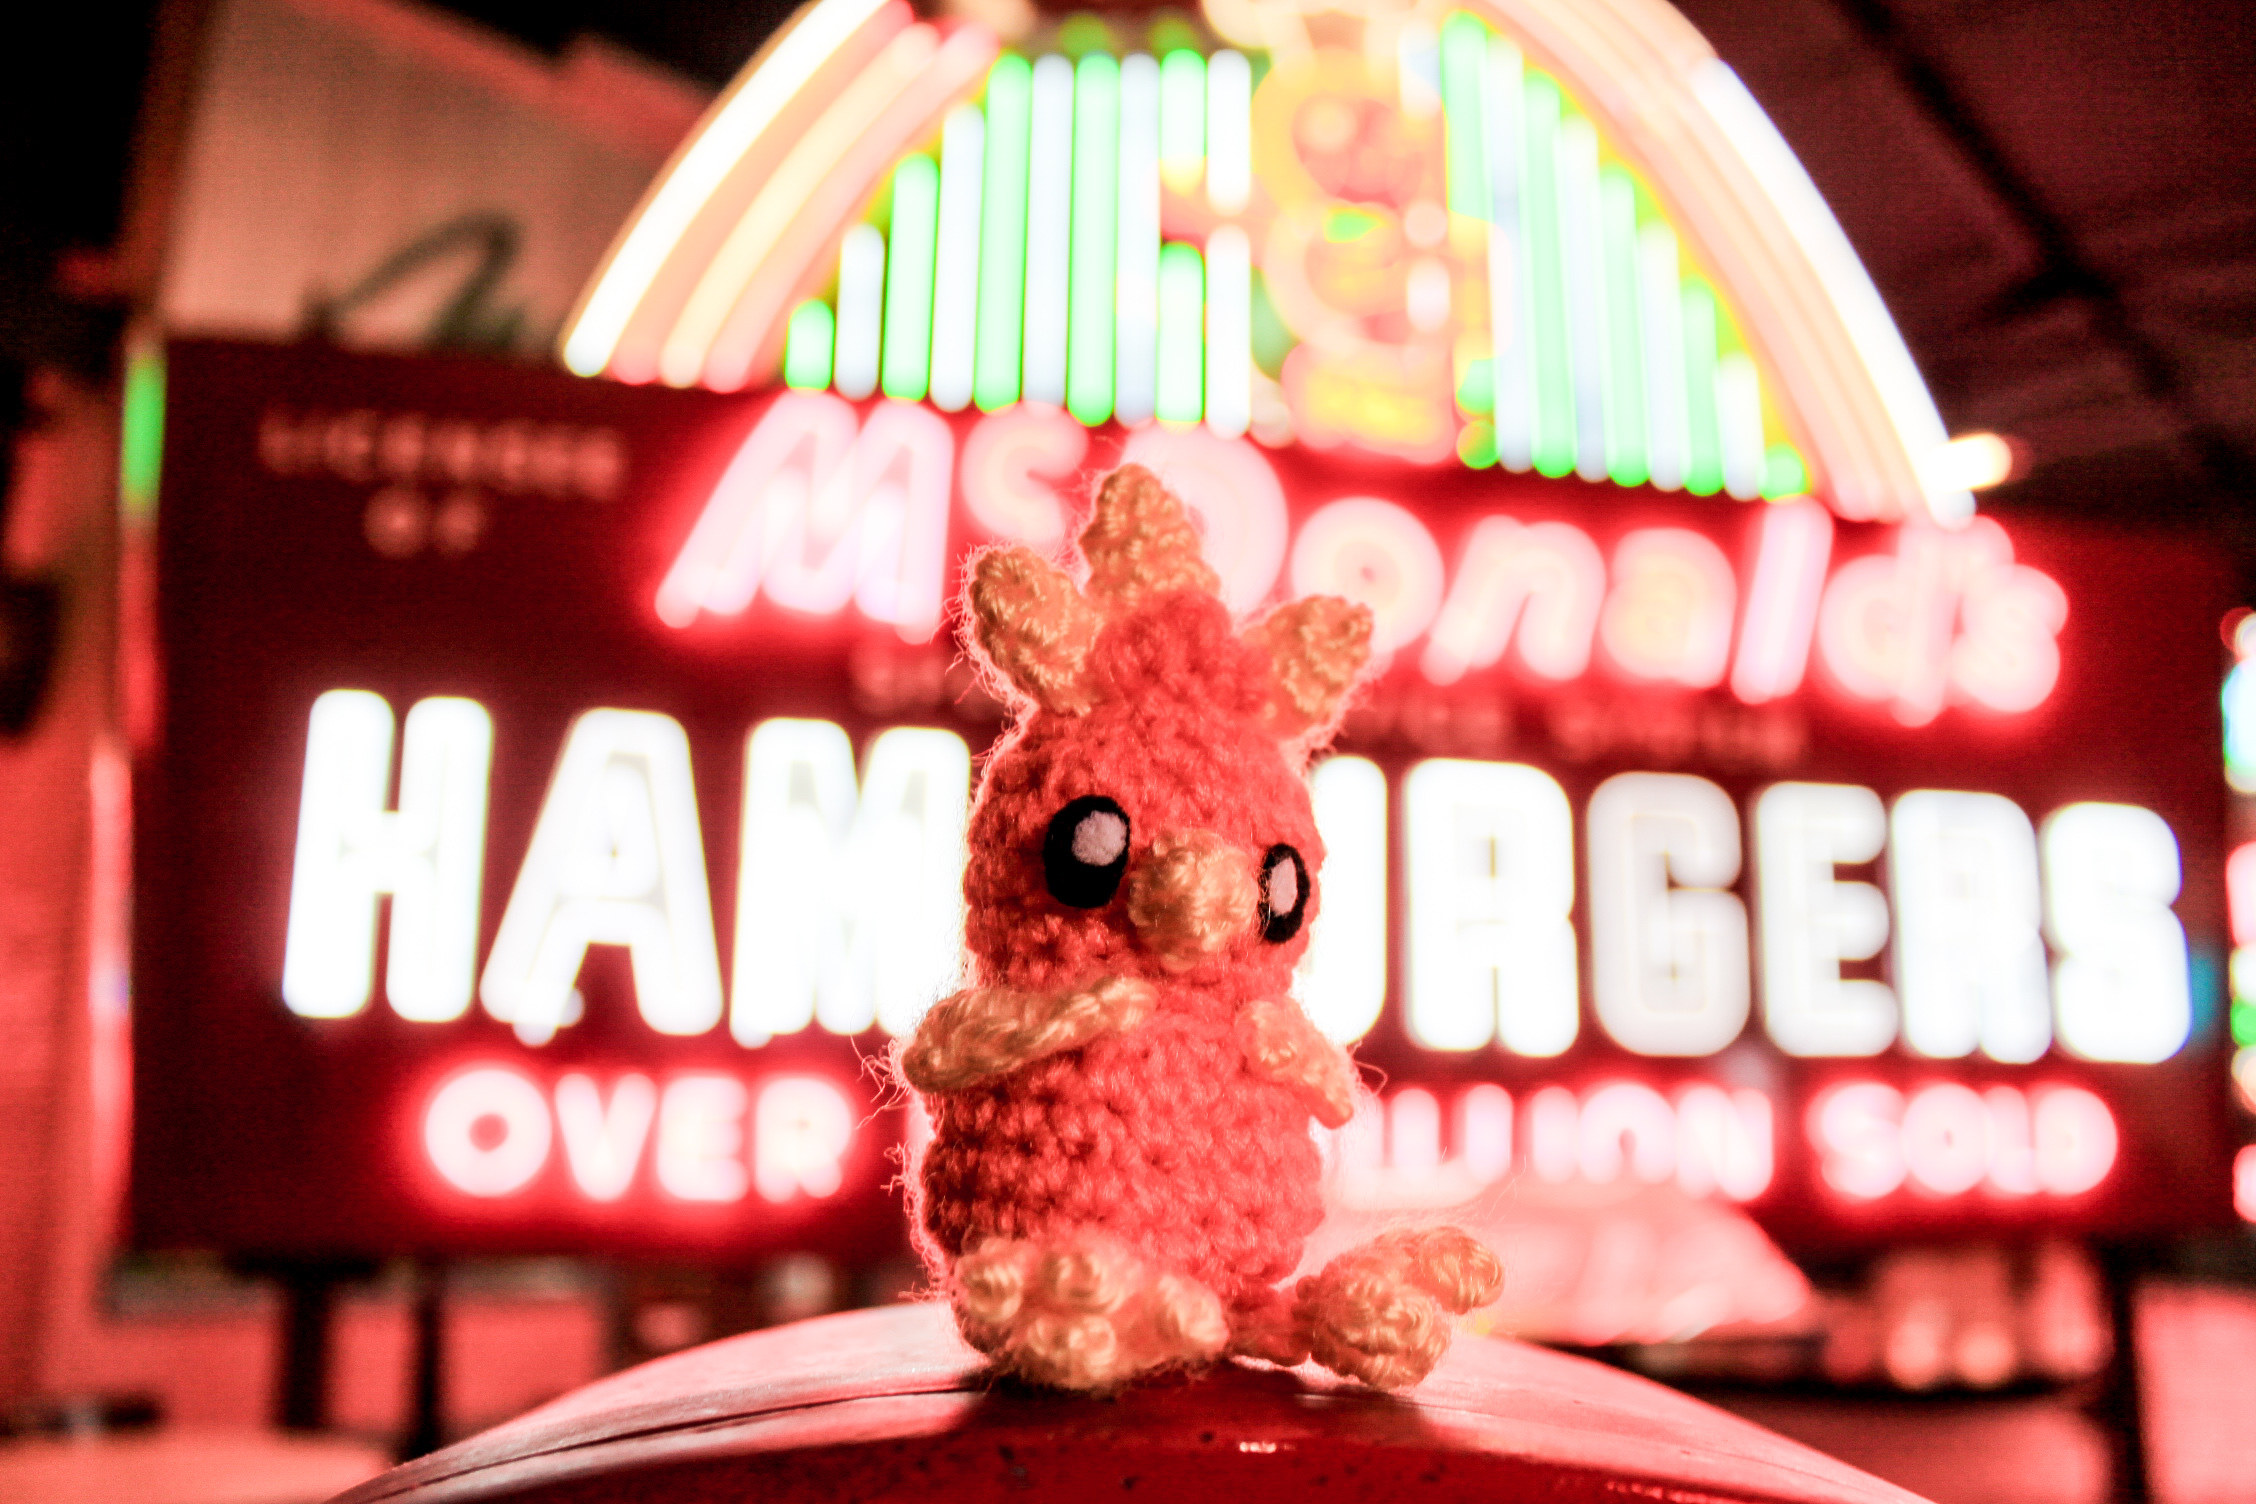
 Torchic visits the American Sign Museum in Cincinnati, Ohio and learns about the history of signs!
Thank you for trying this pattern – I hope you enjoy your Amigurumi Torchic!
Click here to purchase a downloadable pdf version of this crochet pattern
This pattern by StringsAway is for personal use only. Please do not sell or redistribute the pattern as your own.
Leave a Reply
