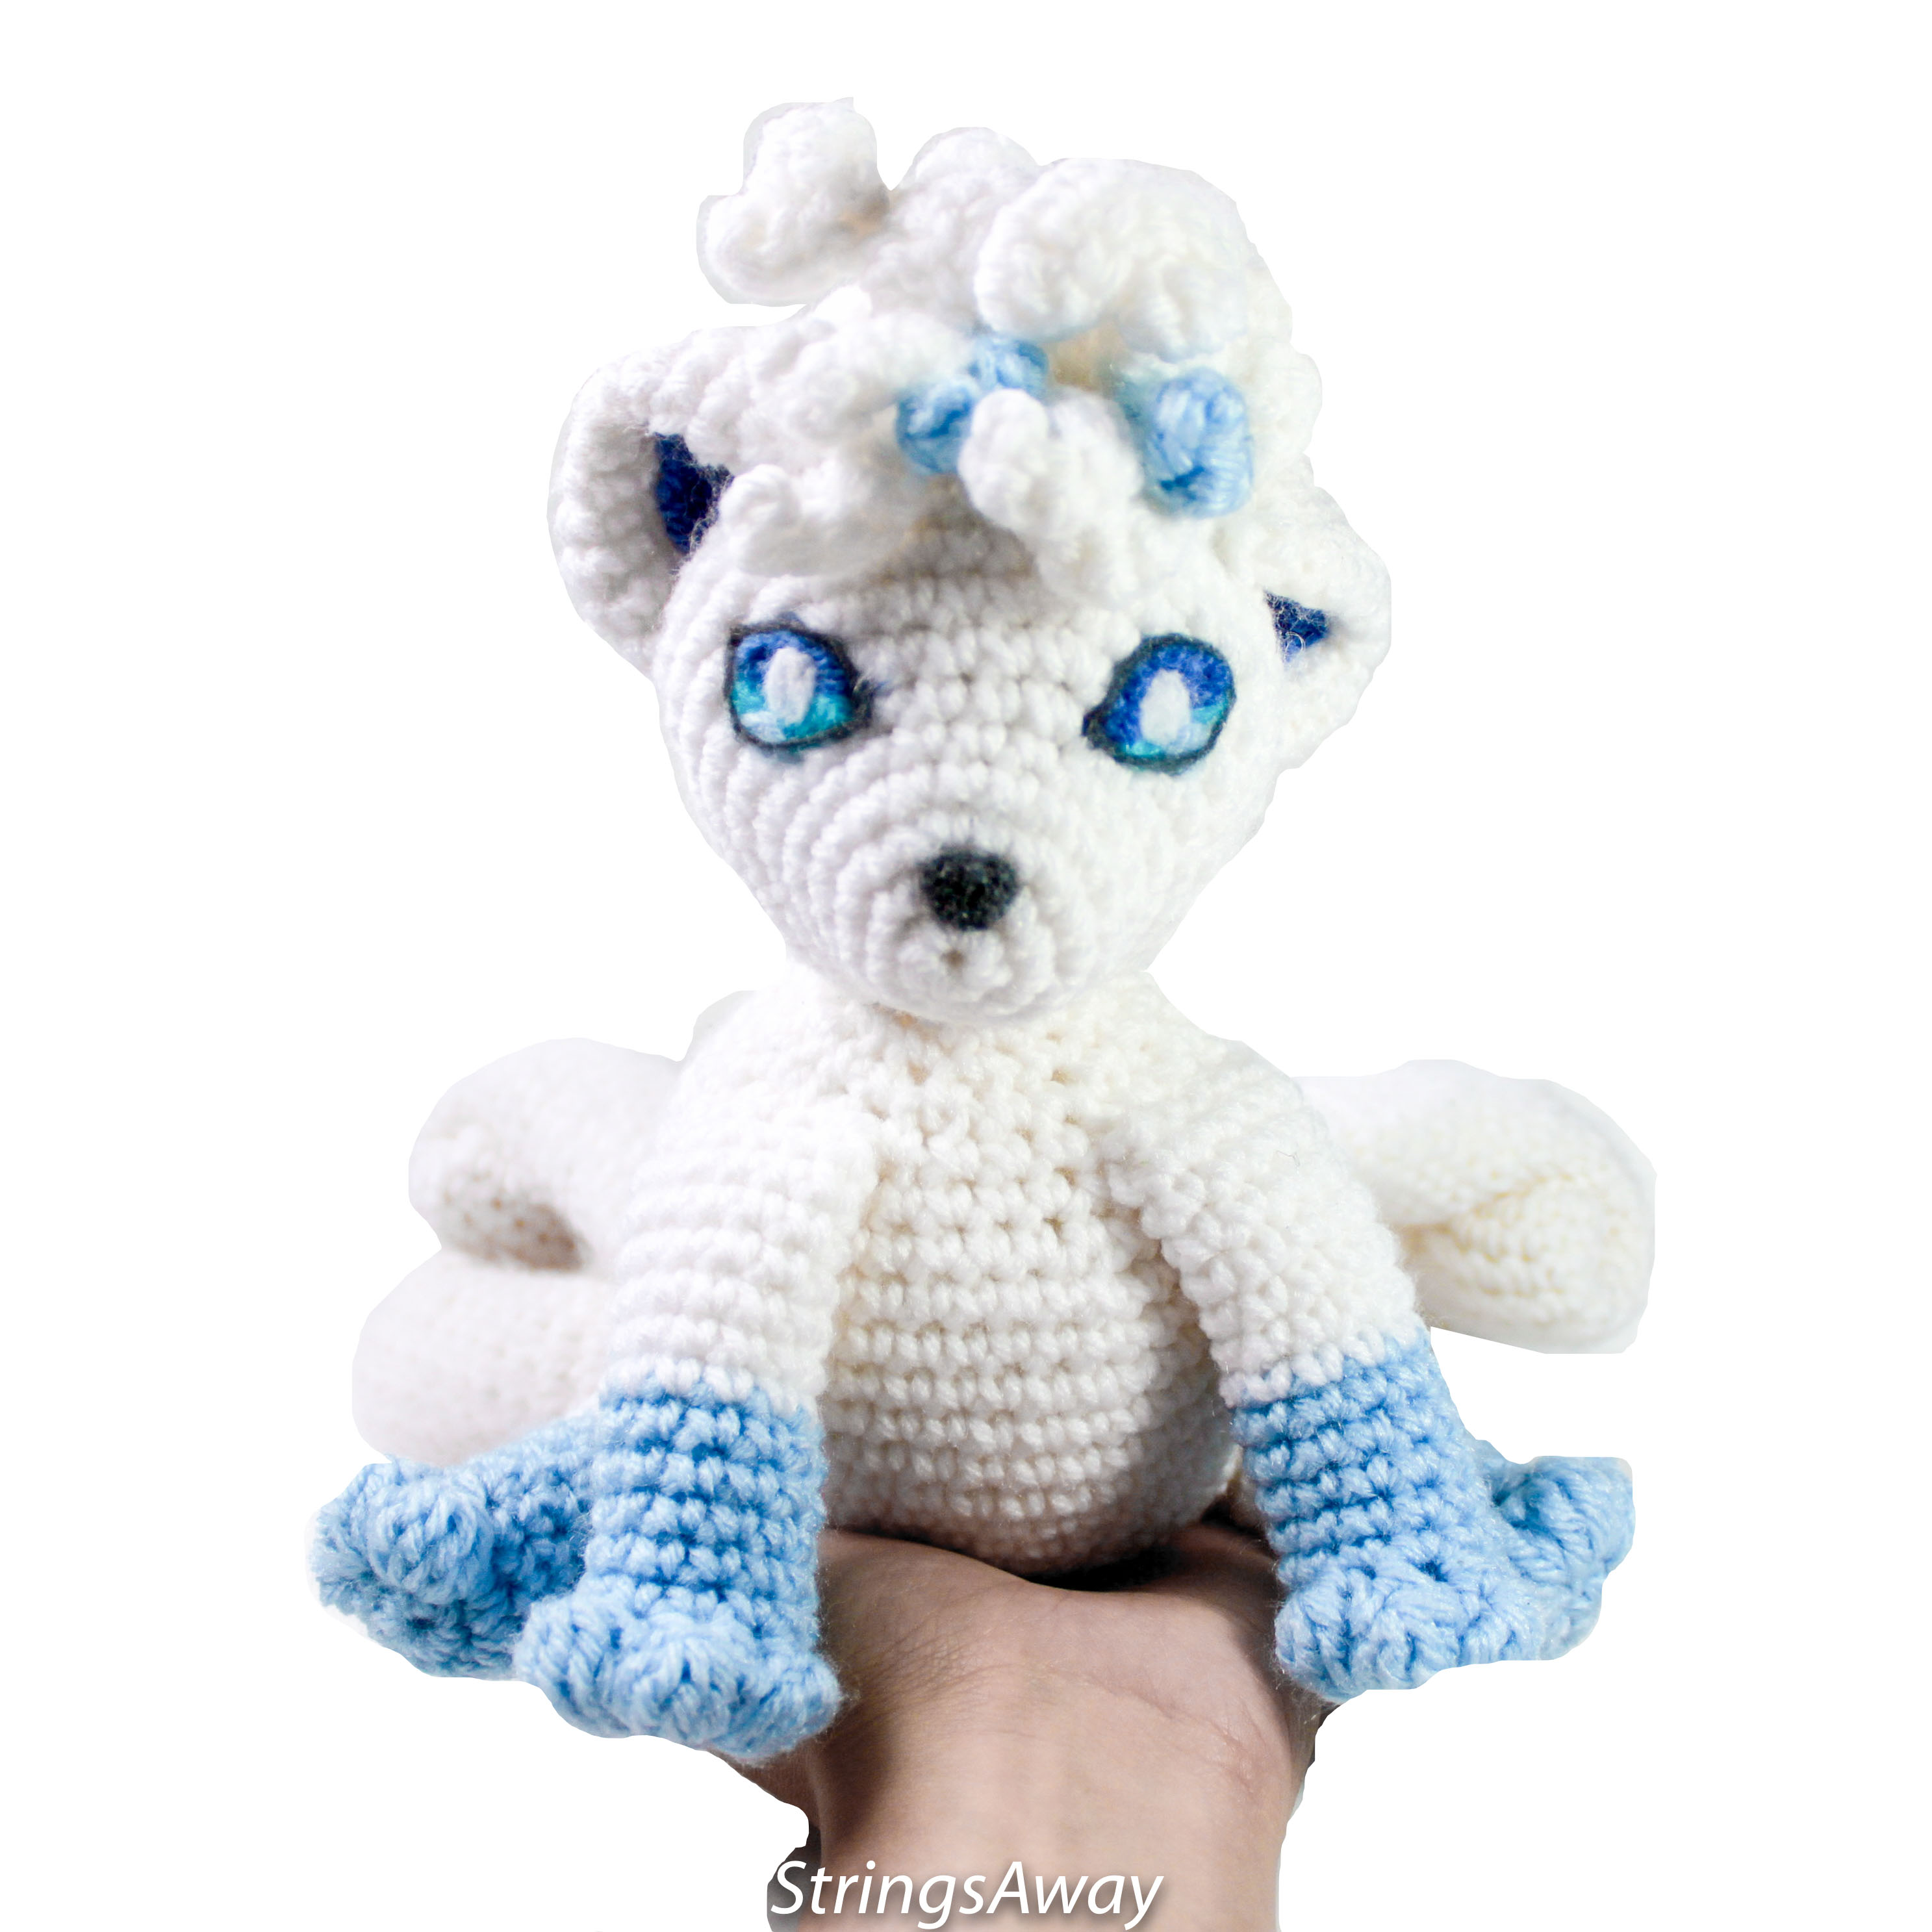
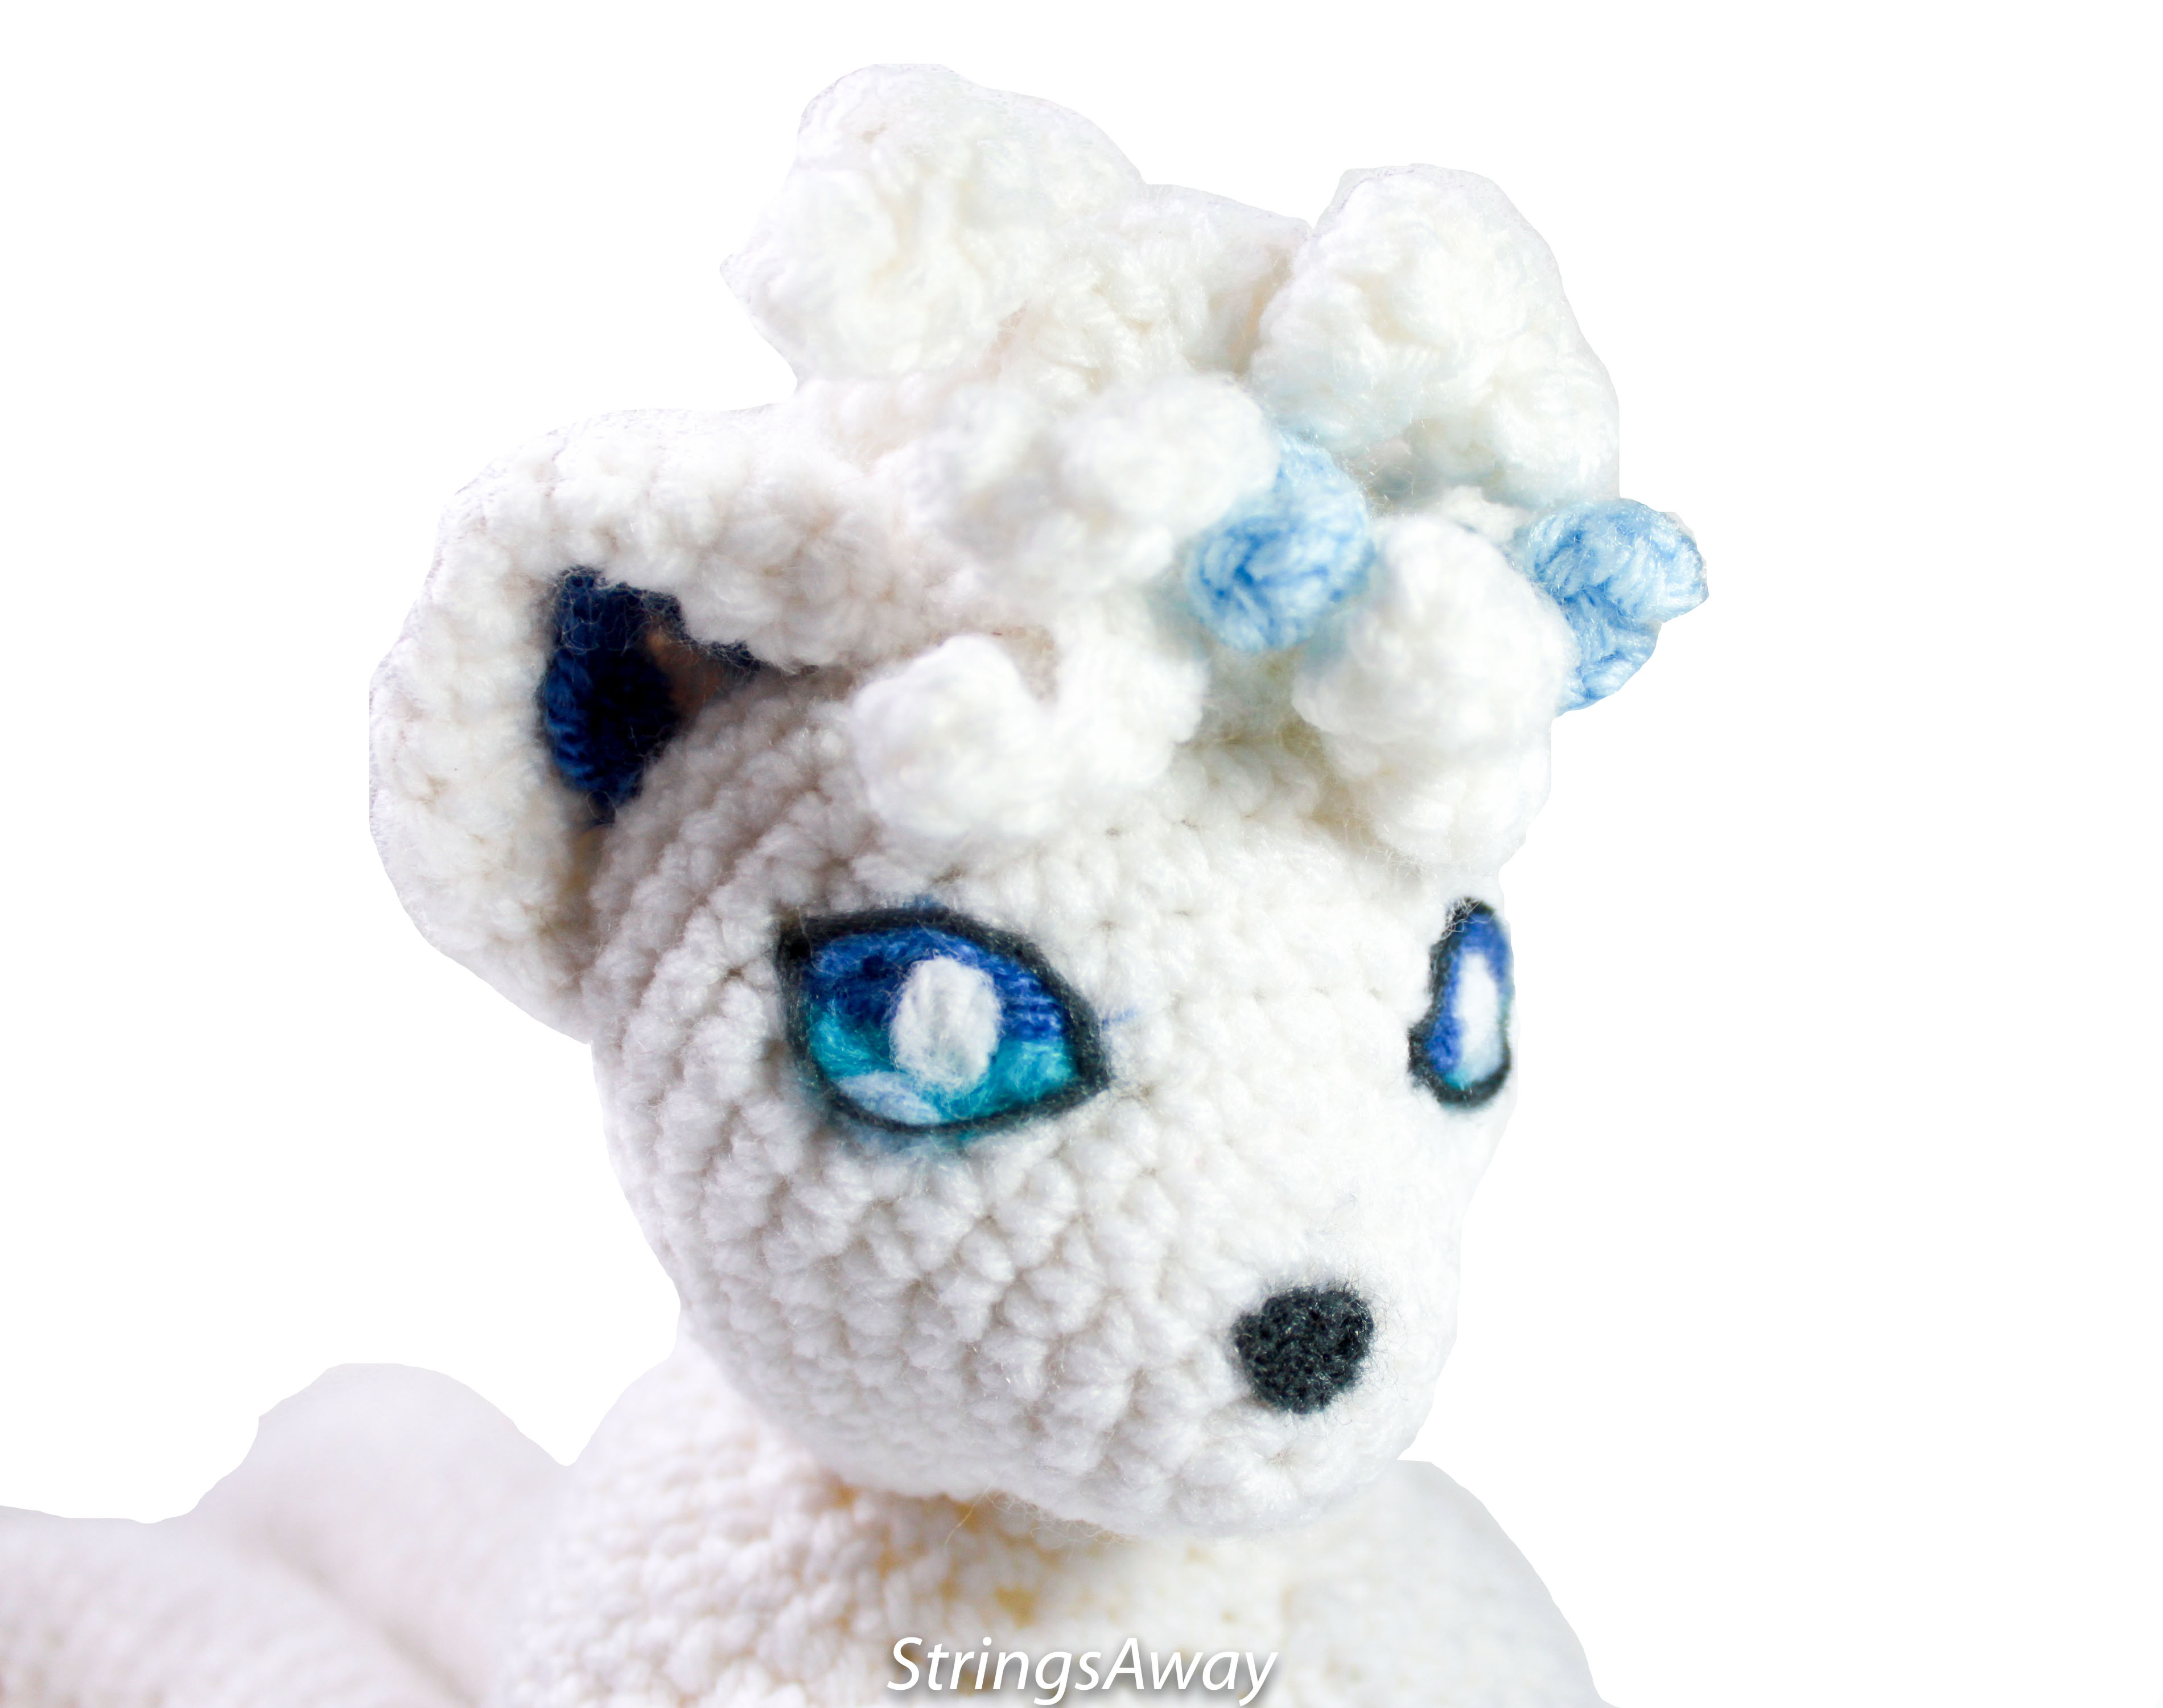
Do you just want to chill out for a bit? I have the perfect buddy for you: ice-cold Alolan Vulpix just wants to chill out, cuddle, and not do anything to mess up her perfect hur.
If you prefer to work by paper – you can purchase a pdf copy of this pattern here.
Materials
- Yarn: white, light blue (medium)
- 3.5 mm crochet hook – fiber-fill stuffing
- Felt black, dark blue, light blue, and white, and or/glue, felting needle
- Scissors, yarn needle for assembly
Abbreviations
R(#): Round number
MR: magic ring
Sc: single crochet
Inc: increase (2 sc in same stitch)
Dec: decrease (decrease 2 sc into one)
I recommend using Invisible Decrease
Hdc: half double crochet
f/o: fasten off
Additional Skills: Puff stitch, making a Curlicue / Corkscrew / spiral.
Youtube Video on : How to Crochet a Puff Stitch
Youtube Video on : How to Crochet a Curlicue
You can also check out my Learn to Crochet page for videos on the other types of stitches.
Head
Using white:
R1. 6 sc in MR (6)
R2. Inc around (12)
R3. Sc 1, inc around (18)
R4-R5. Sc around (18) 2 x
R6. Sc 2, inc around (24)
R7. Sc 3, inc around (30)
R8. Sc 4, inc around (36)
R9. SC 5, inc around (42)
R10-R13. Sc around (42) 4x
R14. Sc 5, dec around (36)
R15. Sc 4, dec around (30)
R16. Sc 3, dec around (24)
R17. Sc 2, dec around (18)
R18. Sc 1, dec around (12)
R19. Dec around (6) f/o

Body
Using White:
R1. 6 sc in MR (6)
R2. Inc around (12)
R3. Sc 1, inc around (18)
R4. Sc 2, inc around (24)
R5. Sc 3, inc around (30)
R6. Sc 4, inc around (36)
R7. Sc 5, inc around (42)
R8-R17. Sc around (42) 10 times
R18. Sc 5, dec around (36)
R19. Sc 4, dec around (30)
R20. Sc 3, dec around (24)
R21. Sc 2, dec around (18) f/o- leave end open to attach head.
Tail
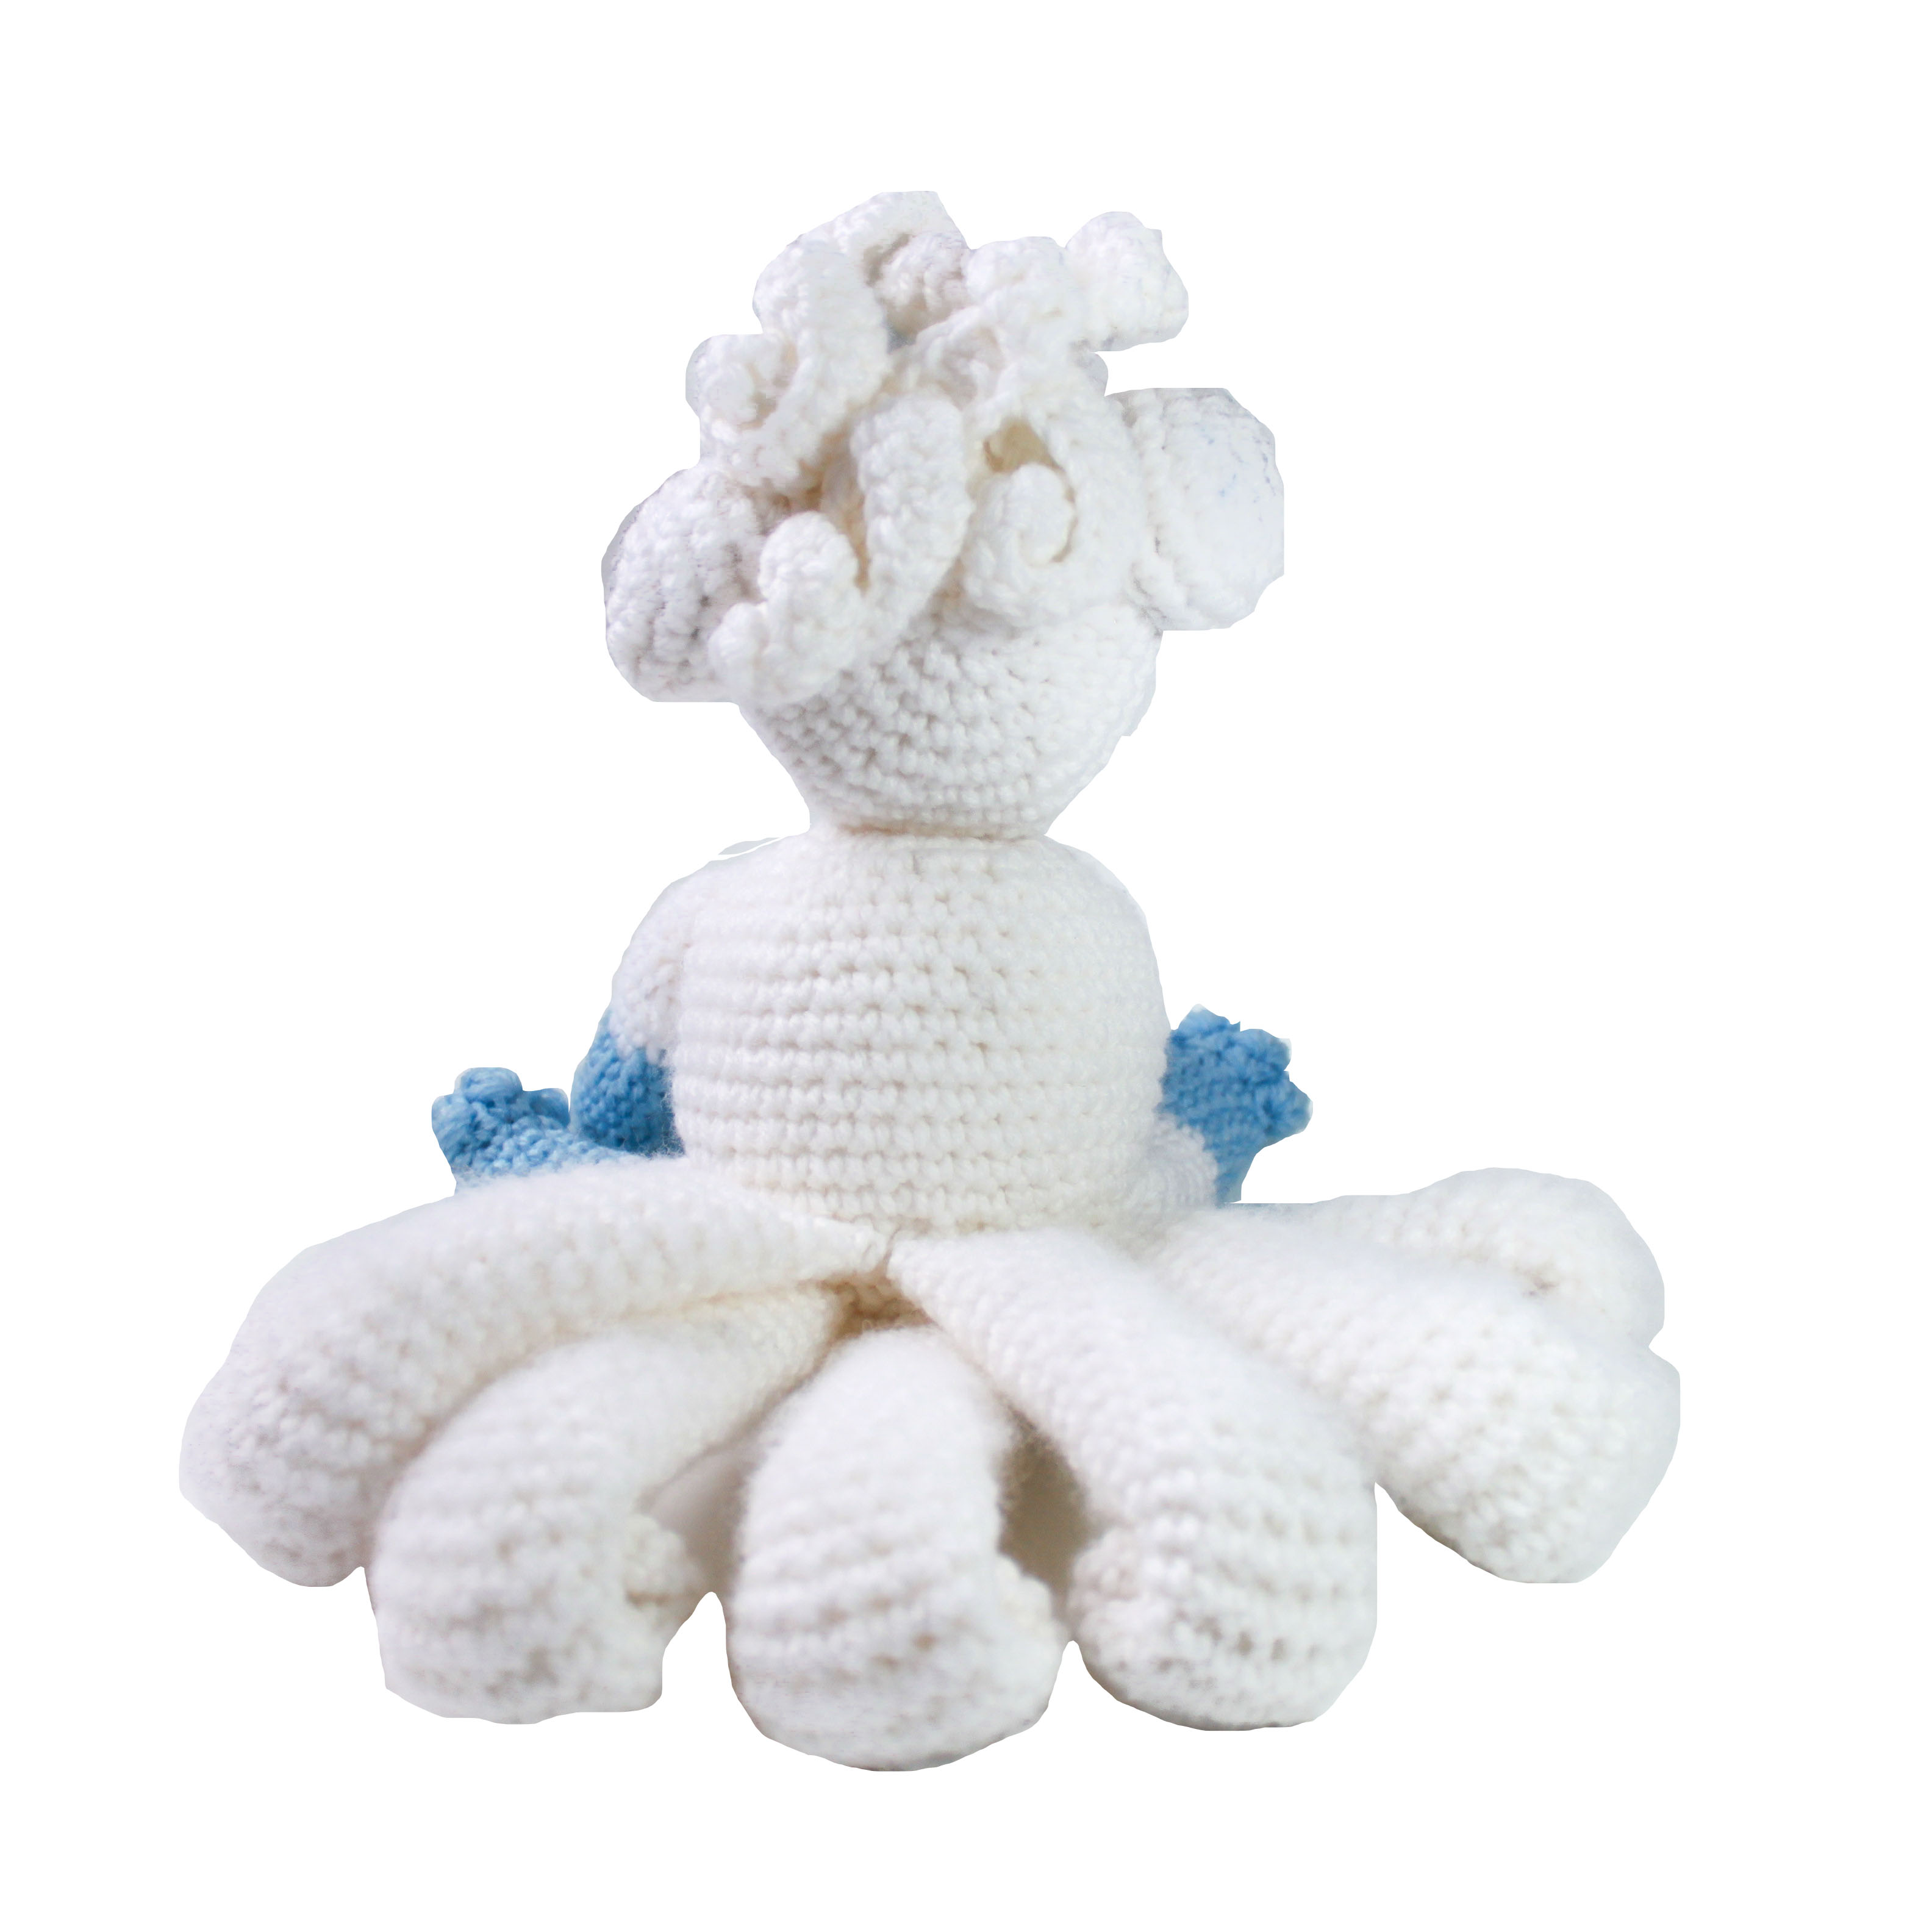
Make 6 pieces. Using white:
R1. 6 sc in MR (6)
R2. Inc around (12)
R3-R28. Sc around (12) 25 times . f/o Stuff lightly and roll the closed end of each tail inwards – sewing in place.
Feet
Make 4. Beginning with light blue yarn:
R1. 6 sc in MR (6)
R2. Inc around (12)
R3. Puff stitch (with 6 on hook before pulling through) and sl to next stitch, repeat a total 3 times after the last puff stitch do a sc into next sc instead of a sl st.
Sc in remaining 7 stitches (15 including the start and finish of the puffs)
R4. Sc 1, dec 3x across the puffs, sc 8 (12)
R5-R9. Sc around (12)
R10. Sc 10, switch to white yarn, sc 2 (12)
R11-17. Sc around (12) f/o
Ears
Using white:
R1. 6 sc in MR (6)
R2. Inc around (12)
R3. Sc 1, inc around (18)
R4. Sc 2, inc around (24)
R5-R6. Sc around (24) 2 x f/o
Bangs
Make 4 with white yarn and 2 with blue yarn.
Make a ‘curly cue’ :
Chain 10, working back along the chain (in second ch from hook) sl st, sc 4, inc, sc in remaining 4.
Repeat for other bangs – note: you can add the inc step in random places along the chain to make it more curly if desired.
Hair
Make 5 pieces using white.
Make a large ‘curly cue’ :
Chain 27, working back along the chain (in fourth ch from hook) hdc 4, hdc inc (2 hdc in one sc). Repeat until end of the chain.
Note: You can add the inc step in random places along the chain to make it more curly if desired.
Assembly of Crochet Vulpix
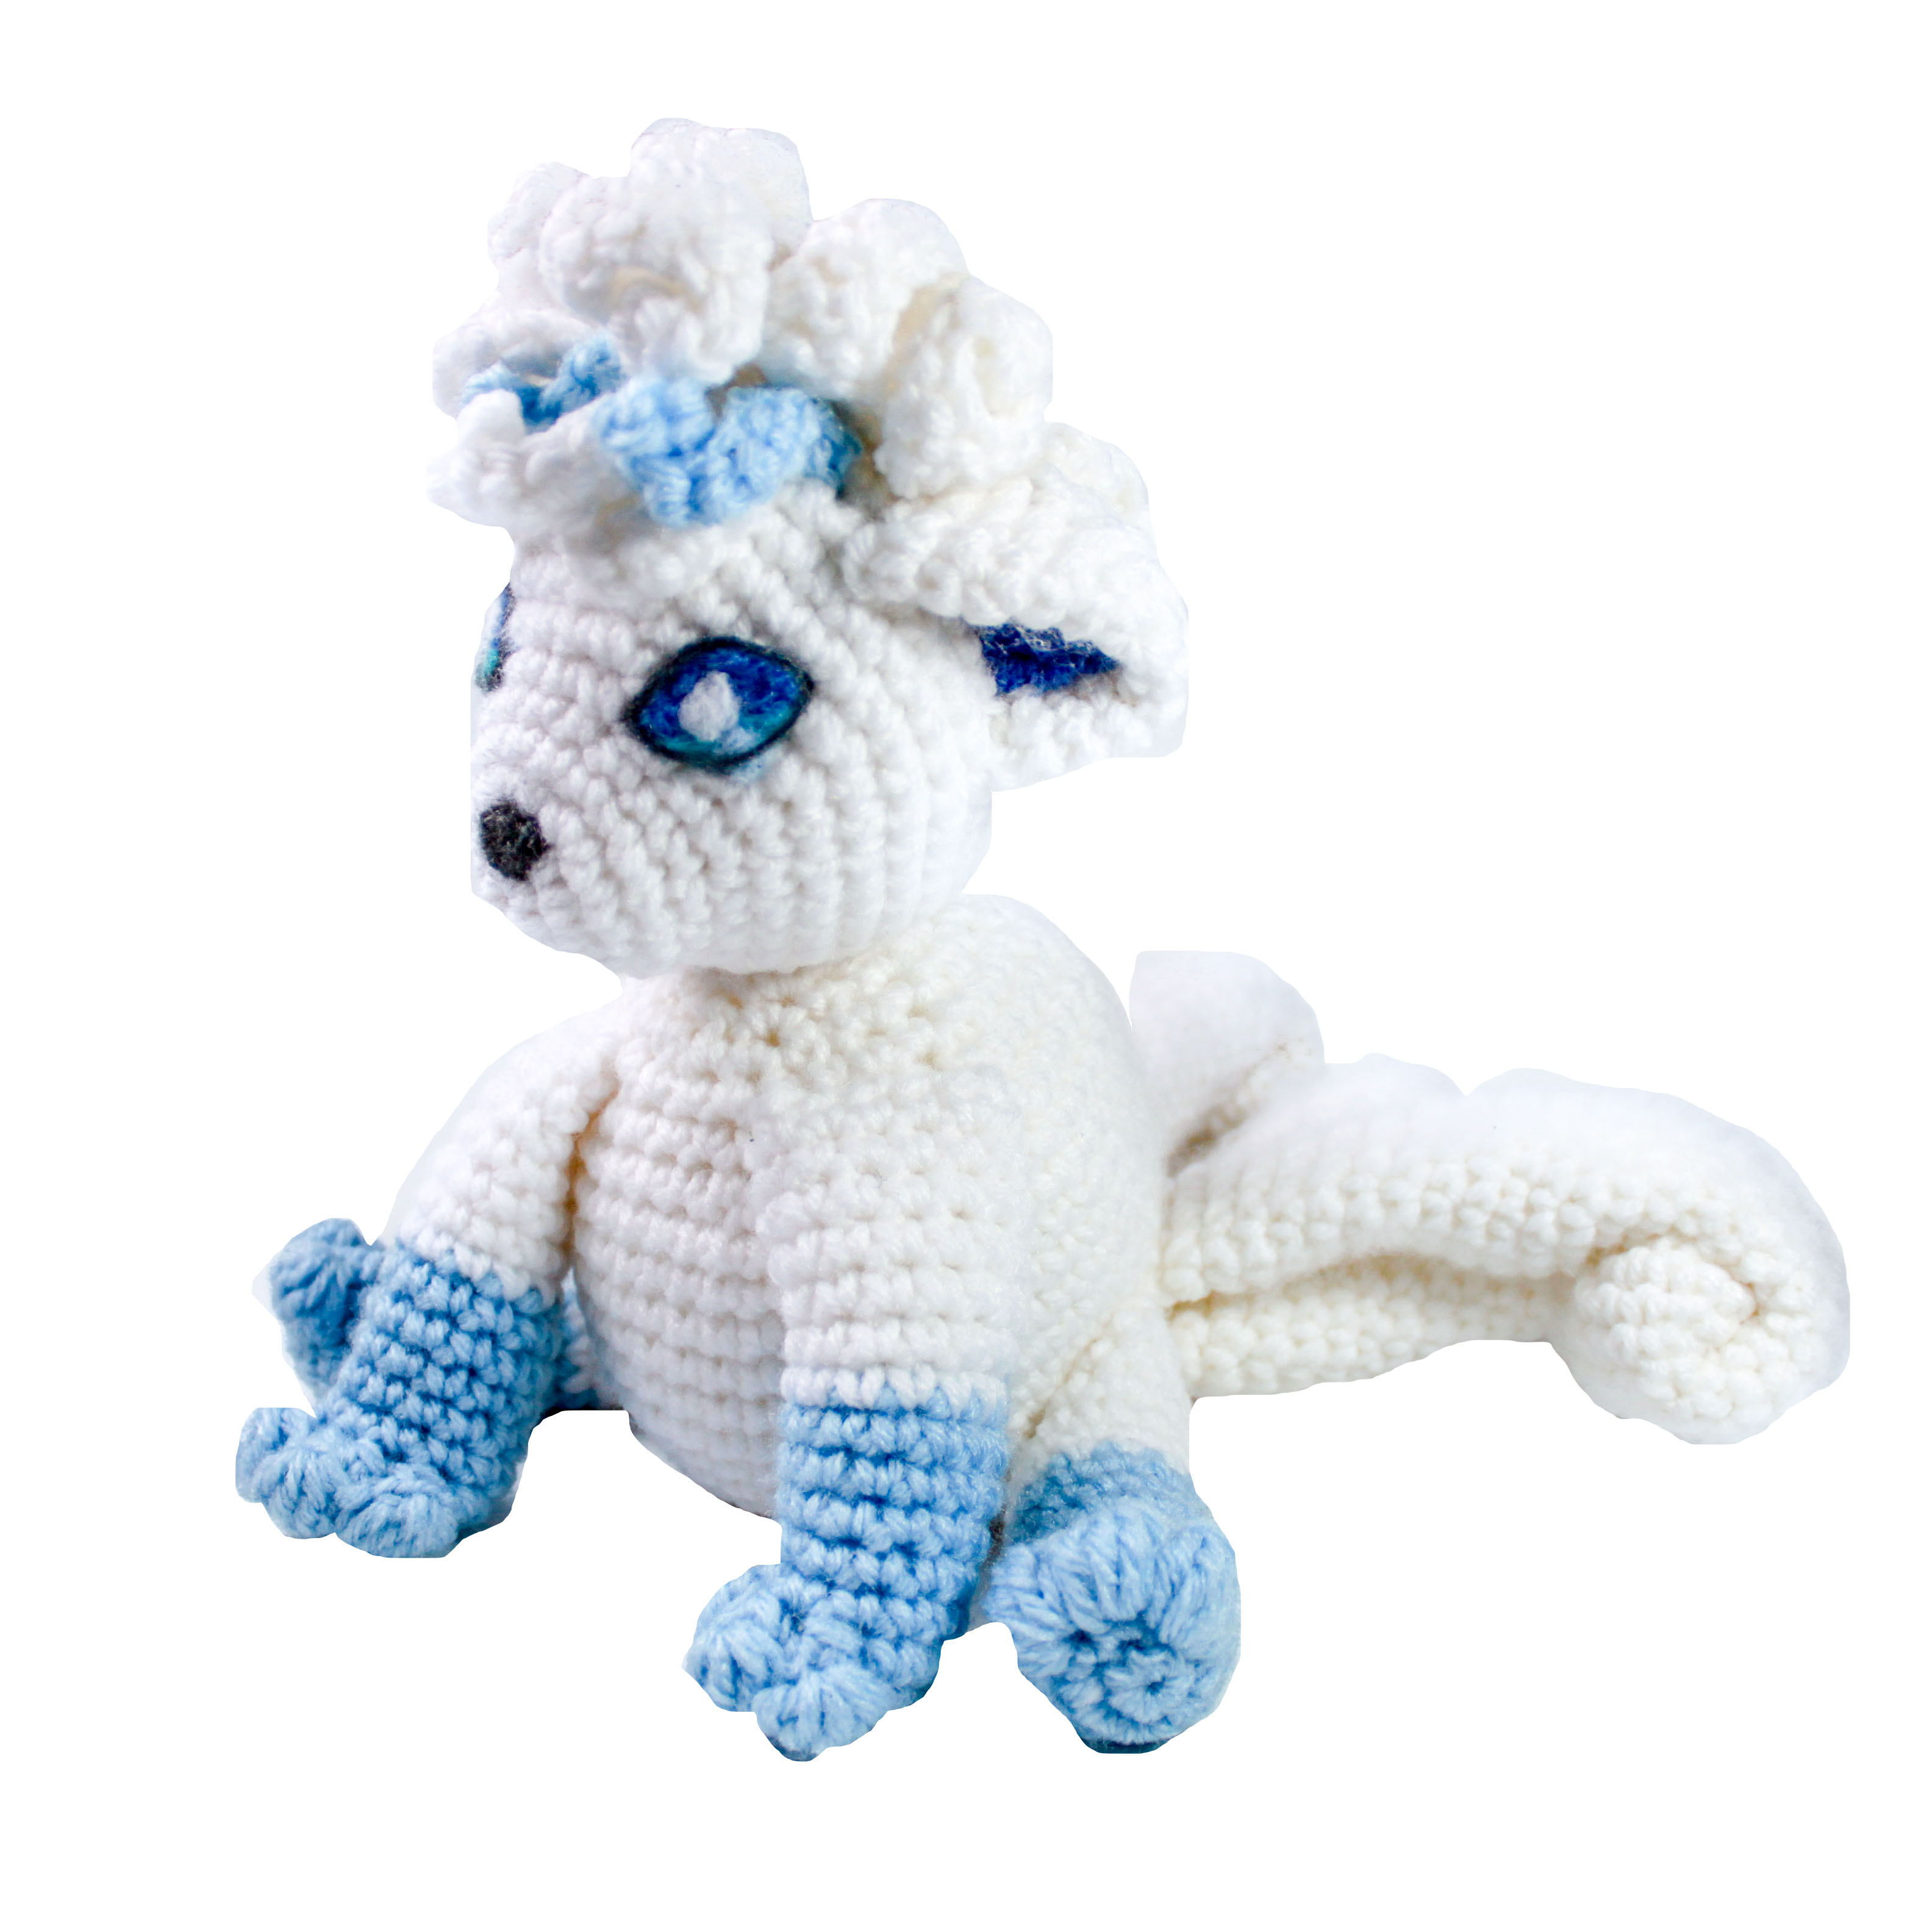
Attach ears to head and then the hair and bangs- arranging as desired. Attach the legs and arms to the body, and the head to the body. Attach the tails to the body – note if placed too high on the body the tails will add too much weight and cause Vulpix to fall over backwards. Be sure to arrange the tail near the bottom of the body/ in such a way that Vulpix remains balanced. Brush the tail lightly with a bristle or metal brush to make it more fluffy.
Eyes and nose- these features were added by needle felting on leftover yarn ends directly onto the face. Alternatively one could use colored felt pieces.
I hope you enjoy your Alolan Vulpix!

Thank you for trying this free crochet pattern – I hope you enjoy your Amigurumi Alolan Vulpix!
Click here to purchase a downloadable version of this pattern!
This pattern by StringsAway is for personal use only. Please do not sell or redistribute the pattern as your own.
2 Responses
Atelier de Lunina
Thank you so much for your pattern
My version : https://latelierdelunina.blogspot.com/2021/03/diy-le-pokemon-de-lili-vulpix-flocon.html
Lisa
You’re so welcome! Wow all finished! It’s a lot of pieces isn’t it? Great work! By the way, cute cat too!